
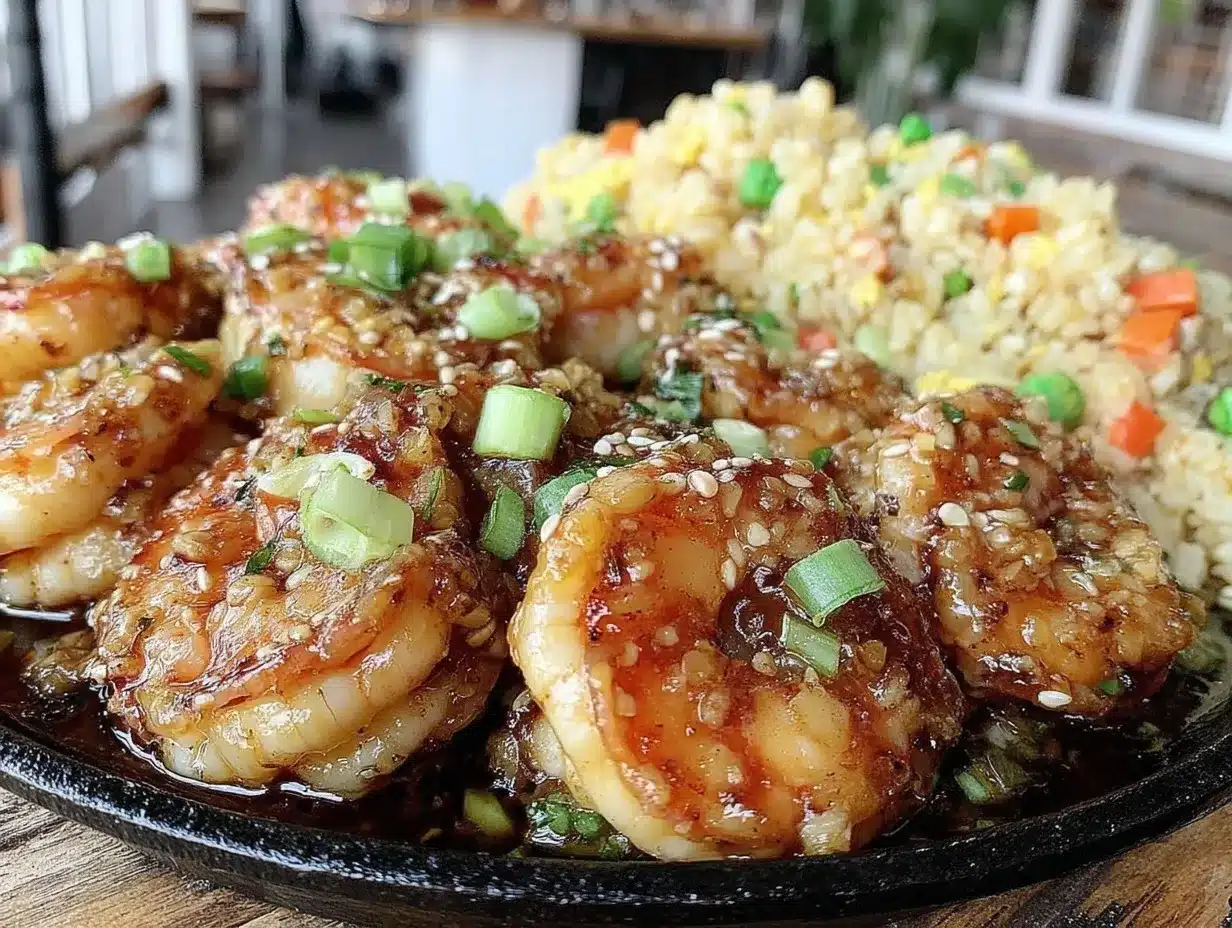
“Hey, you’ve gotta try this shrimp recipe I just whipped up,” my coworker said over our lunch break, sliding her phone across the table with a picture of sizzling shrimp bathed in garlic butter, sitting on a bed of fluffy fried rice. Honestly, I was skeptical — I mean, hibachi-style shrimp? At home? But curiosity got the better of me, and that night, I found myself chopping garlic and peeling shrimp, ready to see what all the fuss was about.
What started as a quick, no-fuss dinner idea turned into a mini obsession. I made this flavorful hibachi shrimp with garlic butter and fried rice three times in one week — no joke. Each time, the kitchen smelled like a cozy Japanese steakhouse, and the buttery garlic sauce was downright addictive. There’s something about the way the shrimp soak up the garlicky richness, paired with the crisp-tender fried rice, that just hits the spot.
It’s funny how the simplest recipes can surprise you — this one definitely did. No exotic sauces or complicated steps, just fresh shrimp, garlic, butter, and rice stirred together with a few classic seasonings. The kind of dish you can pull together after a long day and feel like you’re treating yourself. That’s why this recipe stuck with me — it’s comfort food that feels a little special, without any stress or fuss.
Why You’ll Love This Recipe
After testing and tweaking this hibachi shrimp recipe several times, I’ve gathered some good reasons why it’s become a staple in my kitchen:
- Quick & Easy: Ready in about 30 minutes, it’s perfect for busy weeknights or when you want something fast but impressive.
- Simple Ingredients: No need to hunt down fancy sauces or rare spices — you likely have everything in your pantry and fridge.
- Perfect for Casual Dinners: Whether it’s a solo meal or feeding a small group, this dish feels like a treat without the fuss.
- Crowd-Pleaser: The buttery garlic shrimp paired with savory fried rice always gets compliments from friends and family alike.
- Unbelievably Delicious: The balance of garlic butter richness with the slightly crisp fried rice texture is downright addictive.
This isn’t just another shrimp and rice dish. The magic lies in the garlic butter sauce — I like to melt my butter slowly to develop a nutty, golden flavor before adding fresh garlic. Also, tossing the shrimp in the hot pan just long enough keeps them tender and juicy, never rubbery. Plus, the fried rice includes just enough soy and sesame to bring that authentic hibachi vibe without overpowering the shrimp’s natural sweetness.
If you love dishes like Mexican rice or crave the comforting texture of kimchi fried rice, this recipe fits right in that lineup of easy, flavorful rice dishes that make your weeknight dinners feel like a mini celebration.
What Ingredients You Will Need
This recipe uses simple, wholesome ingredients to deliver bold flavor and satisfying texture without the fuss. Most are pantry staples or easy to find at any grocery store.
- Shrimp: 1 pound (450g) large shrimp, peeled and deveined (fresh or thawed frozen; wild-caught if possible for better flavor)
- Butter: 4 tablespoons (60g) unsalted butter, divided (I prefer Kerrygold for its rich flavor)
- Garlic: 4 cloves, minced fresh garlic (garlic powder won’t cut it here — fresh is key)
- Cooked Rice: 3 cups (about 600g) cold cooked white rice (day-old rice works best for texture)
- Vegetables for Fried Rice: 1/2 cup diced carrots, 1/2 cup peas (frozen is fine), and 1/4 cup chopped green onions
- Soy Sauce: 3 tablespoons low-sodium soy sauce (adjust to taste; Kikkoman brand is a reliable go-to)
- Sesame Oil: 1 teaspoon toasted sesame oil (adds that toasty depth typical of hibachi)
- Eggs: 2 large eggs, beaten (for the fried rice scramble)
- Salt & Pepper: To taste
- Optional Garnishes: Sesame seeds, extra chopped green onions, or a squeeze of fresh lemon for brightness
If you want a gluten-free option, swap the soy sauce with tamari. For dairy-free, replace butter with coconut oil or vegan butter — the flavor changes slightly but still delicious. In summer, I like swapping peas and carrots for fresh bell peppers and snap peas for a crisp pop.
Equipment Needed
- Large Skillet or Wok: Essential for sautéing shrimp and frying rice evenly. I’ve found a heavy-bottomed nonstick skillet works wonders for easy cleanup, but a cast-iron skillet adds nice sear.
- Mixing Bowls: For beating eggs and prepping ingredients.
- Wooden Spoon or Spatula: To stir fried rice without breaking grains.
- Knife and Cutting Board: For chopping garlic, veggies, and shrimp prep.
- Measuring Spoons and Cups: For precise seasoning and sauce ratios.
If you don’t have a wok, no worries — a large skillet does the job just fine. Just make sure it’s hot before adding ingredients to get that signature sear and texture. For butter melting, a small saucepan or the skillet itself works well. I usually keep a small grater handy for fresh garlic when I’m feeling fancy.
Preparation Method
- Prep the Shrimp: Rinse and pat dry 1 pound (450g) large shrimp, peeled and deveined. Season lightly with salt and pepper. This keeps the shrimp tasting fresh and ready for that garlicky butter bath. (Prep time: 5 minutes)
- Cook the Fried Rice Base: Heat 1 tablespoon (15g) of butter in your skillet over medium-high heat. Add diced carrots (1/2 cup) and peas (1/2 cup), cooking until just tender, about 3-4 minutes. Add chopped green onions (1/4 cup) and stir for another minute. (Prep time: 5 minutes)
- Scramble the Eggs: Push veggies to one side of the skillet, pour in beaten eggs (2 large) on the other side. Scramble gently until just set, then stir everything together. This creates that classic fried rice texture and flavor. (Prep time: 3 minutes)
- Add Rice & Seasoning: Add 3 cups (600g) cold cooked rice to the skillet. Break up any clumps with your spatula. Pour in 3 tablespoons soy sauce and 1 teaspoon toasted sesame oil. Stir-fry everything together for 4-5 minutes until heated through and slightly crisp on the edges. Taste and adjust salt if needed. (Prep time: 7 minutes)
- Make the Garlic Butter Sauce: In a separate small pan, melt 3 tablespoons (45g) butter over medium heat. Add minced garlic (4 cloves) and cook gently, stirring often, until fragrant and golden but not burnt, about 2 minutes. (Prep time: 3 minutes)
- Cook the Shrimp: Add the seasoned shrimp to the garlic butter. Sauté for 2-3 minutes per side until pink and opaque. Don’t overcook — shrimp goes from tender to rubbery fast! (Prep time: 6 minutes)
- Combine & Serve: Toss the cooked shrimp and garlic butter sauce with the fried rice. Mix gently to coat everything evenly. Garnish with sesame seeds and extra green onions if you like. Serve hot, maybe alongside a crisp cucumber salad or a light miso soup for a complete meal.
Pro tip: Using day-old rice is key to getting that perfect fried rice texture. Freshly cooked rice tends to be too soft and sticky. Also, keep your pan hot but not smoking — a medium-high heat works best to get a nice sear without burning the garlic.
Cooking Tips & Techniques
Cooking shrimp perfectly can be tricky, but here are some tips I’ve learned the hard way:
- Don’t overcrowd the pan: Shrimp need room to sear properly. If your pan is too crowded, they’ll steam instead of sauté, losing that lovely caramelized flavor.
- Butter melting: Melt butter slowly over medium heat to coax out a nutty flavor. Burnt butter makes garlic taste bitter, so keep stirring once you add the garlic.
- Rice texture: Use cold, preferably day-old rice to prevent mushiness. If you’re in a pinch, spread freshly cooked rice on a baking sheet to cool and dry out for 15 minutes.
- Multitasking: While the vegetables cook, prep shrimp and garlic so you can move quickly once the rice is in the pan — timing is everything for that fresh-from-the-grill feel.
- Season gradually: Add soy sauce in increments and taste as you go. It’s easy to over-salt, especially with soy’s sodium.
Honestly, the first time I burned the garlic (oops!), I learned to keep that heat moderate and watch it like a hawk. Now, I think of the garlic butter as the heart of this dish — get it right, and everything else sings.
Variations & Adaptations
You can customize this flavorful hibachi shrimp recipe in several ways depending on your mood or dietary needs:
- Spicy Kick: Add a pinch of red pepper flakes or a drizzle of sriracha to the garlic butter for some heat.
- Vegetarian Version: Swap shrimp for tofu or mushrooms and use vegetable broth instead of butter for a lighter take.
- Low-Carb Option: Replace rice with cauliflower rice, sautéed quickly with the same vegetables and seasonings.
- Different Proteins: Chicken breast strips or thinly sliced beef work well if you prefer meat over seafood.
- Seasonal Veggies: Swap peas and carrots for bell peppers, snap peas, or even zucchini ribbons in spring and summer.
One time, I tried this with a splash of mirin in the garlic butter — added a subtle sweetness that balanced the savory notes beautifully. It’s fun to tweak the seasoning to fit your palate.
Serving & Storage Suggestions
This dish shines best served hot and fresh from the pan, with the garlic butter still glistening on the shrimp. Plate it with a sprinkle of toasted sesame seeds and extra green onions for a pop of color and flavor.
For a full meal, pair it with a crunchy cucumber salad or a light, refreshing side like Japanese sesame spinach goma-ae for a touch of elegance and greens.
Leftovers keep well in an airtight container in the fridge for up to 2 days. When reheating, use a skillet over medium heat instead of the microwave to preserve texture; add a splash of water or soy sauce to bring moisture back to the rice.
Flavors actually deepen after a day, so sometimes I make this ahead on purpose! Just don’t store it longer than 48 hours — shrimp can get rubbery and lose their delicate texture.
Nutritional Information & Benefits
This flavorful hibachi shrimp with garlic butter and fried rice is not only delicious but also packs some nutritional benefits:
- Protein: Shrimp are a lean source of high-quality protein, helping keep you full and satisfied.
- Healthy Fats: Butter provides fat that carries flavor, and sesame oil adds heart-healthy unsaturated fats.
- Vitamins & Minerals: Garlic offers immune-boosting compounds, and the vegetables contribute fiber, vitamins A and C.
- Low-Carb Adaptability: Easily adjusted for low-carb or gluten-free diets by swapping rice or soy sauce.
For those watching sodium intake, opting for low-sodium soy sauce helps keep the dish balanced. Overall, it’s a satisfying meal that feels indulgent without being heavy or overly processed.
Conclusion
If you’re after a quick, homey dish that tastes like it came from a hibachi grill, this flavorful hibachi shrimp with garlic butter and fried rice recipe hits the mark. It’s one of those recipes that’s easy enough for a weeknight but special enough to impress friends or enjoy a cozy solo dinner.
Feel free to make it your own — add heat, swap veggies, or try different proteins. I keep coming back to it because it’s dependable, comforting, and downright delicious every time. Plus, the garlic butter sauce is pure magic that ties the whole dish together.
Give it a go and let me know how you customize it! I’d love to hear what twists you add or how it fits into your dinner rotation.
FAQs
Can I use frozen shrimp for this recipe?
Yes, frozen shrimp works well as long as you thaw and pat them dry before cooking to avoid excess moisture.
What type of rice is best for fried rice?
Day-old cooked white rice is ideal because it’s drier and less sticky, which helps achieve the perfect fried rice texture.
How can I make this dish gluten-free?
Simply swap regular soy sauce for gluten-free tamari or coconut aminos.
Can I prepare this recipe ahead of time?
You can make the fried rice and garlic butter shrimp separately and reheat carefully before serving, but for best texture, it’s freshest when eaten right away.
What can I serve alongside this hibachi shrimp and fried rice?
Light salads, steamed vegetables, or Japanese sides like pickled vegetables complement this dish beautifully.
Pin This Recipe!
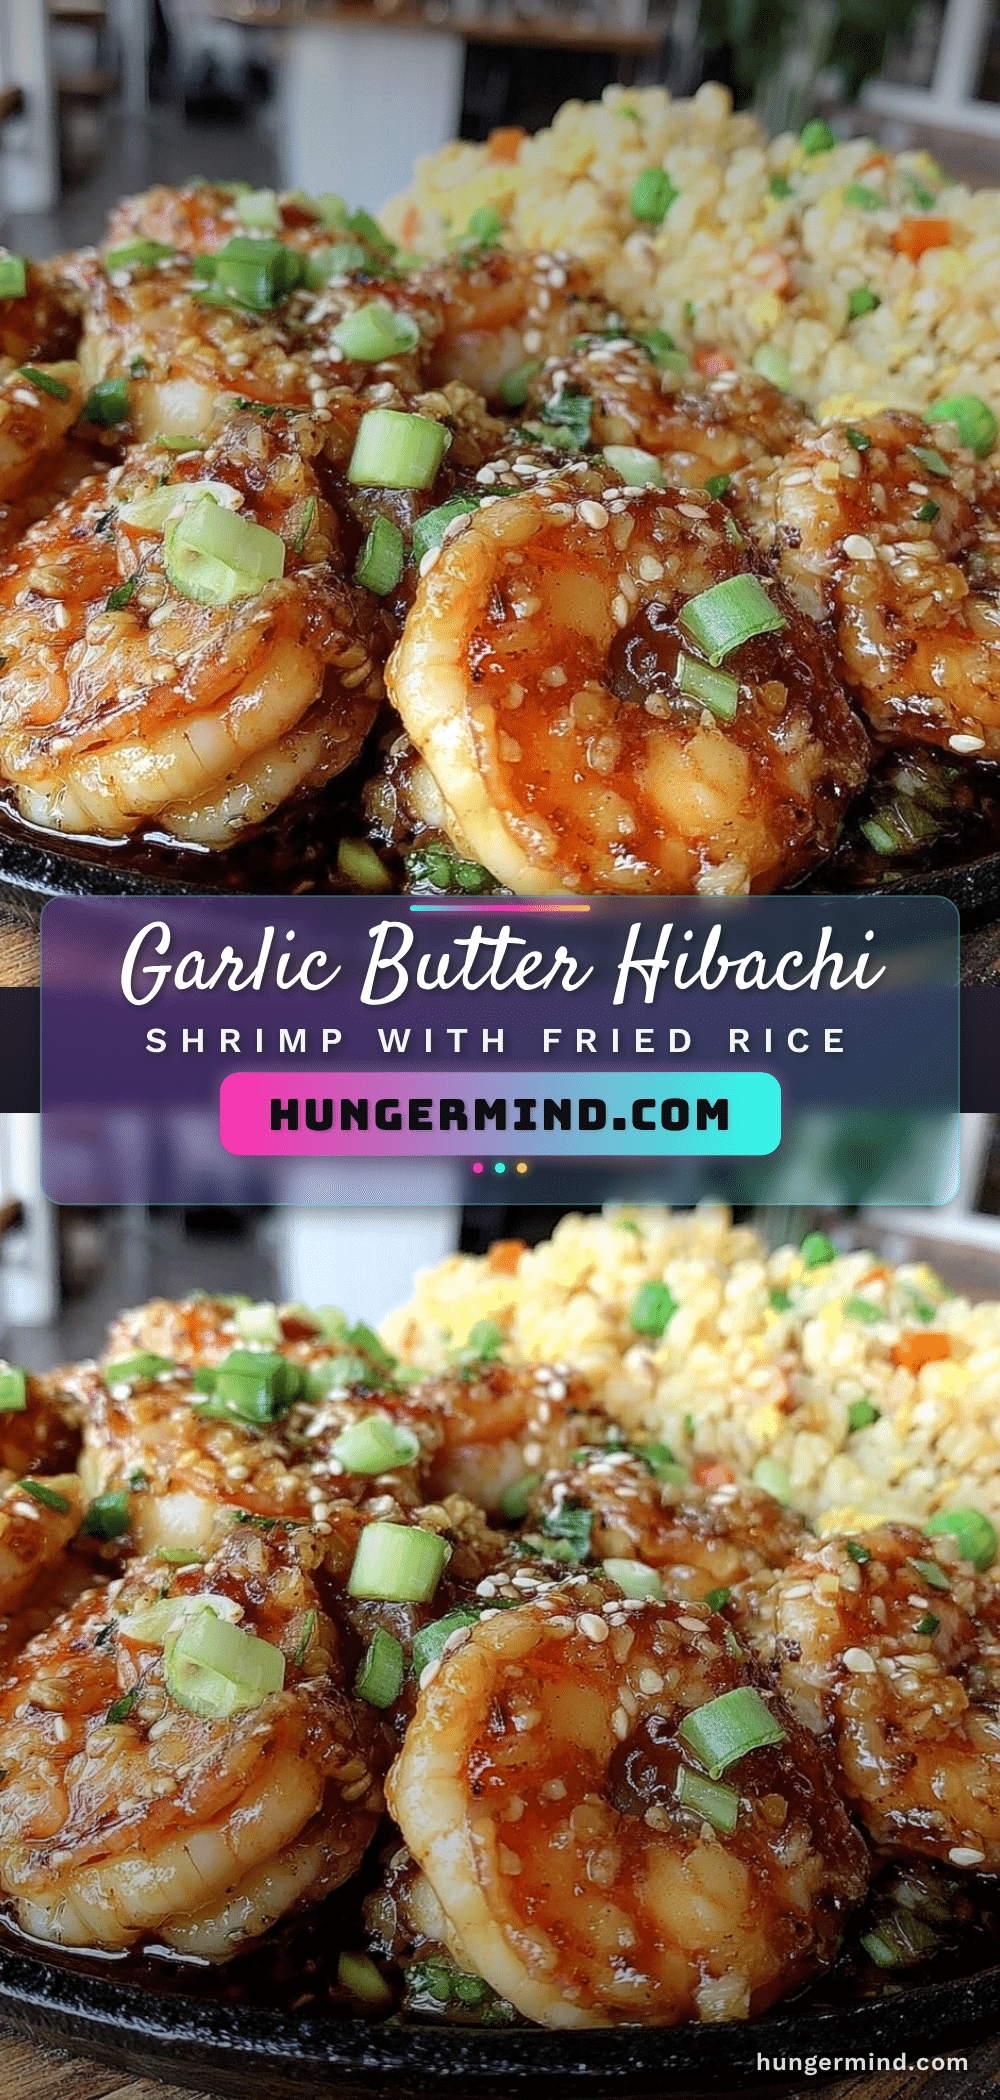
Flavorful Hibachi Shrimp Recipe with Garlic Butter and Fried Rice

A quick and easy hibachi-style shrimp dish cooked in garlic butter, served over savory fried rice with vegetables. Perfect for busy weeknights and packed with bold flavors.
- Prep Time: 15 minutes
- Cook Time: 15 minutes
- Total Time: 30 minutes
- Yield: 4 servings 1x
- Category: Main Course
- Cuisine: Japanese
Ingredients
- 1 pound (450g) large shrimp, peeled and deveined (fresh or thawed frozen; wild-caught if possible)
- 4 tablespoons (60g) unsalted butter, divided
- 4 cloves fresh garlic, minced
- 3 cups (about 600g) cold cooked white rice (day-old rice preferred)
- 1/2 cup diced carrots
- 1/2 cup peas (frozen is fine)
- 1/4 cup chopped green onions
- 3 tablespoons low-sodium soy sauce
- 1 teaspoon toasted sesame oil
- 2 large eggs, beaten
- Salt and pepper to taste
- Optional garnishes: sesame seeds, extra chopped green onions, fresh lemon squeeze
Instructions
- Rinse and pat dry shrimp. Season lightly with salt and pepper.
- Heat 1 tablespoon butter in a skillet over medium-high heat. Add diced carrots and peas; cook until just tender, about 3-4 minutes. Add green onions and stir for another minute.
- Push vegetables to one side of the skillet. Pour beaten eggs on the other side and scramble gently until just set. Stir everything together.
- Add cold cooked rice to the skillet. Break up clumps and pour in soy sauce and toasted sesame oil. Stir-fry for 4-5 minutes until heated through and slightly crisp on edges. Adjust salt if needed.
- In a separate small pan, melt remaining 3 tablespoons butter over medium heat. Add minced garlic and cook gently, stirring often, until fragrant and golden, about 2 minutes.
- Add seasoned shrimp to the garlic butter. Sauté 2-3 minutes per side until pink and opaque. Avoid overcooking.
- Toss cooked shrimp and garlic butter sauce with fried rice. Mix gently to coat evenly. Garnish with sesame seeds and extra green onions if desired. Serve hot.
Notes
Use day-old rice for best fried rice texture. Melt butter slowly to develop nutty flavor and avoid burnt garlic. Do not overcrowd pan when cooking shrimp to ensure proper sear. Adjust soy sauce gradually to control sodium. For gluten-free, substitute soy sauce with tamari. For dairy-free, replace butter with coconut oil or vegan butter.
Nutrition
- Serving Size: 1 serving (about 1 c
- Calories: 420
- Sugar: 3
- Sodium: 600
- Fat: 22
- Saturated Fat: 12
- Carbohydrates: 35
- Fiber: 3
- Protein: 28
Keywords: hibachi shrimp, garlic butter shrimp, fried rice, easy dinner, quick shrimp recipe, Japanese style, weeknight meal


