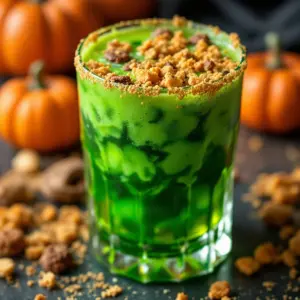
My seven-year-old daughter looked up at me with those big, serious eyes and said, “Mom, the punch has to look like a real witch’s brew. Not just green. Real.” And I knew right then, standing in my kitchen with a half-empty bottle of lime sherbet and some lemon-lime soda, that I had completely underestimated the stakes of this Halloween party. She had been planning this for weeks, you know, drawing little pictures of bubbling cauldrons and creepy floating hands. I needed a non-alcoholic green Halloween punch that would actually impress a room full of critical eight-year-olds, not just look like someone dumped food coloring in a bowl. Honestly, the pressure was on.
So I started experimenting. I wanted something that looked theatrical—like it could actually belong in a haunted swamp—but tasted like a dream. None of that bitter, artificial stuff. I wanted a kids Halloween punch that was sweet, fizzy, and fun without being a sugar bomb that would have them bouncing off the walls. The first batch was too neon. The second batch was too sweet. But the third batch? That was the one. My daughter took one sip, nodded her head like a tiny food critic, and said, “This is it. This is the brew.” And honestly, that moment made all the trial and error worth it.
This green Halloween punch is now our family’s go-to for every spooky gathering. It’s the kind of drink that makes kids feel like they’re getting away with something magical, while you know it’s just a simple blend of easy ingredients. There’s something special about watching their faces light up when they see that eerie green glow in the punch bowl. It’s not just a drink—it’s part of the Halloween experience. And if you’re looking for a recipe that delivers on both fun and flavor, you’ve found it. Trust me, this one’s a keeper.
Why You’ll Love This Recipe
Let’s be real for a second. Finding a Halloween punch for kids that actually tastes good and doesn’t require a chemistry degree to make is harder than it sounds. I’ve tried store-bought mixes that left a weird aftertaste and DIY versions that looked more like swamp water than something you’d want to drink. But this easy witch’s brew green Halloween punch? It’s different. Here’s why this recipe has earned a permanent spot in our Halloween rotation.
- Quick & Easy: This comes together in under 10 minutes. No boiling, no complicated steps, no waiting around. You just mix and serve. Perfect for those last-minute Halloween party prep moments when you’re already juggling costumes and decorations.
- Simple Ingredients: You probably already have most of these in your fridge or pantry. No fancy grocery store runs for obscure syrups or specialty items. This is a Halloween punch recipe made from real, recognizable ingredients.
- Perfect for Halloween Parties: Whether it’s a classroom celebration, a neighborhood costume party, or just a fun family movie night with crispy cheesy garlic bread twists on the side, this punch fits right in. It’s festive without being over-the-top.
- Crowd-Pleaser: I’ve served this to kids of all ages and even skeptical adults. The response is always the same—empty cups and requests for seconds. It’s sweet but not cloying, fizzy but not overwhelming.
- Unbelievably Delicious: The combination of lime sherbet, lemon-lime soda, and a secret ingredient creates a creamy, dreamy texture that tastes like a green Creamsicle had a Halloween makeover. It’s next-level comfort in a cup.
What makes this recipe stand out from the dozens of other green punches out there? It’s the texture. Most recipes are just carbonated drinks mixed together, which goes flat fast. But the sherbet adds a creamy, frothy layer that stays interesting from the first sip to the last. Plus, you can make it as spooky or as mild as you want with simple decorations. This isn’t just another version of a Halloween drink—it’s the best version I’ve ever made, and I’ve made a lot.
You know that feeling when you find a recipe that just works? The one you pull out year after year without even thinking? This is that recipe. It’s comfort food reimagined for a spooky occasion—faster, simpler, but with the same soul-soothing satisfaction. Perfect for impressing a crowd without breaking a sweat, or turning an ordinary October evening into something memorable.
What Ingredients You Will Need
This recipe uses simple, everyday ingredients to create something that feels genuinely magical. No obscure items, no complicated shopping lists. Just good, honest ingredients that work together beautifully. Here’s what you’ll need to make this easy witch’s brew green Halloween punch.
For the Punch Base
- 1 liter lemon-lime soda (like Sprite or 7UP) – This provides the fizz and sweetness. I prefer Sprite for its cleaner flavor, but any brand works. For a less sweet option, use sparkling water with a splash of lemon juice.
- 1 quart lime sherbet – This is the star of the show. It adds that beautiful green color, creamy texture, and bright citrus flavor. I recommend Edy’s or Breyers for the smoothest texture. Look for one that’s bright green, not pale.
- 1 can (12 oz) frozen limeade concentrate, thawed – This intensifies the lime flavor without making it watery. It’s the secret to that punchy, tangy taste that balances the sweetness.
- 4 cups cold water – To dilute the concentrate and soda so it’s not overly sweet. Adjust to taste if you prefer a stronger flavor.
- 1 cup pineapple juice (optional, but highly recommended) – This adds a subtle tropical note that rounds out the citrus. Trust me, it makes a difference. Use unsweetened for best results.
For the Spooky Decorations
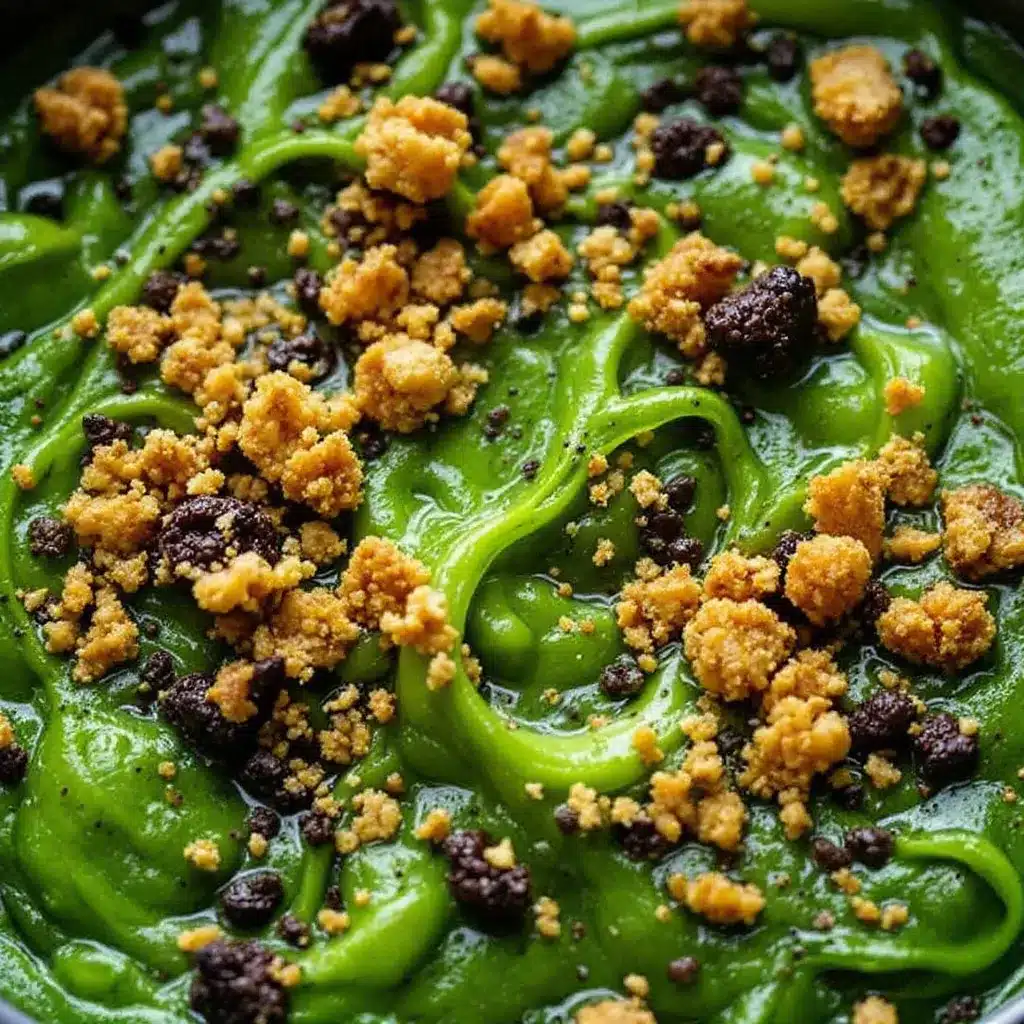
- Green food coloring (gel works best) – Only if your sherbet isn’t green enough. I usually skip this, but it’s good to have on hand for that extra eerie glow.
- Ice ring or ice cubes – Use a haunted hand mold or regular ice cube trays. For extra fun, freeze gummy worms or plastic spiders inside the ice cubes.
- Dry ice (optional, for adults only) – Creates that dramatic bubbling cauldron effect. Handle with care and never let kids touch it directly. Use food-grade dry ice only.
- Gummy worms, spiders, or eyeballs – For garnish. These make the punch look genuinely creepy and fun. Kids love fishing them out of their cups.
Ingredient Selection Tips
When choosing your lime sherbet, look for one that’s a vibrant green color—some brands are surprisingly pale. If you can only find a lighter shade, a drop or two of green food coloring will fix that right up. For the lemon-lime soda, avoid diet versions unless you’re okay with a slightly different taste. The real sugar helps balance the acidity of the limeade.
If you’re making this for a crowd with dietary restrictions, here are some easy swaps. Use a clear lemon-lime soda that’s gluten-free (most are). For a dairy-free version, substitute the lime sherbet with a lime-flavored sorbet or dairy-free ice cream. The texture will be slightly different—less creamy—but still delicious. You can also use a sugar-free soda and sugar-free limeade concentrate to cut down on sugar, though the taste won’t be quite as rich.
I always keep an extra bottle of lemon-lime soda in the fridge when I’m making this. Why? Because the punch tends to get sipped down fast, and you’ll want to top it off without watering down the flavor. It’s a little trick I learned after my first batch disappeared in fifteen minutes flat.
Equipment Needed
You don’t need a lot of fancy equipment to make this Halloween punch, which is part of why I love it. Here’s what you’ll need to pull it off.
- Large punch bowl or beverage dispenser – A clear glass or plastic bowl is best so you can see that eerie green color. I use a vintage glass punch bowl I found at a thrift store, but a large pitcher works just fine for smaller gatherings.
- Ladle or large serving spoon – For scooping the punch into cups. A glass ladle looks extra spooky.
- Measuring cups and spoons – For accurate measurements, especially with the limeade concentrate.
- Ice ring mold or ice cube trays – If you’re making decorative ice. I love using a skeleton hand mold for Halloween, but regular cubes work too.
- Small bowls for garnishes – To hold gummy worms, spiders, or other creepy decorations.
- Pitcher for mixing – A large pitcher makes it easy to combine the liquids before pouring into the punch bowl.
If you don’t have a punch bowl, don’t stress. A large glass salad bowl or even a clean plastic storage container can work in a pinch. For the ice ring, you can use a bundt pan or a small round cake pan. Just make sure whatever you use is freezer-safe. I’ve even used a large mixing bowl before, and it worked perfectly.
One tip I learned the hard way—make sure your punch bowl is big enough. This recipe makes about 3 quarts, so you need a bowl that holds at least 4 quarts to leave room for ice and stirring. Nothing kills the mood like having to transfer punch to a bigger bowl mid-party.
Preparation Method
Alright, let’s get to the fun part. Making this easy witch’s brew green Halloween punch is so simple, you’ll wonder why you ever bought the store-bought stuff. Follow these steps, and you’ll have a bubbling cauldron of deliciousness in no time.
Step 1: Prepare Your Ice (Optional, But Worth It)
If you’re making a decorative ice ring or spooky ice cubes, do this at least 4 hours ahead or the night before. Fill your mold with water and add any edible decorations like gummy worms, plastic spiders, or frozen berries. Freeze until solid. This step is totally optional, but honestly, it takes the punch from “green drink” to “witch’s brew” instantly. Kids go absolutely nuts for the floating gummy worms.
Step 2: Mix the Liquid Base
In a large pitcher, combine the thawed limeade concentrate, cold water, and pineapple juice (if using). Stir until the concentrate is fully dissolved. This is your flavor base, and it’s important to get it well mixed before adding the carbonated soda. I usually whisk it gently to make sure there are no clumps of concentrate hiding at the bottom.
Step 3: Chill Everything
Place the pitcher of mixed liquids and the bottle of lemon-lime soda in the refrigerator for at least 30 minutes before serving. Cold ingredients are crucial here—warm soda goes flat fast, and warm punch is just sad. If you’re short on time, you can skip this, but the punch will be less fizzy and refreshing. Trust me, the chill is worth the wait.
Step 4: Assemble the Punch Bowl
When you’re ready to serve, take your punch bowl and add the ice ring or ice cubes. If you’re using dry ice (adult supervision required!), now is the time to add it. Place it carefully in the bottom of the bowl using tongs—never with bare hands. Pour the chilled liquid base over the ice.
Step 5: Add the Soda and Sherbet
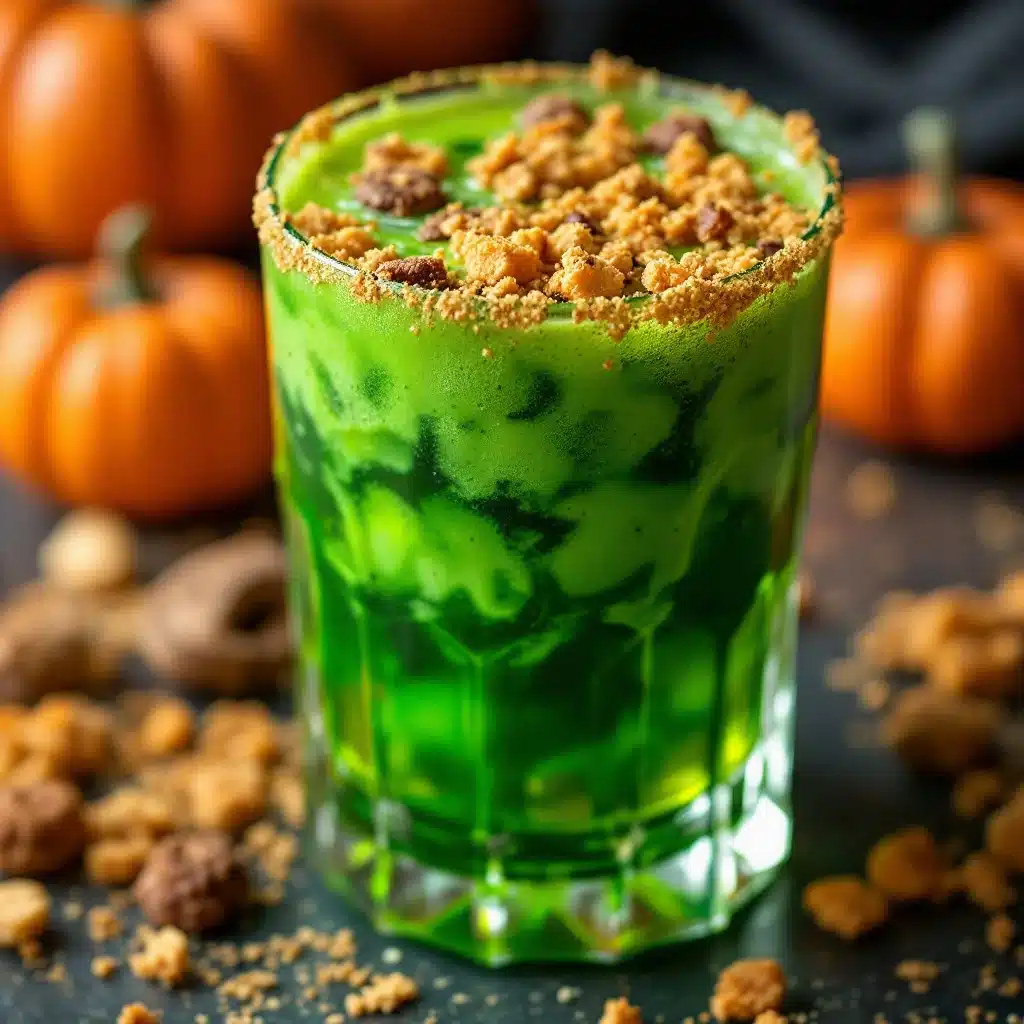
Slowly pour in the chilled lemon-lime soda. Pour it down the side of the bowl to preserve as much carbonation as possible. Then, add scoops of lime sherbet on top. I usually add about half the carton, then stir gently to create that frothy, creamy texture. The sherbet will start to melt and create a beautiful swirly effect. Add more sherbet if you want it creamier.
Step 6: Add the Spooky Touches
Now for the fun part. Drop in gummy worms, plastic spiders, or candy eyeballs. If you want that “bubbling cauldron” effect, add a few drops of green food coloring to the sherbet scoops before stirring—it creates a cool marbled look. For extra drama, place a small bowl of dry ice in the center of the punch bowl (again, adult only!). The fog will spill over the sides like a real witch’s brew.
Step 7: Serve and Enjoy
Ladle the punch into cups, making sure each serving gets a little bit of the melted sherbet and maybe a gummy worm or two. Serve immediately while it’s still fizzy and cold. If the punch starts to lose its fizz after a while, just add a splash more lemon-lime soda and a fresh scoop of sherbet to revive it.
One thing I always do is keep extra sherbet and soda on hand for refills. The punch gets less creamy and fizzy as it sits, so topping it off with fresh ingredients keeps it tasting like the first batch. You’ll thank me later.
Cooking Tips & Techniques
Over the years, I’ve made this Halloween punch more times than I can count, and I’ve picked up a few tricks along the way. Some came from happy accidents, others from full-on disasters. Here’s what I’ve learned so you don’t have to make the same mistakes.
Don’t over-stir the sherbet. I know it’s tempting to mix it in completely, but leaving some chunks floating on top creates that creepy, swampy look that kids love. Plus, as the sherbet slowly melts, it keeps the punch creamy for longer. Think of it as a self-stirring mechanism.
Temperature is everything. I once made the mistake of using room-temperature soda, and the punch went flat within minutes. It was a sad, lifeless green puddle. Always chill your ingredients for at least 30 minutes beforehand. If you’re in a rush, you can use ice cubes made from the punch itself—just freeze some of the liquid base in ice cube trays. That way, the ice doesn’t water down the punch as it melts.
Beware the dry ice. If you’re using dry ice for that dramatic fog effect, please handle it with care. Never let kids touch it, and use tongs or gloves to place it in the bowl. Also, make sure the bowl is well-ventilated—dry ice releases carbon dioxide, which is fine in small amounts, but you don’t want it in an enclosed space. I usually place the punch bowl near an open window or door just to be safe.
Test the color before serving. Different brands of lime sherbet have different shades of green. If yours looks more yellow than green, add a drop or two of green food coloring. I learned this the hard way when I served a batch that looked more like alien slime than witch’s brew. A little color adjustment goes a long way.
Plan for refills. This punch disappears fast, especially at kids’ parties. I always make a double batch and keep the extra liquid base and soda in the fridge. When the punch bowl starts looking low, I just add more liquid and a fresh scoop of sherbet. It’s like having a magic cauldron that never runs out.
One of my biggest failures? I once tried to make this punch the night before a party. Big mistake. The sherbet melted completely, the soda went flat, and I was left with a sad, syrupy mess. This is a make-and-serve recipe, not a make-ahead one. Embrace the last-minute prep—it’s part of the fun.
Variations & Adaptations
One of the best things about this easy witch’s brew green Halloween punch is how versatile it is. You can tweak it to fit any theme, dietary need, or personal preference. Here are some variations I’ve tried and loved.
Dairy-Free Version
Swap the lime sherbet with a dairy-free lime sorbet or coconut-based lime ice cream. The texture will be a bit less creamy, but the flavor is still fantastic. I’ve used coconut milk-based lime sorbet before, and it added a subtle tropical note that paired beautifully with the pineapple juice. Just make sure to check the label—some sorbets contain dairy.
Spooky Purple Punch
For a different color, use grape or berry-flavored sherbet instead of lime. The punch will turn a deep, mysterious purple that looks like something from a dark forest. Add some dry ice for that bubbling cauldron effect, and you’ve got a completely different vibe. I made this for a wizard-themed party once, and it was a hit.
Adult Halloween Punch
If you’re hosting a grown-up Halloween gathering, add a splash of vodka, white rum, or coconut rum to the mix. The coconut rum pairs especially well with the pineapple juice. Just keep the spiked version separate from the kids’ punch, and label it clearly. I usually make a small batch in a separate pitcher for the adults.
Fruity Float Version
Turn this into a Halloween float by adding a scoop of lime sherbet to each individual cup before pouring the punch over it. The kids love watching the sherbet float to the top like a creepy green cloud. Top with a dollop of whipped cream and a gummy spider for extra fun. This is my go-to for smaller gatherings where I want to make each serving special.
Low-Sugar Option
Use sugar-free lemon-lime soda and sugar-free limeade concentrate. For the sherbet, look for a low-sugar or no-sugar-added version. The taste won’t be quite as rich, but it’s still delicious and much lighter. I’ve made this for school parties where parents requested lower-sugar options, and no one complained.
I once tried a version with lemon sherbet instead of lime, thinking it would be a fun twist. It was… fine. But it lacked that bright, tangy punch that makes this recipe special. Stick with lime—it’s the heart of the brew.
Serving & Storage Suggestions
This Halloween punch is best served immediately, but there are a few things you can do to keep it fresh and festive throughout your party.
Serving Temperature: Serve the punch ice-cold. The colder it is, the fizzier and more refreshing it tastes. If the party is outside on a warm October day, keep the punch bowl in the shade or nestle it in a larger bowl filled with ice. I’ve even used a small kiddie pool filled with ice for outdoor parties—it looks hilarious and works perfectly.
Presentation Ideas: Use a clear punch bowl to show off that eerie green color. Garnish with floating gummy worms, plastic spiders, or candy eyeballs. For extra drama, place a small bowl of dry ice in the center of the punch bowl (adult supervision required!). The fog will spill over the sides like a real witch’s brew. You can also rim the serving cups with green sanding sugar for a magical touch.
Complementary Dishes: This punch pairs beautifully with other Halloween treats. Serve it alongside crispy skillet cornbread with honey drizzle for a sweet and savory combo, or crispy jalapeño cheddar pull-apart bread for something with a kick. For a full Halloween spread, add some crispy Greek spanakopita triangles as a savory appetizer. The contrast between the sweet, fizzy punch and the savory snacks is perfect.
Storage: Honestly, this punch doesn’t store well. The carbonation fades, the sherbet melts, and you’re left with a flat, syrupy liquid. If you have leftovers, you can refrigerate them in a sealed container for up to 24 hours, but the texture won’t be the same. I usually just make a fresh batch if I need more. That said, the leftover liquid makes a great base for popsicles—just pour it into molds and freeze.
Reheating? Nope. This is a cold drink through and through. Don’t even think about microwaving it. Just make a fresh batch if you need more.
One thing I love about this punch is how the flavors develop as the sherbet melts. The first few sips are bright and fizzy, but as the party goes on, it becomes creamier and more mellow. It’s like the punch is evolving in real time—very witchy, if you ask me.
Nutritional Information & Benefits
Let’s be real—this is a treat, not a health food. But that doesn’t mean it’s all empty calories. Here’s a rough breakdown of what you’re getting in each serving (based on 12 servings per batch).
| Nutrient | Amount Per Serving |
|---|---|
| Calories | 180-220 |
| Total Fat | 2-3g |
| Saturated Fat | 1-2g |
| Carbohydrates | 40-45g |
| Sugar | 35-40g |
| Protein | 1-2g |
| Vitamin C | 15-20% DV |
The lime sherbet and limeade concentrate provide a decent amount of vitamin C, which is always a nice bonus. The pineapple juice adds a touch of bromelain, an enzyme that can aid digestion. Of course, the sugar content is on the higher side, but that’s expected for a Halloween treat. If you’re concerned, use the low-sugar variations I mentioned earlier.
This recipe is naturally gluten-free and nut-free, making it safe for most common allergies. However, always check the labels on your sherbet and soda to be sure. Some brands may contain additives or allergens you’re not expecting. If you’re serving a crowd, it’s a good idea to have a non-carbonated option available for kids who don’t like fizzy drinks.
From my perspective, this punch is about joy and celebration, not nutrition. It’s the kind of drink that makes Halloween feel magical, and that has its own kind of value. Everything in moderation, right?
Conclusion
So there you have it—my tried-and-true recipe for easy witch’s brew green Halloween punch. It’s simple, it’s fun, and it tastes like the best parts of Halloween in a cup. Whether you’re hosting a big costume party or just want to surprise your kids with something special, this punch delivers every time.
What I love most about this recipe is how it brings people together. There’s something about watching kids (and adults!) gather around a bubbling cauldron of green punch that just feels right. It’s the kind of recipe that creates memories, not just drinks. And honestly, that’s what Halloween is all about.
I’d love to hear how your witch’s brew turns out! Did you add any fun decorations? Did your kids love it? Drop a comment below and share your spooky creations. And if you have a favorite Halloween treat that pairs perfectly with this punch, I’m all ears. Until then, happy haunting and happy sipping!
Frequently Asked Questions
Can I make this Halloween punch ahead of time?
Not really. This punch is best made fresh because the carbonation fades and the sherbet melts quickly. If you need to prep ahead, you can mix the liquid base (limeade concentrate, water, and pineapple juice) and chill it in the fridge. Then just add the soda and sherbet right before serving. That’s the closest you can get to make-ahead without sacrificing quality.
Can I use a different flavor of sherbet?
Absolutely! While lime is the classic choice for that green witch’s brew look, you can use any flavor you like. Lemon sherbet gives a lighter color, while berry or grape sherbet creates a spooky purple punch. Just adjust the color with food coloring if needed. I’ve even used orange sherbet for a pumpkin-themed party, and it was a hit.
How do I make the punch look like it’s bubbling?
Dry ice is your best friend here. Add a small piece of food-grade dry ice to the punch bowl using tongs (never with bare hands). It will create a dramatic fog that spills over the sides. Just make sure kids don’t touch it, and keep the area well-ventilated. For a safer option, you can use a small fountain pump or just stir the punch vigorously to create bubbles.
Is this punch suitable for a classroom party?
Yes, with a few adjustments. Skip the dry ice and plastic decorations that could be choking hazards. Use gummy worms or fruit-shaped candies instead. Also, check with the teacher about any food allergies in the class. You can easily make it nut-free and gluten-free by choosing the right ingredients. I’ve sent this to school parties several times, and it’s always a hit.
How do I keep the punch cold without watering it down?
Use an ice ring made from the punch itself! Freeze some of the liquid base in a ring mold or bundt pan. This way, as the ice melts, it actually adds more flavor to the punch instead of diluting it. You can also freeze grapes or berries to use as ice cubes—they look spooky and add a pop of color.
Pin This Recipe!
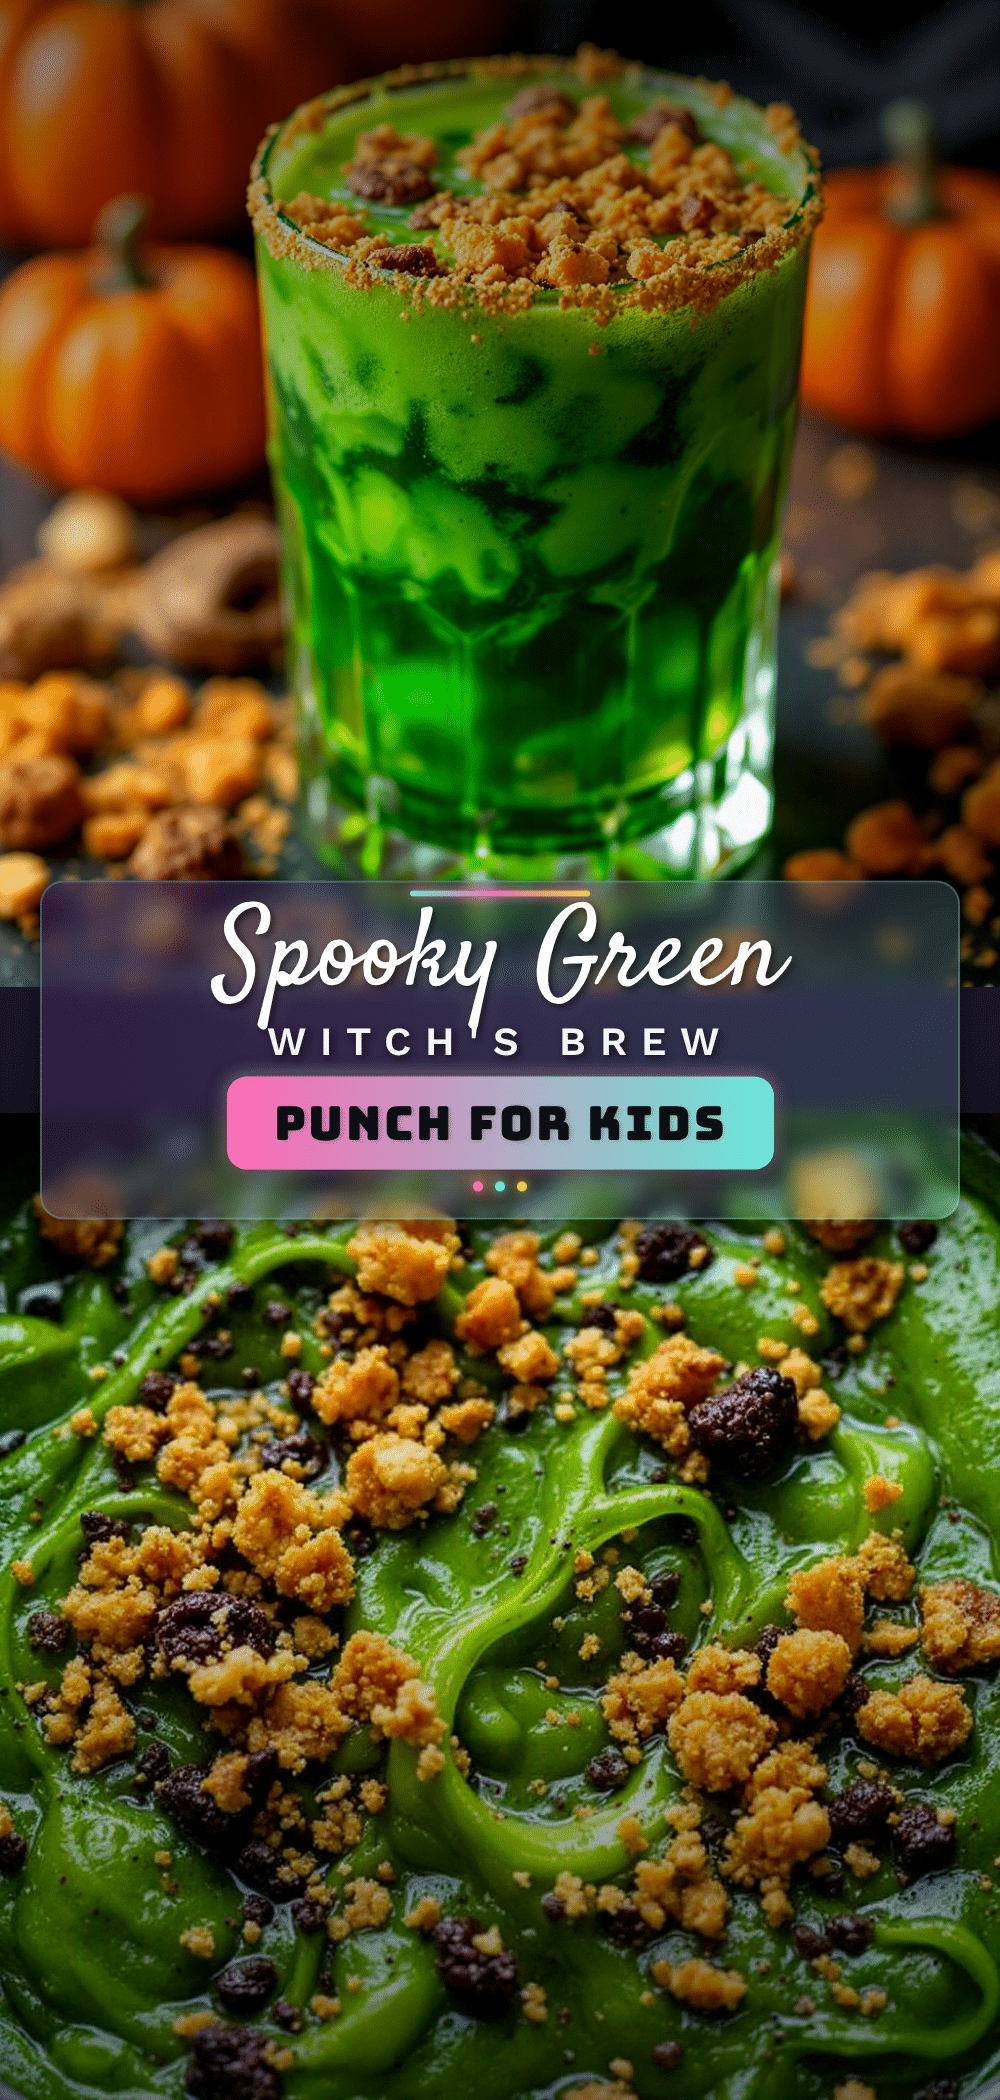
Easy Witch’s Brew Green Halloween Punch Recipe for Kids

A sweet, fizzy, and creamy green Halloween punch that looks like a real witch’s brew. Made with lime sherbet, lemon-lime soda, and limeade concentrate, this non-alcoholic drink is perfect for kids’ Halloween parties.
- Prep Time: 10 minutes
- Cook Time: 0 minutes
- Total Time: 10 minutes (plus chilling time)
- Yield: 12 servings 1x
- Category: Beverage
- Cuisine: American
Ingredients
- 1 liter lemon-lime soda (like Sprite or 7UP)
- 1 quart lime sherbet
- 1 can (12 oz) frozen limeade concentrate, thawed
- 4 cups cold water
- 1 cup pineapple juice (optional, but highly recommended)
- Green food coloring (gel works best, optional)
- Ice ring or ice cubes (optional, for serving)
- Dry ice (optional, for adults only)
- Gummy worms, spiders, or eyeballs (for garnish)
Instructions
- If making a decorative ice ring or spooky ice cubes, do this at least 4 hours ahead or the night before. Fill your mold with water and add any edible decorations like gummy worms, plastic spiders, or frozen berries. Freeze until solid.
- In a large pitcher, combine the thawed limeade concentrate, cold water, and pineapple juice (if using). Stir until the concentrate is fully dissolved.
- Place the pitcher of mixed liquids and the bottle of lemon-lime soda in the refrigerator for at least 30 minutes before serving.
- When ready to serve, add the ice ring or ice cubes to the punch bowl. If using dry ice, place it carefully in the bottom of the bowl using tongs.
- Slowly pour the chilled lemon-lime soda into the punch bowl, pouring down the side to preserve carbonation. Then add scoops of lime sherbet on top. Stir gently to create a frothy, creamy texture.
- Add gummy worms, plastic spiders, or candy eyeballs for garnish. For a bubbling cauldron effect, add a few drops of green food coloring to the sherbet scoops before stirring.
- Ladle the punch into cups, making sure each serving gets a little melted sherbet and a garnish. Serve immediately.
Notes
This punch is best served immediately. For a dairy-free version, substitute lime sherbet with dairy-free lime sorbet. For an adult version, add a splash of vodka or coconut rum. To keep the punch cold without watering it down, use an ice ring made from the punch itself.
Nutrition
- Serving Size: 1 cup
- Calories: 200
- Sugar: 38
- Sodium: 50
- Fat: 2.5
- Saturated Fat: 1.5
- Carbohydrates: 42
- Protein: 1.5
Keywords: Halloween punch, green punch, witch's brew, kids punch, non-alcoholic punch, Halloween drink, lime sherbet punch