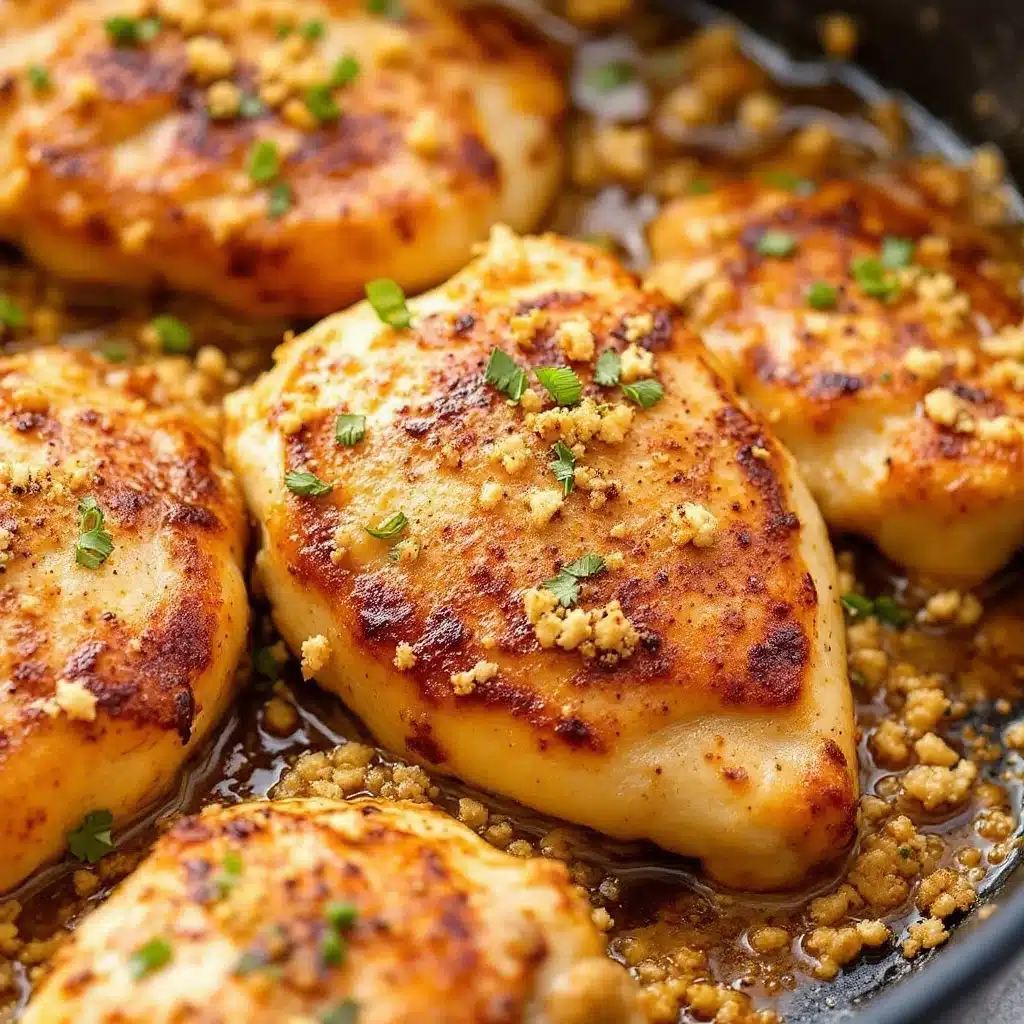
The skin on these chicken thighs gets so tight and shatteringly crisp that you can hear it crackle when you press a fork against it. Honestly, that’s the whole reason I make this dish on a Tuesday night when I have zero energy left. Everything else about this meal—the buttery sauce, the soft shallots, the way the garlic melts into the pan drippings—is just a bonus. But that first bite, where your teeth break through that salty, golden shell into juicy meat underneath? That’s what keeps me coming back.
I stumbled onto this method completely by accident. I was trying to recreate a restaurant chicken dish I’d had weeks before, but I couldn’t remember half the ingredients. So I did what any tired home cook would do: I grabbed a cast iron skillet, some bone-in thighs I had in the fridge, and a stick of butter that was already sitting on the counter. I figured if I got the technique right, the flavor would follow. And you know what? It worked better than the original. The restaurant version was fussy and overdressed. This one was just honest—fat, salt, heat, and patience.
That’s the thing about this easy garlic butter chicken thighs skillet. It doesn’t need a long ingredient list or a complicated marinade. It needs a hot pan, a little patience while the skin renders, and a final flourish of butter and garlic that turns the whole thing into something you’d happily serve to company. It’s the kind of meal that makes you feel like you actually know what you’re doing in the kitchen, even on nights when you’re barely holding it together.
Why You’ll Love This Recipe
Let’s be real—there are a thousand chicken thigh recipes out there. But this one earned a permanent spot in my weekly rotation for reasons that go beyond just taste. It’s reliable. It’s forgiving. And it delivers restaurant-quality results with the kind of effort that feels almost unfair.
- Quick & Easy: From fridge to plate in about 25 minutes. No marinating, no complicated steps, no waiting around. This is weeknight cooking at its finest.
- Simple Ingredients: Chicken thighs, butter, garlic, salt, pepper, and maybe a few herbs if you’re feeling fancy. You probably have everything already.
- One-Pan Wonder: Minimal cleanup means more time actually enjoying your meal. The skillet does all the work, from searing to sauce-making.
- Crowd-Pleaser: I’ve served this to picky eaters, foodie friends, and my dad who “doesn’t like chicken thighs.” Every single person went back for seconds.
- Unbelievably Delicious: The contrast between that crackling skin and the tender, juicy meat is pure comfort food magic. The garlic butter sauce ties it all together in a way that feels decadent without being heavy.
What sets this recipe apart is the technique. Most people rush the searing step, flipping the chicken too early or crowding the pan. I learned the hard way that patience is the secret ingredient. Letting the skin render slowly over medium heat creates that deep, golden crust that locks in moisture and builds flavor from the bottom up. It’s not complicated—it just takes a little trust in the process.
This isn’t just another chicken recipe. It’s the one you’ll text your friends about. It’s the one that makes you close your eyes after the first bite and forget about whatever stressful thing happened at work. It’s comfort food reimagined—faster, simpler, but with the same soul-soothing satisfaction.
What Ingredients You Will Need
This recipe uses simple, wholesome ingredients to deliver bold flavor and satisfying texture without the fuss. Most of these are pantry staples, which is exactly why this dish works so well for last-minute dinners.
- Bone-in, skin-on chicken thighs (4-6 thighs, about 2 pounds): This is non-negotiable for the best results. The bone keeps the meat juicy during cooking, and the skin is what gives you that incredible crispy texture. I prefer thighs over breasts here—they’re more forgiving and stay tender even if you cook them a minute too long. Look for thighs that are roughly the same size so they cook evenly.
- Unsalted butter (4 tablespoons, divided): Butter is the backbone of this sauce. I use unsalted so I can control the salt level myself. You’ll use half for searing and half for the final garlic butter sauce. If you only have salted butter, just reduce the added salt in the recipe.
- Garlic cloves (6-8 cloves, smashed or thinly sliced): Fresh garlic is key here. The pre-minced stuff in a jar will burn too quickly and taste bitter. Smash the cloves with the side of your knife for a milder flavor, or slice them thin if you want little crispy garlic bits in every bite. I usually do a mix of both.
- Kosher salt (1½ teaspoons): Don’t skimp on salt—it’s what makes the skin crispy and seasons the meat all the way through. I use Diamond Crystal kosher salt; if you’re using Morton’s, use about 1 teaspoon instead.
- Freshly ground black pepper (½ teaspoon): Freshly ground makes a real difference here. The pre-ground stuff just doesn’t have the same punch.
- Avocado oil or vegetable oil (1 tablespoon): A high smoke point oil helps get that initial sear without burning. Olive oil works in a pinch but has a lower smoke point, so watch it carefully.
- Fresh thyme sprigs (4-5 sprigs, optional but recommended): Thyme adds an earthy, aromatic note that pairs beautifully with garlic and butter. If you don’t have fresh, use ½ teaspoon dried thyme added with the garlic.
- Fresh lemon juice (1 tablespoon, optional): A squeeze of lemon at the end brightens up all the rich flavors. It’s not mandatory, but I almost always add it.
- Chicken broth or dry white wine (¼ cup): This deglazes the pan and creates a quick sauce. Broth keeps it simple; wine adds a little acidity and depth. Both work great.
- Fresh parsley (2 tablespoons, chopped, for garnish): Adds color and freshness. Flat-leaf parsley is my go-to, but curly works fine too.
Equipment Needed
- 12-inch cast iron skillet or heavy-bottomed stainless steel pan: Cast iron is ideal because it holds heat evenly and gets screaming hot for that perfect sear. If you don’t have one, a heavy stainless steel skillet works—just make sure it’s not nonstick, because you want those brown bits to stick to the pan for the sauce.
- Paper towels: For patting the chicken dry. This step is more important than you think—wet skin won’t crisp up.
- Tongs: For flipping the chicken without piercing the skin. Piercing releases juices and ruins that crispy texture.
- Meat thermometer: The most reliable way to know when your chicken is done. Thighs should hit 175-185°F for the best texture. I use an instant-read thermometer, but any probe works.
- Cutting board and sharp knife: For smashing and slicing garlic, and chopping herbs.
- Small bowl: For holding your prepped ingredients. Having everything ready before you start cooking makes the process so much smoother.
If you don’t have a cast iron skillet, don’t worry. I’ve made this in a stainless steel pan plenty of times, and it still turns out great. Just be patient with the searing and don’t rush it.
Preparation Method
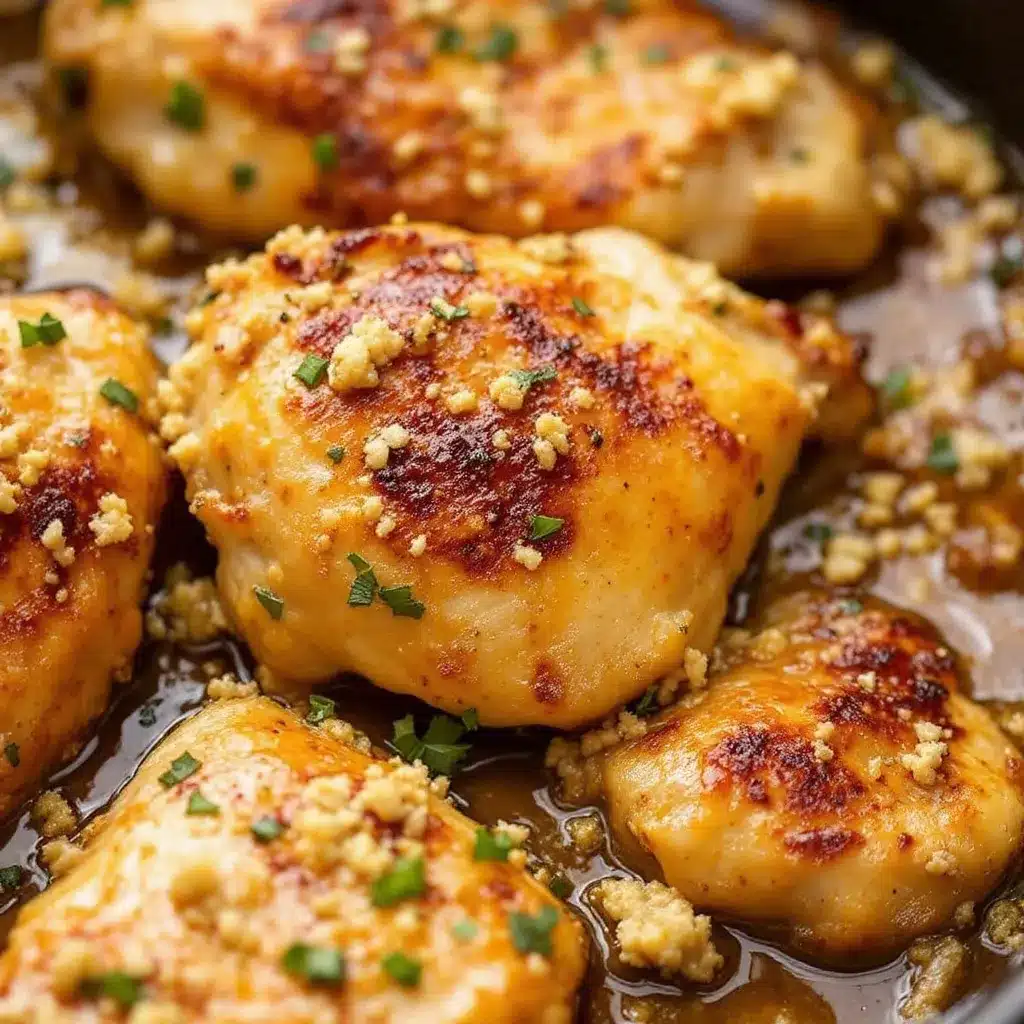
This comes together fast, so I like to have everything prepped and ready before I turn on the heat. Trust me—once that chicken hits the pan, you won’t have time to be chopping garlic.
- Pat the chicken dry (2 minutes). Take your chicken thighs out of the fridge about 15 minutes before cooking so they come closer to room temperature. Pat them very dry with paper towels on both sides. This is the single most important step for crispy skin. Season generously on all sides with kosher salt and black pepper. Don’t be shy—season like you mean it.
- Heat the pan (2 minutes). Place your cast iron skillet over medium heat and add the oil. Let it heat up until the oil shimmers and moves like water in the pan. You want it hot enough that the chicken sizzles immediately when it hits the surface, but not so hot that the oil smokes.
- Sear the chicken, skin-side down (8-10 minutes). Place the thighs in the pan skin-side down, making sure not to crowd them. If your pan is too small, cook them in two batches. Let them cook undisturbed for 8-10 minutes. I know it’s tempting to peek, but don’t. The skin needs uninterrupted contact with the hot pan to develop that deep golden crust. You’ll know it’s ready when the skin releases easily from the pan and looks deeply browned. If it sticks, it needs more time.
- Flip and finish cooking (5-7 minutes). Flip the thighs using tongs and cook for another 5-7 minutes on the other side. The internal temperature should reach 175-185°F when measured at the thickest part of the thigh, away from the bone. If you don’t have a thermometer, pierce the thickest part with a knife—the juices should run clear, not pink.
- Remove chicken and make the sauce (3 minutes). Transfer the chicken to a plate and tent loosely with foil. Pour off most of the rendered fat from the pan, leaving about 1 tablespoon. Reduce the heat to medium-low and add 2 tablespoons of butter. Once it melts, add the smashed garlic cloves and thyme sprigs. Cook for about 30 seconds, stirring constantly, until the garlic is fragrant but not brown.
- Deglaze the pan (1 minute). Pour in the chicken broth or wine and scrape up all those browned bits from the bottom of the pan with a wooden spoon. This is where all the flavor lives. Let it bubble for about 30 seconds, then stir in the remaining 2 tablespoons of butter until melted and the sauce is glossy.
- Finish and serve (1 minute). Return the chicken to the pan, spooning the garlic butter sauce over the top. Let it warm through for about a minute. Squeeze a little lemon juice over everything, sprinkle with fresh parsley, and serve immediately.
A quick note: If your garlic starts to brown too quickly, remove the pan from the heat. Burnt garlic tastes bitter and will ruin the whole sauce. Low and slow is the way to go here.
Cooking Tips & Techniques
I’ve made this recipe probably fifty times by now, and I’ve messed it up in almost every way possible. Here’s what I’ve learned so you don’t have to make the same mistakes.
Don’t rush the sear. This is the number one mistake people make. They flip the chicken too early because they’re impatient or worried it’s burning. If you’re using medium heat and a heavy pan, it takes a full 8-10 minutes for that skin to get properly crispy. Trust the process. If the skin is sticking to the pan, it’s not ready to flip. Period.
Use a thermometer. Chicken thighs are forgiving, but they’re not magic. The difference between perfectly juicy and slightly dry is about 10 degrees. I aim for 180°F because thighs have more connective tissue that needs to break down. At 165°F, they’re safe to eat, but they’re not as tender. At 185°F, they’re fall-apart good.
Control your heat. Medium heat is your friend here. High heat will burn the butter and garlic before the chicken is cooked through. Low heat won’t give you that crispy skin. I start on medium for the sear, then drop to medium-low for the sauce. If your pan is smoking, it’s too hot—pull it off the burner for a minute to cool down.
Let the chicken rest. After searing, let the chicken rest while you make the sauce. This allows the juices to redistribute so they don’t run out when you cut into it. Five minutes makes a noticeable difference.
Save the rendered fat. After you pour off the excess fat from the pan, don’t throw it away. That chicken fat (schmaltz) is liquid gold. I save mine in a small jar in the fridge and use it for roasting potatoes or sautéing vegetables. It adds so much flavor to other dishes, like a batch of crispy skillet cornbread.
Variations & Adaptations
This recipe is incredibly flexible. Here are some ways I’ve tweaked it depending on what I have in the fridge or who I’m cooking for.
Spicy version: Add ½ teaspoon of red pepper flakes along with the garlic, or stir in a tablespoon of sriracha or harissa paste with the broth. The heat cuts through the richness of the butter beautifully. I made this version for a friend who loves spicy food, and she said it was the best chicken she’d had in months.
Herb butter twist: Mash 2 tablespoons of softened butter with chopped rosemary, sage, and thyme, then spread it under the skin of each thigh before cooking. The herbs infuse the meat from the inside while the skin gets crispy on the outside. It’s a little extra work, but the flavor payoff is huge.
Creamy garlic sauce: After deglazing the pan, stir in ¼ cup of heavy cream or coconut cream along with the final butter. Let it simmer for a minute until thickened. This turns the dish into something decadent that feels like a special occasion meal. Serve it with fluffy coconut rice to soak up every drop.
Low-carb adaptation: Skip the broth and use a splash of vinegar or lemon juice to deglaze the pan. Serve the chicken with roasted vegetables or a simple green salad instead of starch. The dish is naturally low-carb and keto-friendly as written.
Dairy-free option: Substitute the butter with a good quality vegan butter or ghee (which is lactose-free). Use olive oil instead of butter for the sauce, and add a splash of coconut milk for richness. It won’t be exactly the same, but it’s still delicious.
Serving & Storage Suggestions
This chicken is best served hot, straight from the skillet. I like to spoon the garlic butter sauce over each piece and finish with a sprinkle of fresh parsley and a pinch of flaky sea salt. The contrast between the crispy skin and the glossy sauce is everything.
What to serve with it: This dish pairs beautifully with simple sides that soak up the sauce. Mashed potatoes are a classic choice, but I also love it with crusty bread for dipping, or a side of Mexican rice for something with a little more personality. A crisp green salad with lemon vinaigrette cuts through the richness perfectly.
Storage: Leftover chicken keeps in an airtight container in the refrigerator for up to 4 days. The skin will lose its crispiness, but the meat stays tender and flavorful. I actually love the leftovers cold, sliced over a salad the next day.
Reheating: The best way to reheat is in a skillet over medium heat with a splash of broth or water. Cover the pan and let it steam for 3-4 minutes until warmed through. The microwave works in a pinch, but it will make the skin rubbery. If you have an air fryer, reheat at 350°F for 3-4 minutes—it brings back some of that crispiness.
Freezing: You can freeze the cooked chicken (without the sauce) for up to 3 months. Wrap each thigh individually in plastic wrap, then place in a freezer bag. Thaw overnight in the fridge and reheat as directed. The sauce can be frozen separately in a small container.
Nutritional Information & Benefits
Per serving (2 thighs with sauce, approximate values):
- Calories: 485
- Protein: 38g
- Fat: 35g
- Saturated Fat: 14g
- Carbohydrates: 3g
- Fiber: 0g
- Sugar: 1g
- Sodium: 720mg
Chicken thighs are often overlooked in favor of breasts, but they have some real advantages. They contain more iron and zinc than white meat, and the higher fat content makes them more forgiving to cook. The skin provides a good source of collagen, which is great for joint health and skin elasticity. Garlic, meanwhile, has been studied for its immune-boosting and anti-inflammatory properties.
This recipe is naturally low-carb and keto-friendly. If you’re watching your saturated fat intake, you can reduce the butter to 2 tablespoons and use more broth for the sauce. For a lighter version, remove the skin after cooking (though I think that’s a culinary crime).
As with any indulgent dish, balance is key. I serve this with lots of vegetables or a big salad to round out the meal. It’s comfort food, not everyday fuel—and that’s okay. Sometimes you need a meal that feels like a warm hug.
Conclusion
This easy garlic butter chicken thighs skillet is the kind of recipe that makes you feel like a hero in the kitchen without actually working that hard. It’s fast enough for a Tuesday night, but impressive enough for company. The technique is simple, the ingredients are basic, and the results are genuinely restaurant-quality.
What I love most about this dish is how adaptable it is. Change the herbs, swap the butter for something else, add a kick of heat—it all works. The core method is so solid that you can riff on it endlessly and never get bored. I’ve made it with rosemary and lemon, with paprika and cayenne, with mushrooms and cream. Every version has been good.
I really hope you try this one soon. Let me know in the comments how it turns out—did you add your own twist? What did you serve it with? I genuinely read every comment, and your ideas often end up in my own kitchen. If you loved it, share it with a friend who needs a reliable weeknight dinner in their life. Happy cooking!
Frequently Asked Questions
Can I use boneless skinless chicken thighs?
You can, but you’ll lose the crispy skin and the bone-in flavor. Boneless thighs cook faster (about 4-5 minutes per side), so adjust your timing. The sauce will still be delicious, but the texture won’t be the same.
How do I know when the chicken is done without a thermometer?
Pierce the thickest part of the thigh with a knife. The juices should run clear, not pink. The meat should feel firm but not hard when pressed. If you’re unsure, cut into one thigh to check—it’s better to check than to serve undercooked chicken.
Can I make this in a nonstick pan?
You can, but you won’t get the same browned bits on the bottom of the pan, which means a less flavorful sauce. Nonstick pans also don’t get as hot as cast iron or stainless steel, so the skin won’t crisp up as well. If that’s all you have, it’ll still be tasty—just not as good.
Why is my chicken skin not crispy?
Three possible reasons: you didn’t pat the chicken dry enough, you flipped it too early, or your pan wasn’t hot enough. Make sure the chicken is very dry, let it cook undisturbed for the full 8-10 minutes, and use medium heat. If the skin is pale and flabby, it needed more time in the pan.
Can I prep this ahead of time?
You can season the chicken up to 24 hours in advance and keep it covered in the fridge. Take it out 15 minutes before cooking to let it come to room temperature. The sauce can be made ahead and reheated gently, but the chicken is best cooked fresh for the crispiest skin.
Pin This Recipe!
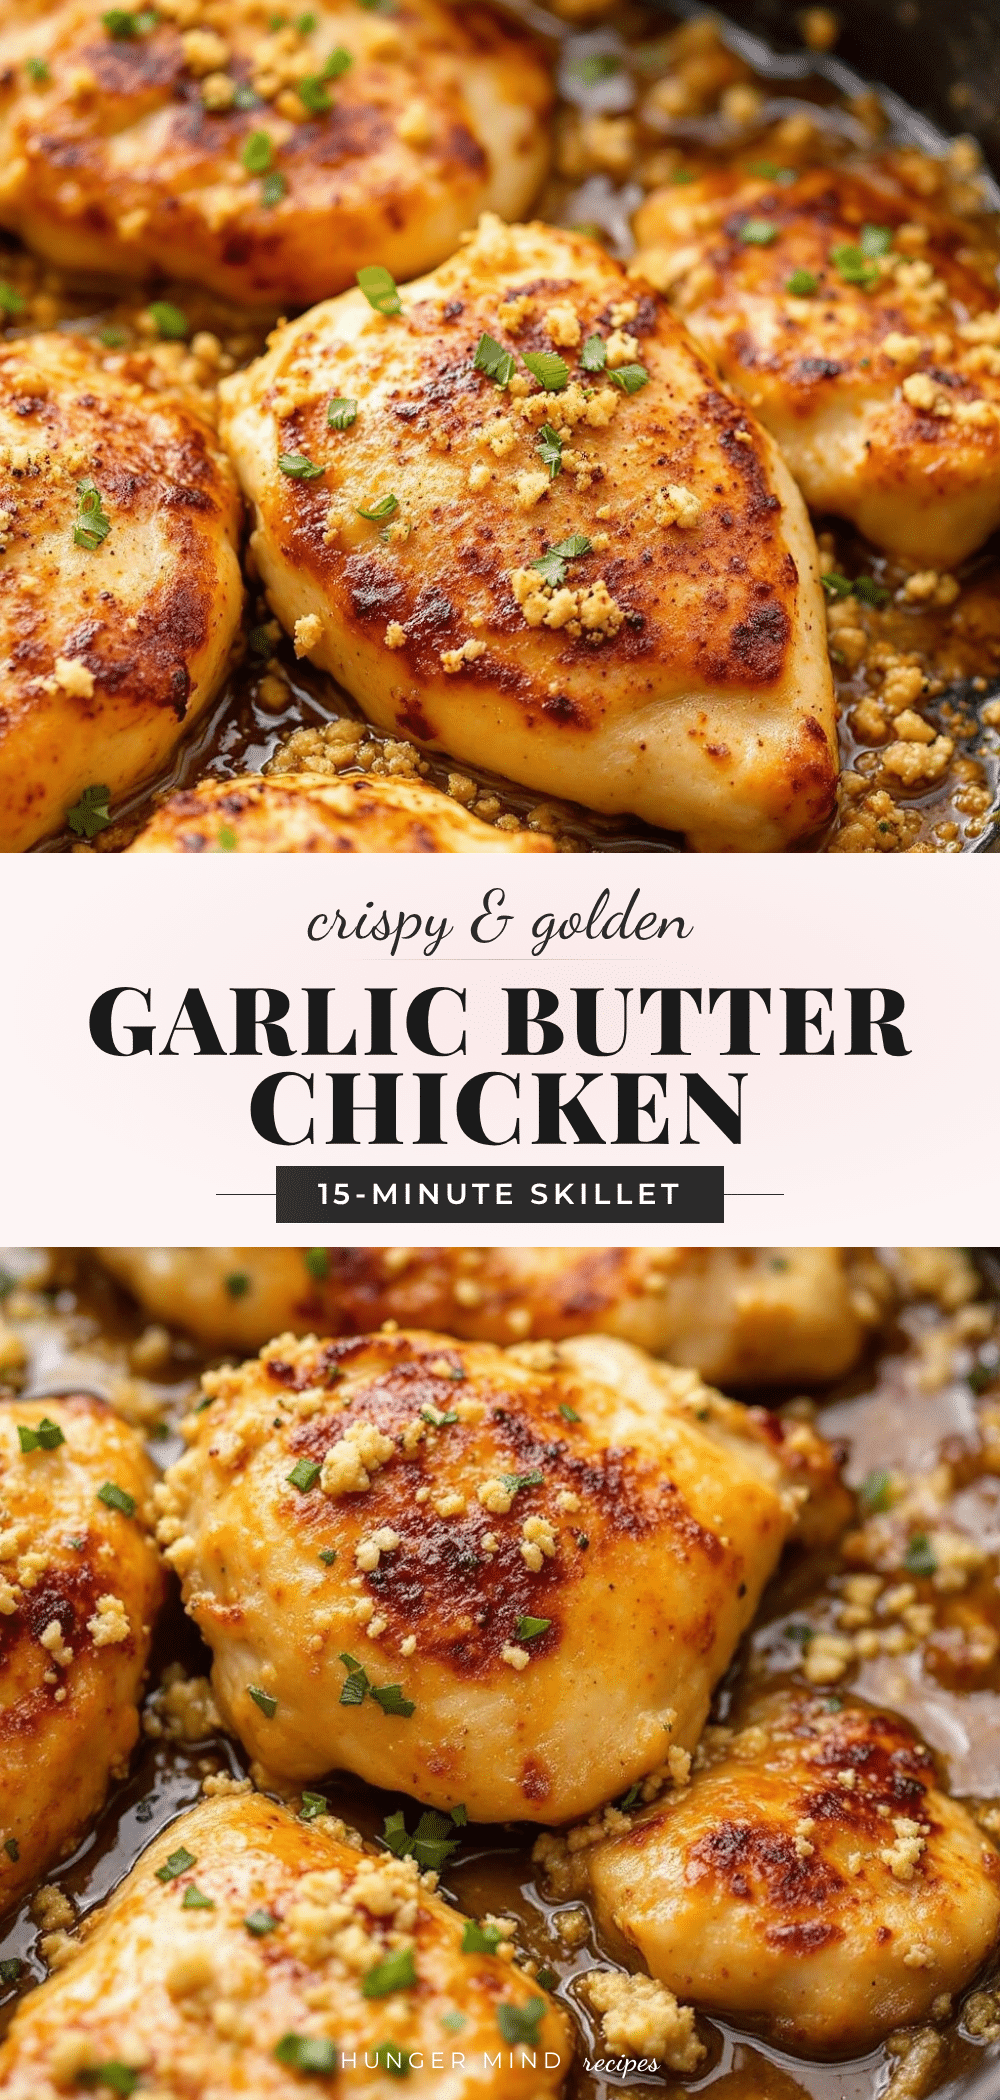
Easy Garlic Butter Chicken Thighs Skillet (25-Minute One-Pan Meal)

Crispy, golden chicken thighs with a rich garlic butter sauce, ready in 25 minutes. A simple one-pan meal that delivers restaurant-quality results with minimal effort.
- Prep Time: 10 minutes
- Cook Time: 15 minutes
- Total Time: 25 minutes
- Yield: 4 servings 1x
- Category: Main Course
- Cuisine: American
Ingredients
- 4–6 bone-in, skin-on chicken thighs (about 2 pounds)
- 4 tablespoons unsalted butter, divided
- 6–8 garlic cloves, smashed or thinly sliced
- 1½ teaspoons kosher salt (use 1 teaspoon if using Morton’s)
- ½ teaspoon freshly ground black pepper
- 1 tablespoon avocado oil or vegetable oil
- 4–5 fresh thyme sprigs (optional, or ½ teaspoon dried thyme)
- 1 tablespoon fresh lemon juice (optional)
- ¼ cup chicken broth or dry white wine
- 2 tablespoons fresh parsley, chopped (for garnish)
Instructions
- Pat the chicken dry with paper towels. Season generously on all sides with kosher salt and black pepper. Let sit at room temperature for 15 minutes.
- Heat a 12-inch cast iron skillet or heavy-bottomed stainless steel pan over medium heat. Add the oil and heat until shimmering.
- Place the chicken thighs skin-side down in the pan, making sure not to crowd them. Cook undisturbed for 8-10 minutes until the skin is deep golden brown and releases easily from the pan.
- Flip the thighs using tongs and cook for another 5-7 minutes, until the internal temperature reaches 175-185°F. Transfer to a plate and tent loosely with foil.
- Pour off most of the rendered fat from the pan, leaving about 1 tablespoon. Reduce heat to medium-low and add 2 tablespoons of butter. Once melted, add the smashed garlic cloves and thyme sprigs. Cook for 30 seconds, stirring constantly, until fragrant.
- Pour in the chicken broth or wine and scrape up the browned bits from the bottom of the pan. Let bubble for 30 seconds, then stir in the remaining 2 tablespoons of butter until melted and the sauce is glossy.
- Return the chicken to the pan, spooning the garlic butter sauce over the top. Warm through for 1 minute. Squeeze lemon juice over everything, sprinkle with fresh parsley, and serve immediately.
Notes
Don’t rush the sear—let the skin cook undisturbed for 8-10 minutes for maximum crispiness. Use a meat thermometer for best results; thighs are most tender at 180°F. If garlic starts to brown too quickly, remove the pan from the heat to prevent bitterness. Save the rendered chicken fat (schmaltz) for roasting potatoes or vegetables.
Nutrition
- Serving Size: 2 thighs with sauce
- Calories: 485
- Sugar: 1
- Sodium: 720
- Fat: 35
- Saturated Fat: 14
- Carbohydrates: 3
- Protein: 38
Keywords: garlic butter chicken thighs, crispy chicken thighs, one-pan chicken, easy chicken recipe, 25-minute meal, weeknight dinner, cast iron skillet chicken