Dripping maple syrup across the counter while simultaneously trying to wipe pumpkin puree off my toddler’s forehead—that’s how these cookies were born. Honestly, I wasn’t trying to create anything special. I was just desperate for something that tasted like fall without requiring a trip to the store or a clean kitchen. The kids were cranky, the house smelled like leftover coffee, and I had exactly one stick of butter left in the fridge. Not exactly the stuff of baking legend.
But here’s the thing about desperation baking—it forces you to get creative. I grabbed the can of pumpkin that had been sitting in my pantry since October, the maple syrup from last weekend’s pancake breakfast, and the snickerdoodle recipe my mom used to make when I was little. I figured I’d just swap a few things and hope for the best. What came out of that messy, chaotic afternoon was a cookie that made my husband walk into the kitchen and say “what is that smell?” in a way that meant “please tell me I can eat one.”
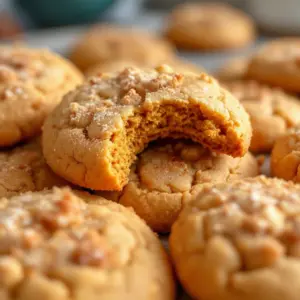
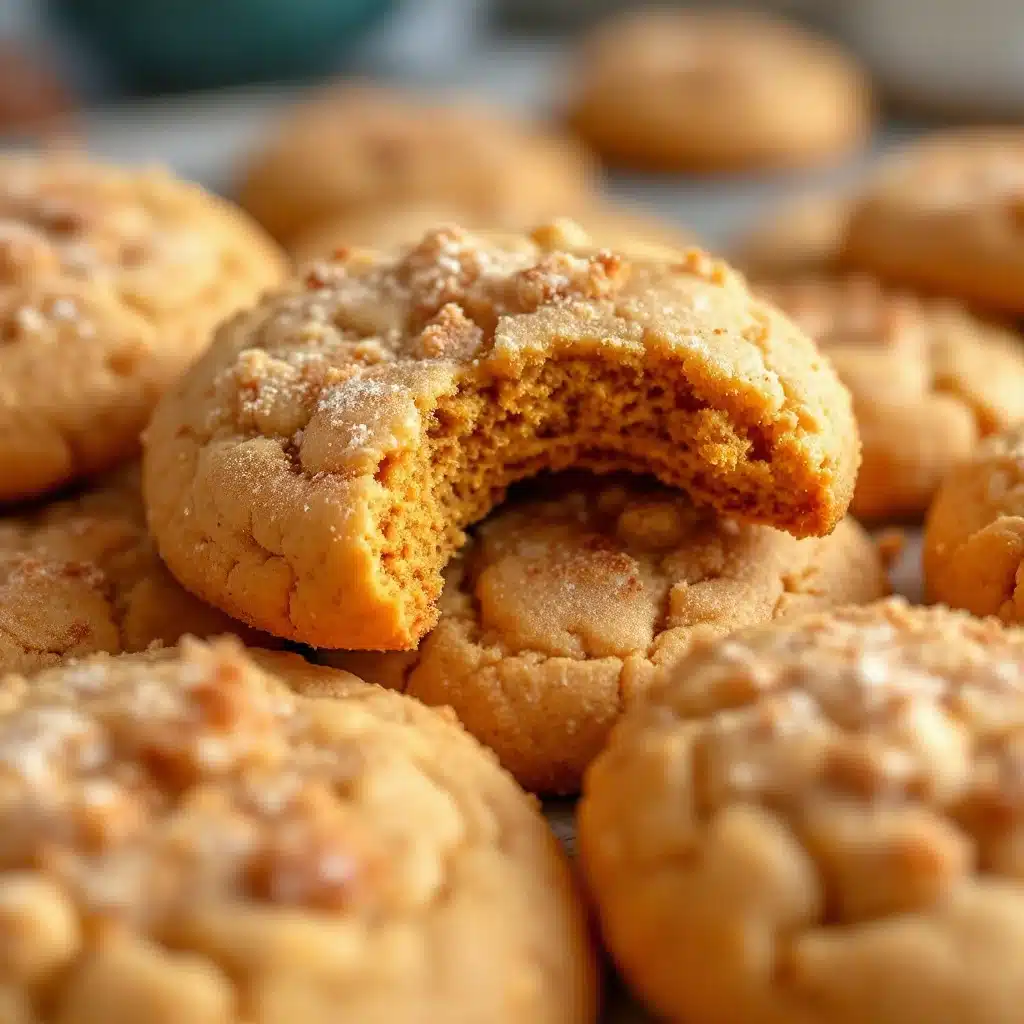
These aren’t your average snickerdoodles. They’re soft—almost pillowy—with that unmistakable tang from cream of tartar, but then there’s this warm undertone of pumpkin and maple that just wraps around you like a favorite sweater. The cinnamon-sugar coating gives them that classic crackly top, but inside they’re tender and almost cake-like. It’s the kind of cookie that makes you close your eyes after the first bite, not because you’re being dramatic, but because it genuinely tastes that good.
And honestly? That’s why this recipe stuck. Not because I planned it, but because it came from a real moment—a messy, sticky, slightly frazzled Tuesday afternoon—and it turned into something I actually wanted to make again. On purpose. With a clean kitchen.
Why You’ll Love This Recipe
I’ve tested these cookies about six times now (someone had to eat them all), and I can tell you with confidence—they’re worth every bit of flour that ends up on your counter. Here’s why these soft baked maple pumpkin snickerdoodle cookies deserve a spot in your fall baking rotation:
- Quick & Easy: From start to finish, you’re looking at about 25 minutes. No chilling required, no complicated techniques. Just mix, scoop, roll, and bake.
- Simple Ingredients: You probably already have most of these in your pantry—flour, sugar, butter, eggs, cinnamon. The pumpkin and maple syrup are the only “special” items, and they’re easy to find this time of year.
- Perfect for Fall Gatherings: Whether it’s a Friendsgiving potluck, a cozy weekend brunch, or just a Tuesday that needs a little extra warmth, these cookies fit right in. They’re especially great alongside a fresh autumn harvest salad with maple vinaigrette for a sweet-and-savory combo.
- Crowd-Pleaser: Kids love the cinnamon-sugar coating, adults appreciate the sophisticated maple-pumpkin flavor, and everyone goes back for seconds. I’ve never brought these anywhere without someone asking for the recipe.
- Unbelievably Soft: The pumpkin puree adds moisture without making them gummy, and the cream of tartar gives that signature snickerdoodle tang. The texture is honestly perfect—soft, tender, and just slightly chewy at the edges.
What makes these different from every other pumpkin cookie out there? It’s the balance. Most pumpkin cookies are either too cakey or too dense. These hit that sweet spot where they feel substantial but still light, with the maple flavor coming through without overpowering the pumpkin. Plus, that cinnamon-sugar coating gives them a satisfying crunch on the outside while the inside stays soft. It’s the best of both worlds, honestly.
And here’s the emotional part—these cookies taste like a hug. They’re the kind of thing you make when you want the house to smell good, when you need a little comfort, or when you want to show someone you care without saying it out loud. That’s why I keep coming back to this recipe.
What Ingredients You Will Need
This recipe uses simple, wholesome ingredients to create cookies that taste anything but basic. Most of these are pantry staples, and the few that aren’t are worth picking up for the season. Let me walk you through each one and why it matters.
For the Cookies
- 1/2 cup unsalted butter, softened — I use Land O’Lakes because it’s consistent and widely available. Make sure it’s truly softened, not melted. You want it at room temperature so it creams properly with the sugar. If you forget to take it out ahead of time, cut it into small cubes and let it sit for 15 minutes.
- 1/2 cup granulated sugar — Regular white sugar adds sweetness and helps with the cookie’s structure. It also helps create that slight crispness on the edges.
- 1/4 cup packed light brown sugar — Brown sugar adds moisture and a subtle molasses flavor that complements the maple and pumpkin beautifully. Dark brown sugar would work too, but it will make the cookies slightly darker and more deeply flavored.
- 1/3 cup pure maple syrup — Please use real maple syrup, not pancake syrup. The flavor is completely different. Grade A dark amber works great here—it has a stronger maple taste that holds up against the pumpkin. I’ve tried this with Grade A light amber and it’s good, but the dark amber really makes the maple flavor pop.
- 1/2 cup pumpkin puree — Not pumpkin pie filling! Make sure you grab 100% pure pumpkin. Libby’s is my go-to brand because it’s consistently thick and not watery. If your pumpkin puree seems especially wet, pat it dry with a paper towel before adding it to the dough.
- 1 large egg, room temperature — The egg helps bind everything together and adds richness. Room temperature egg incorporates more evenly into the butter mixture, so don’t skip this step. If you’re in a rush, place the egg in a bowl of warm water for 5 minutes.
- 1 teaspoon vanilla extract — Pure vanilla extract is worth the splurge here. Imitation vanilla can taste artificial, especially in a simple cookie where the flavors really shine through.
- 2 cups all-purpose flour — Spoon and level your flour—don’t scoop directly from the bag. Scooping packs the flour down and you’ll end up with too much, resulting in dry cookies. I use Gold Medal unbleached all-purpose flour for consistent results.
- 1 teaspoon cream of tartar — This is the secret ingredient that gives snickerdoodles their signature tangy flavor and soft texture. Don’t skip it! Cream of tartar also helps stabilize the cookies and gives them that slight chewiness.
- 1/2 teaspoon baking soda — Works with the cream of tartar to help the cookies rise just enough. Make sure your baking soda is fresh—test it by dropping a little into vinegar; if it fizzes vigorously, it’s good to go.
- 1/2 teaspoon salt — Salt balances the sweetness and enhances all the other flavors. I use fine sea salt for baking.
- 1 teaspoon ground cinnamon — Cinnamon is the star spice here, and it pairs perfectly with both pumpkin and maple. Use a good quality cinnamon—I prefer Saigon cinnamon for its warm, slightly spicy flavor.
- 1/2 teaspoon ground ginger — Adds a gentle warmth that complements the pumpkin without being overpowering. If you don’t have ground ginger, you can use 1/4 teaspoon of allspice instead.
- 1/4 teaspoon ground nutmeg — Freshly grated nutmeg is amazing if you have it, but pre-ground works perfectly fine. Just make sure it hasn’t been sitting in your spice cabinet for years—spices lose their potency over time.
- 1/4 teaspoon ground cloves — A little goes a long way with cloves. They add that deep, almost floral warmth that makes fall baking smell so incredible.
For the Cinnamon-Sugar Coating
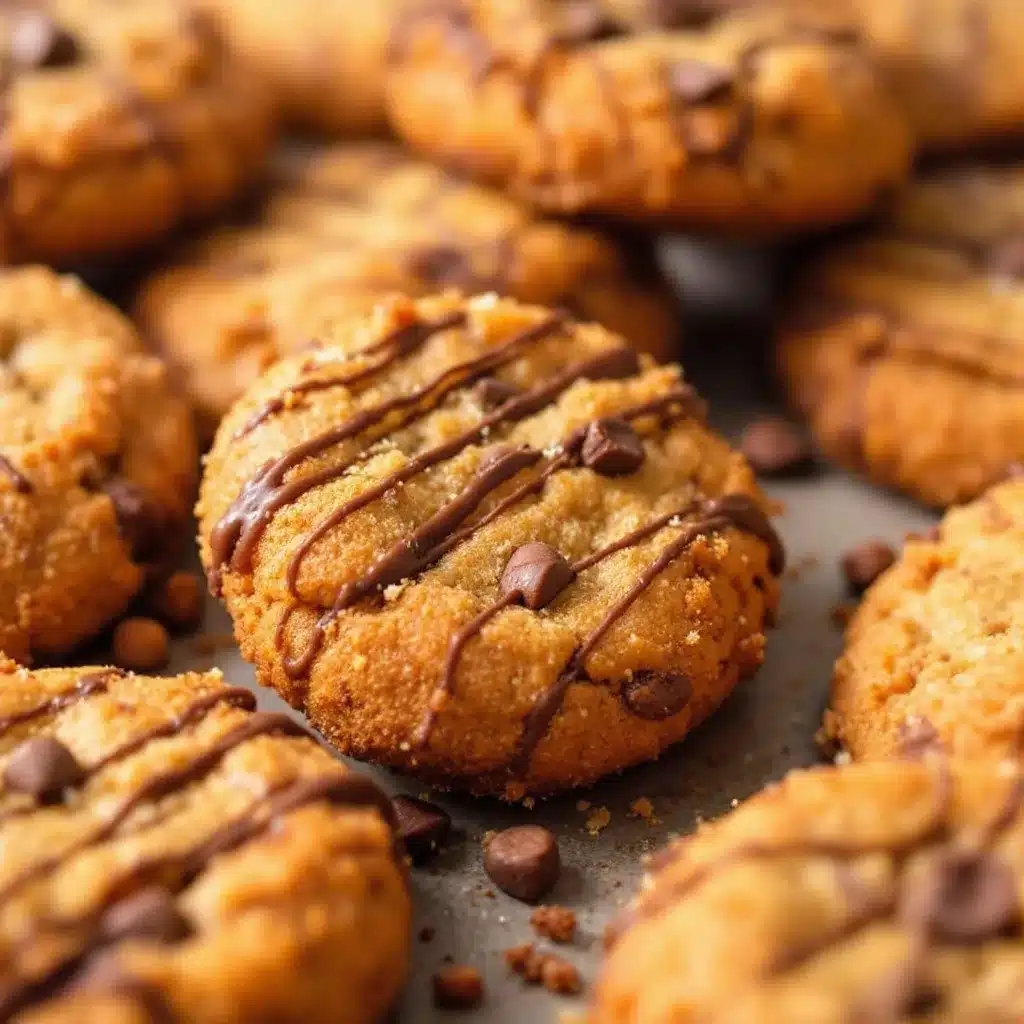
- 1/4 cup granulated sugar — This creates the crunchy exterior that contrasts with the soft cookie inside.
- 1 tablespoon ground cinnamon — Don’t skimp here. The coating is what makes a snickerdoodle a snickerdoodle. You want a generous, visible coating of cinnamon sugar on each cookie.
Equipment Needed
You don’t need anything fancy to make these cookies, which is one of the reasons I love this recipe. Here’s what you’ll need:
- Large mixing bowl — For creaming the butter and sugars. Any large bowl works, but I prefer a wide, shallow one for easier mixing.
- Medium mixing bowl — For whisking the dry ingredients together.
- Hand mixer or stand mixer — A hand mixer is totally fine here. I use my KitchenAid stand mixer when I’m making a double batch, but honestly, you could even mix these by hand with a wooden spoon if you’re patient. The butter needs to be well-creamed with the sugars, so a mixer makes it easier.
- Rubber spatula — For scraping down the sides of the bowl and folding in the flour mixture. A silicone spatula is best because it won’t scratch your bowls.
- Cookie scoop (1.5 tablespoon size) — This ensures all your cookies are the same size, which means they’ll bake evenly. If you don’t have a cookie scoop, use a tablespoon measure and your hands.
- Baking sheets — I use Nordic Ware aluminum baking sheets because they heat evenly and don’t warp. Line them with parchment paper for easy cleanup.
- Parchment paper — Trust me on this. Parchment paper prevents sticking and makes cleanup a breeze. You can also use a silicone baking mat if you prefer.
- Small bowl — For the cinnamon-sugar coating mixture.
- Cooling rack — Letting the cookies cool on a rack prevents them from becoming soggy on the bottom. If you don’t have one, you can transfer them to a plate after a few minutes.
Preparation Method
Alright, let’s get to the fun part. I’ve broken this down into clear steps with all the little details I’ve learned from making these about a dozen times. Follow along and you’ll have perfect cookies every time.
-
Preheat your oven to 350°F (175°C). Line two baking sheets with parchment paper. I like to do this first so the oven is fully heated by the time the dough is ready. If you have a convection oven, reduce the temperature to 325°F—these cookies bake faster in convection ovens and you don’t want them to brown too quickly.
-
In a large mixing bowl, cream together the softened butter, granulated sugar, and brown sugar. Beat on medium speed for about 2-3 minutes until the mixture is light, fluffy, and pale in color. You’ll notice it looks almost like a thick paste at this point. Scrape down the sides of the bowl with your rubber spatula halfway through to make sure everything is evenly incorporated. Don’t rush this step—proper creaming creates air pockets that help the cookies rise and become tender.
-
Add the maple syrup, pumpkin puree, egg, and vanilla extract. Beat on low speed until just combined. The mixture will look a little lumpy and separated at first—that’s totally normal. The pumpkin and maple syrup add a lot of moisture, so the batter will look wetter than a typical cookie dough. Don’t panic. Scrape the bowl again to make sure everything is mixed in.
-
In a separate medium bowl, whisk together the flour, cream of tartar, baking soda, salt, cinnamon, ginger, nutmeg, and cloves. Whisking ensures the leavening agents and spices are evenly distributed throughout the flour. If you skip this step, you might end up with one cookie that’s super spicy and another that’s bland.
-
Gradually add the dry ingredients to the wet ingredients. Add the flour mixture in two or three additions, mixing on low speed after each addition until just combined. Be careful not to overmix—once you can’t see any more streaks of flour, stop the mixer. Overmixing develops gluten, which can make your cookies tough instead of tender. The dough will be soft and slightly sticky, but it should hold together when you scoop it.
-
In a small bowl, mix together the 1/4 cup granulated sugar and 1 tablespoon cinnamon for the coating. Stir it with a fork until the cinnamon is evenly distributed. You want a nice, consistent color—no clumps of cinnamon hiding in there.
-
Scoop the dough into 1.5-tablespoon-sized balls. Using a cookie scoop makes this so much easier and ensures all your cookies are the same size. If you don’t have a scoop, use a tablespoon measure and roll the dough into balls with your hands. The dough will be soft and slightly sticky, so lightly wet your hands if needed to prevent sticking.
-
Roll each dough ball generously in the cinnamon-sugar mixture. Press the dough into the mixture gently so the coating sticks. You want a nice, even layer of cinnamon sugar on all sides. Place the coated dough balls on the prepared baking sheets, spacing them about 2 inches apart. These cookies spread a bit, so give them room.
-
Bake for 10-12 minutes, or until the edges are set and the tops look slightly cracked. The centers will still look a little soft and puffy—that’s exactly what you want. If you overbake them, they’ll lose that soft, tender texture. For a softer cookie, bake for 10 minutes. For slightly firmer cookies with a bit more crunch on the edges, go for 12 minutes. I personally prefer 11 minutes—it gives me that perfect soft center with just a hint of golden brown on the edges.
-
Let the cookies cool on the baking sheet for 5 minutes. This is important! The cookies are very soft when they come out of the oven, and they need time to set up. If you try to move them immediately, they’ll fall apart. After 5 minutes, transfer them to a cooling rack to cool completely. The tops will develop those beautiful crackly lines as they cool.
One thing I learned the hard way—don’t crowd the baking sheet. I tried to fit 12 cookies on one sheet once, and they all spread into each other, creating one giant cookie pancake. Delicious, sure, but not what I was going for. Stick to 8-9 cookies per standard baking sheet.
Cooking Tips & Techniques
After making these cookies more times than I care to count (okay, it’s six times—I kept count), I’ve picked up a few tricks that make the process smoother and the results better. Here are my best tips:
Don’t skip the cream of tartar. I know it’s one of those ingredients you might not have on hand, but it’s non-negotiable for authentic snickerdoodles. The cream of tartar gives these cookies their signature tangy flavor and helps create that soft, tender texture. Without it, you’re just making cinnamon sugar cookies—which are fine, but not the same.
Pat your pumpkin puree dry if it looks watery. Some brands of pumpkin puree are more watery than others. If yours has visible liquid pooling on top, spoon the puree onto a paper towel-lined plate and pat it dry before adding it to the batter. This prevents the cookies from becoming too wet and spreading too much. I learned this after my first batch turned into flat, sad discs.
Use room temperature ingredients. This is one of those baking rules that actually matters. Room temperature butter, egg, and pumpkin puree cream together more smoothly and create a more uniform dough. Cold ingredients can cause the batter to separate or become lumpy. Set everything out about 30 minutes before you start baking.
Chill the dough if you have time. While I said no chilling was required (and it’s not), chilling the dough for 30 minutes will make it easier to handle and will result in slightly thicker, puffier cookies. The flavors also have a chance to meld together. If you’re in a rush, skip it—the cookies will still be delicious. But if you have the time, it’s worth doing.
Rotate your baking sheets halfway through. Most ovens have hot spots, and rotating the sheets ensures even baking. Halfway through the baking time, swap the top and bottom sheets and rotate them front to back. This takes 10 seconds and makes a noticeable difference.
Use a light-colored baking sheet. Dark baking sheets absorb more heat and can cause the bottoms of your cookies to brown too quickly. If you only have dark sheets, reduce the baking temperature by 25°F and keep a close eye on them.
Variations & Adaptations
One of the best things about this recipe is how easy it is to adapt. Here are some variations I’ve tried and loved:
Gluten-Free Version: Substitute the all-purpose flour with a 1:1 gluten-free baking flour blend. I’ve had great results with Bob’s Red Mill 1:1 Baking Flour. The texture will be slightly more delicate, but the flavor is just as good. Add an extra tablespoon of flour if the dough seems too wet.
Vegan Version: Use vegan butter (I like Miyoko’s) and replace the egg with a flax egg (1 tablespoon ground flaxseed mixed with 3 tablespoons water, let sit for 5 minutes). The cookies will be slightly less tender, but still delicious. Make sure your sugar is vegan-friendly as well.
Extra Spicy: If you love warm spices, add 1/4 teaspoon of cardamom and a pinch of white pepper to the dry ingredients. The cardamom adds a floral note that pairs beautifully with the pumpkin and maple. I tried this on a whim and now it’s my go-to version.
Maple Glaze Drizzle: For an extra touch of sweetness, whisk together 1/2 cup powdered sugar, 2 tablespoons maple syrup, and 1 tablespoon milk (or non-dairy milk). Drizzle over the cooled cookies. This turns them into something truly special—perfect for holiday cookie exchanges.
Nutty Addition: Fold in 1/2 cup of toasted pecans or walnuts along with the dry ingredients. The crunch adds a lovely contrast to the soft cookie. Toast the nuts first in a dry skillet over medium heat for 3-4 minutes until fragrant—it makes a huge difference in flavor.
Pumpkin Seed Topping: Before baking, press a few pumpkin seeds (pepitas) into the top of each dough ball. They add a nice crunch and make the cookies look extra pretty. Plus, it’s a fun way to use up leftover pumpkin seeds from your jack-o’-lantern carving.
Serving & Storage Suggestions
These cookies are best served slightly warm, when the edges are still soft and the center is tender. I like to let them cool for just 5-10 minutes after baking before diving in. The cinnamon-sugar coating is at its most crackly and delicious when the cookies are still warm.
For serving, arrange them on a rustic wooden board or a simple white platter. They look beautiful alongside a batch of fluffy pumpkin dinner rolls with honey butter for a full fall spread. A glass of cold milk is the classic pairing, but they’re also amazing with a cup of hot apple cider or a chai latte. If you’re feeling fancy, serve them with a scoop of vanilla ice cream and a drizzle of caramel sauce for an indulgent dessert.
Storage: Store the cookies in an airtight container at room temperature for up to 5 days. Place a slice of bread in the container to help keep them soft—the cookies will absorb moisture from the bread. I’ve tested this trick and it works like magic. Just replace the bread slice every couple of days.
Freezing: These cookies freeze beautifully. You can freeze the baked cookies in a single layer in a freezer-safe bag for up to 3 months. Thaw at room temperature for about 30 minutes before serving. For an even better option, freeze the unbaked dough balls. Scoop and roll them in the cinnamon-sugar mixture, then place them on a baking sheet and freeze until solid. Transfer to a freezer bag and bake directly from frozen, adding 2-3 minutes to the baking time. This way, you can have fresh cookies whenever the craving strikes.
Flavor Development: Here’s something interesting—these cookies actually taste even better the next day. The flavors have time to meld together, and the texture becomes even softer. If you can resist eating them all on day one, you’ll be rewarded on day two. I’ve tested this (purely for research purposes, obviously) and it’s true.
Nutritional Information & Benefits
While these cookies are definitely a treat, they do have some redeeming qualities. Here’s the estimated nutritional breakdown per cookie (based on 18 cookies):
- Calories: 145
- Fat: 6g
- Carbohydrates: 22g
- Fiber: 1g
- Sugar: 12g
- Protein: 2g
The pumpkin puree adds a good amount of vitamin A (in the form of beta-carotene), which supports eye health and immune function. It also adds fiber and moisture without adding much fat or calories. The maple syrup provides small amounts of minerals like zinc and manganese, though it’s still sugar, so enjoy in moderation.
These cookies are vegetarian-friendly and can easily be made vegan or gluten-free with the substitutions mentioned above. They contain dairy (butter), eggs, and gluten in their standard form. If you have allergies, the variation section has you covered.
From a wellness perspective, I believe in balance. These cookies aren’t health food, but they’re made with real ingredients and no artificial additives. That counts for something. Plus, the act of baking—measuring, mixing, filling the house with warm spices—is its own form of self-care. Sometimes a cookie is just what you need, and that’s okay.
Conclusion
These soft baked maple pumpkin snickerdoodle cookies have become a fall staple in my house, and I have a feeling they’ll become one in yours too. They’re everything I want in a fall cookie—warm, spiced, soft, and just sweet enough. The combination of pumpkin and maple is classic for a reason, and the snickerdoodle coating adds that nostalgic touch that makes you feel like a kid again.
I love that this recipe is forgiving enough for beginner bakers but special enough to impress at a holiday gathering. You can dress them up with a maple glaze, keep them simple, or experiment with different spices and add-ins. They’re yours to make your own.
So go ahead—preheat that oven, get your hands a little messy, and fill your kitchen with the smell of cinnamon and maple. And when you take that first bite of a warm, soft cookie, I hope it makes you smile the way it does for me. If you make these, I’d love to hear about it—drop a comment below and let me know how they turned out. Did you add anything? Change anything? Eat three in a row? No judgment here.
Happy baking, friends. Here’s to soft cookies, warm kitchens, and the people we share them with.
Frequently Asked Questions
Can I use pumpkin pie filling instead of pumpkin puree?
No, please don’t. Pumpkin pie filling has added sugar and spices, which will throw off the balance of this recipe. Stick with 100% pure pumpkin puree for the best results. If you accidentally grab the wrong can, just save it for making a quick pumpkin pie later.
Why did my cookies turn out flat?
Flat cookies usually mean one of three things: your butter was too soft or melted, your baking soda is old, or you didn’t use enough flour. Make sure your butter is softened but not melted, check that your baking soda is fresh (within 6 months of opening), and spoon and level your flour properly.
Can I make the dough ahead of time?
Absolutely! You can make the dough up to 3 days in advance and keep it covered in the refrigerator. Let it sit at room temperature for about 10 minutes before scooping and rolling, as cold dough is harder to work with. You can also freeze the scooped dough balls for up to 3 months.
How do I get that perfect crackly top?
The crackly top comes from rolling the dough balls generously in the cinnamon-sugar mixture and not overbaking. Make sure each ball is completely coated, and pull them out of the oven when the edges are set but the centers still look slightly soft and puffy. The cracks will develop as they cool.
Can I reduce the sugar in this recipe?
You can reduce the granulated sugar by up to 1/4 cup without significantly affecting the texture, but reducing it further might make the cookies less tender. The maple syrup adds sweetness too, so you could try reducing that by a tablespoon. Just know that the cookies will be less sweet and slightly less soft.
Pin This Recipe!
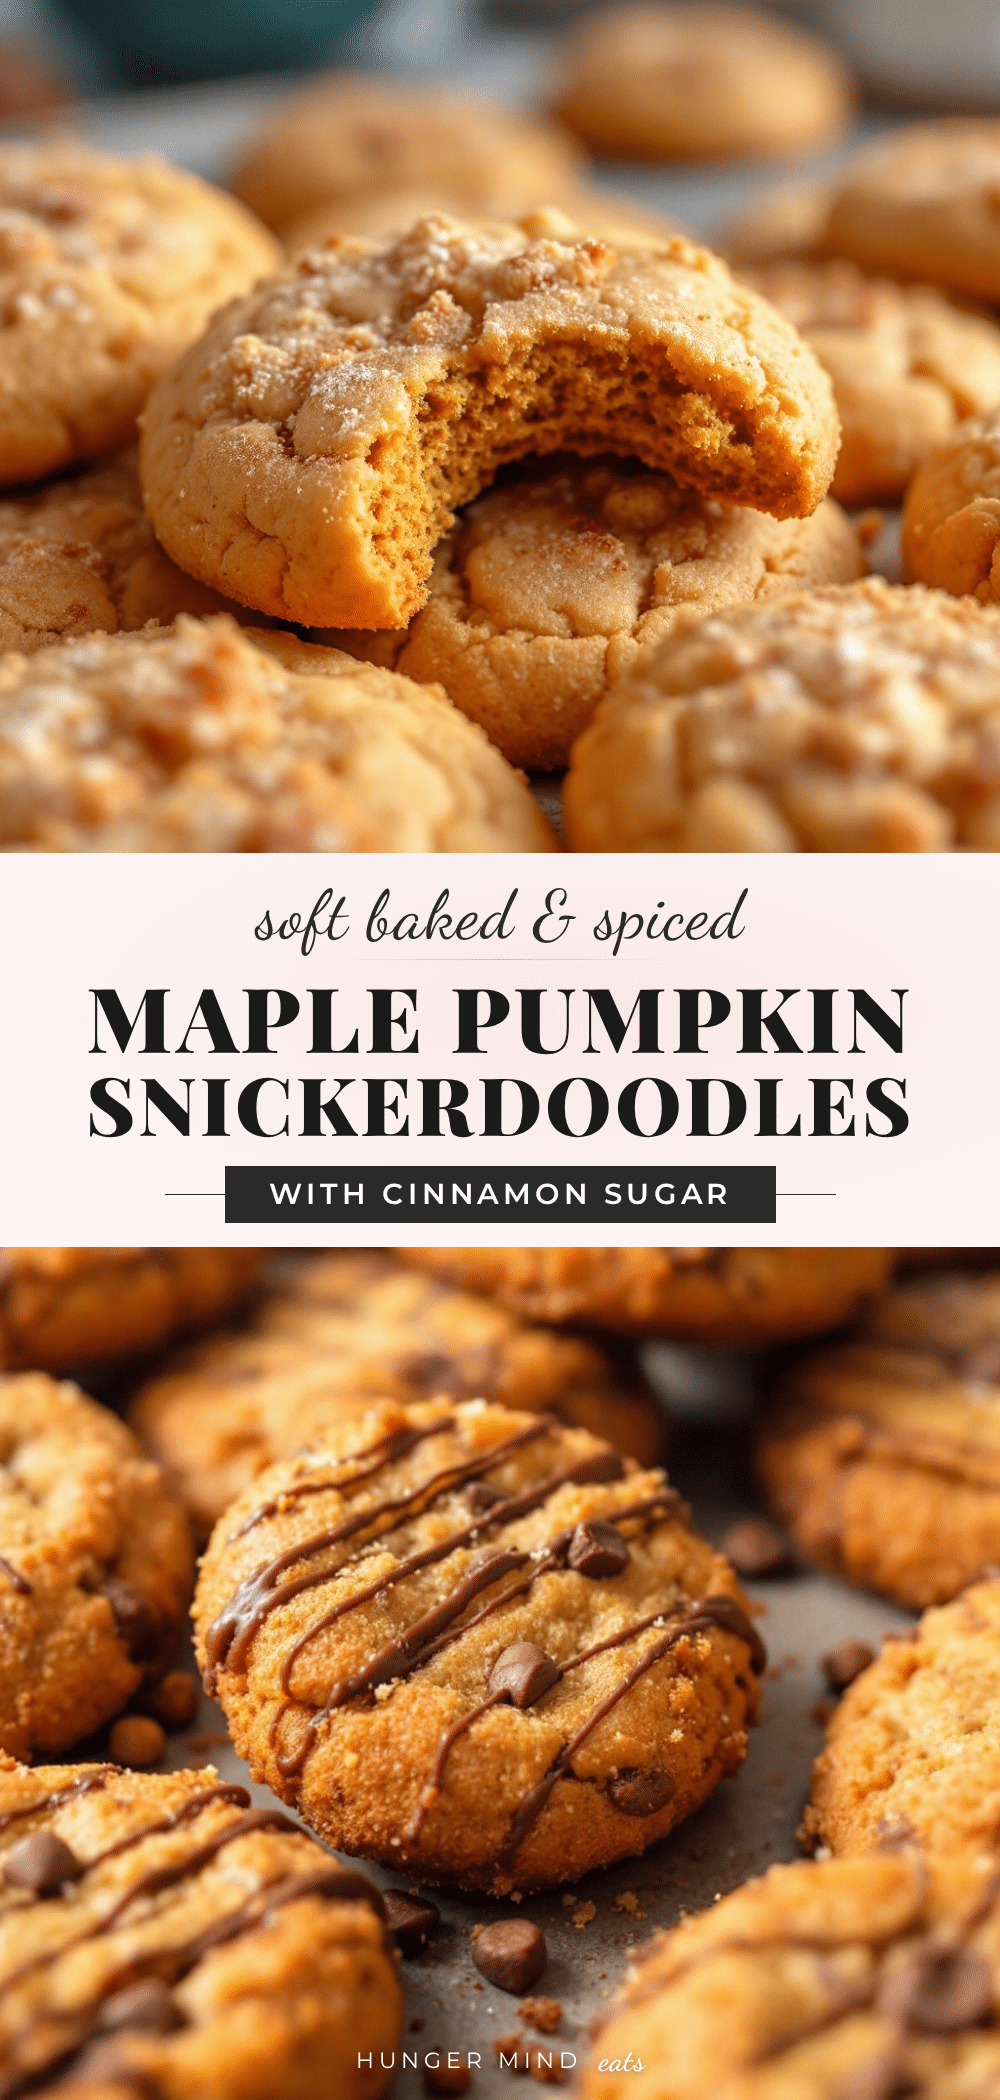
Soft Baked Maple Pumpkin Snickerdoodle Cookies: Easy Fall Recipe

Soft, pillowy snickerdoodle cookies with warm pumpkin and maple flavors, coated in cinnamon sugar. An easy, no-chill fall recipe that’s perfect for gatherings or a cozy treat.
- Prep Time: 15 minutes
- Cook Time: 12 minutes
- Total Time: 27 minutes
- Yield: 18 cookies 1x
- Category: Dessert
- Cuisine: American
Ingredients
- 1/2 cup unsalted butter, softened
- 1/2 cup granulated sugar
- 1/4 cup packed light brown sugar
- 1/3 cup pure maple syrup
- 1/2 cup pumpkin puree
- 1 large egg, room temperature
- 1 teaspoon vanilla extract
- 2 cups all-purpose flour
- 1 teaspoon cream of tartar
- 1/2 teaspoon baking soda
- 1/2 teaspoon salt
- 1 teaspoon ground cinnamon
- 1/2 teaspoon ground ginger
- 1/4 teaspoon ground nutmeg
- 1/4 teaspoon ground cloves
- 1/4 cup granulated sugar (for coating)
- 1 tablespoon ground cinnamon (for coating)
Instructions
- Preheat your oven to 350°F (175°C). Line two baking sheets with parchment paper.
- In a large mixing bowl, cream together the softened butter, granulated sugar, and brown sugar. Beat on medium speed for about 2-3 minutes until light, fluffy, and pale in color. Scrape down the sides of the bowl halfway through.
- Add the maple syrup, pumpkin puree, egg, and vanilla extract. Beat on low speed until just combined. The mixture will look lumpy and separated at first; scrape the bowl again to ensure everything is mixed in.
- In a separate medium bowl, whisk together the flour, cream of tartar, baking soda, salt, cinnamon, ginger, nutmeg, and cloves.
- Gradually add the dry ingredients to the wet ingredients in two or three additions, mixing on low speed after each addition until just combined. Do not overmix. The dough will be soft and slightly sticky.
- In a small bowl, mix together the 1/4 cup granulated sugar and 1 tablespoon cinnamon for the coating.
- Scoop the dough into 1.5-tablespoon-sized balls. If needed, lightly wet your hands to prevent sticking.
- Roll each dough ball generously in the cinnamon-sugar mixture. Place the coated dough balls on the prepared baking sheets, spacing them about 2 inches apart.
- Bake for 10-12 minutes, or until the edges are set and the tops look slightly cracked. The centers will still look soft and puffy. For softer cookies, bake for 10 minutes; for firmer cookies, bake for 12 minutes.
- Let the cookies cool on the baking sheet for 5 minutes, then transfer to a cooling rack to cool completely.
Notes
For best results, use room temperature ingredients. If pumpkin puree is watery, pat it dry with a paper towel. Chilling the dough for 30 minutes will yield thicker, puffier cookies. Store in an airtight container at room temperature for up to 5 days; place a slice of bread in the container to keep them soft. Freeze baked cookies for up to 3 months or unbaked dough balls for up to 3 months.
Nutrition
- Serving Size: 1 cookie
- Calories: 145
- Sugar: 12
- Sodium: 95
- Fat: 6
- Saturated Fat: 3.5
- Carbohydrates: 22
- Fiber: 1
- Protein: 2
Keywords: snickerdoodle, pumpkin, maple, fall cookies, soft baked, easy recipe