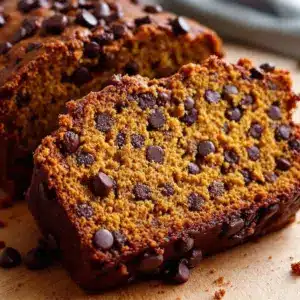
For a while, I just accepted that pumpkin bread was going to be a little dry. Or dense. Or just… fine. You know the type—the loaf that looks beautiful on the outside but crumbles the second you try to slice it, leaving a trail of disappointment and crumbs on your cutting board. I had a specific craving for something that actually stayed moist for days, something with pockets of melted chocolate in every single bite, not just the lucky middle pieces. The cozy baked pumpkin chocolate chip bread I kept imagining just didn’t seem to exist in my kitchen. I tried the standard recipes, the ones everyone swears by, and they were okay. But okay wasn’t what I was after.
I wanted a slice that felt like a hug on a gray November afternoon. Something that made the whole house smell like cinnamon and cloves without requiring a trip to a fancy bakery. So I started tweaking. I swapped out some oil for applesauce (a trick my mom used in her banana bread), added a little extra pumpkin puree than most recipes call for, and I stopped being shy with the chocolate chips. Honestly, the first few loaves were a mess. One was so wet it barely held together. Another had chocolate chips that all sank to the bottom like little stones. But I kept at it, because the potential was there. I could taste it in the batter.
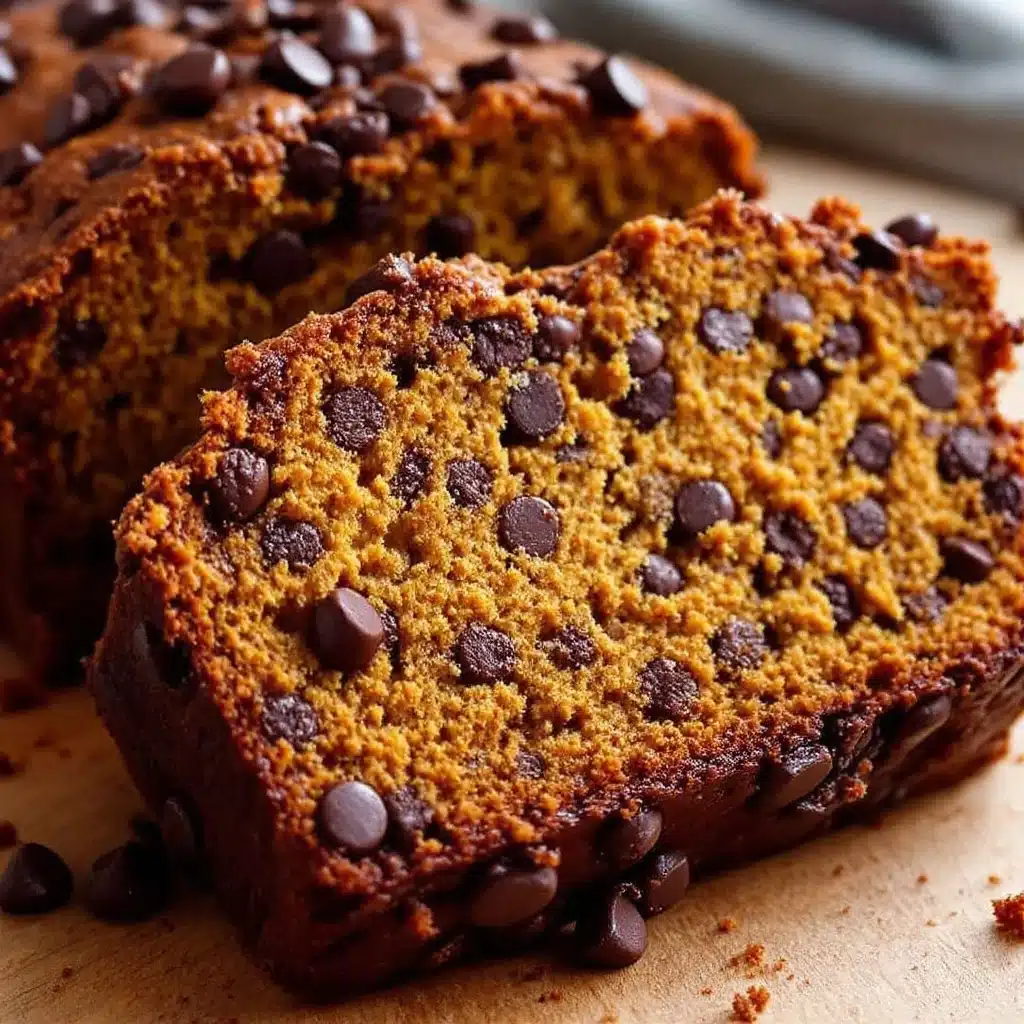
The version I finally landed on—the one I make on repeat every single fall—is the one I am sharing today. It is not fancy. It does not require a stand mixer or any special equipment. It is just a reliable, deeply flavorful loaf that comes out soft, tender, and studded with chocolate in every slice. The cozy baked pumpkin chocolate chip bread that finally made me stop searching. It is the kind of recipe you remember because it works, not because it tries too hard.
Why You’ll Love This Recipe
This isn’t just another pumpkin bread recipe. I have tested this loaf more times than I care to admit, and every single time, it delivers the same reliable results. Here is why this one is different:
- Incredibly Moist: The combination of pumpkin puree and a touch of applesauce keeps this bread soft for days. It does not dry out by the second morning.
- Perfectly Spiced: Warm cinnamon, nutmeg, and cloves create that classic fall flavor without being overpowering. It smells like autumn in a loaf pan.
- Easy to Make: No stand mixer needed. Just a bowl, a whisk, and a spatula. This is a one-bowl wonder that comes together in under 15 minutes.
- Packed with Chocolate: Every bite has a little pocket of melted chocolate. I use a mix of semi-sweet and dark chips for the best balance of sweetness and richness.
- Great for Any Occasion: Slice it for breakfast with your morning coffee, pack it for a snack, or serve it as a simple dessert with a scoop of vanilla ice cream. It works for all of it.
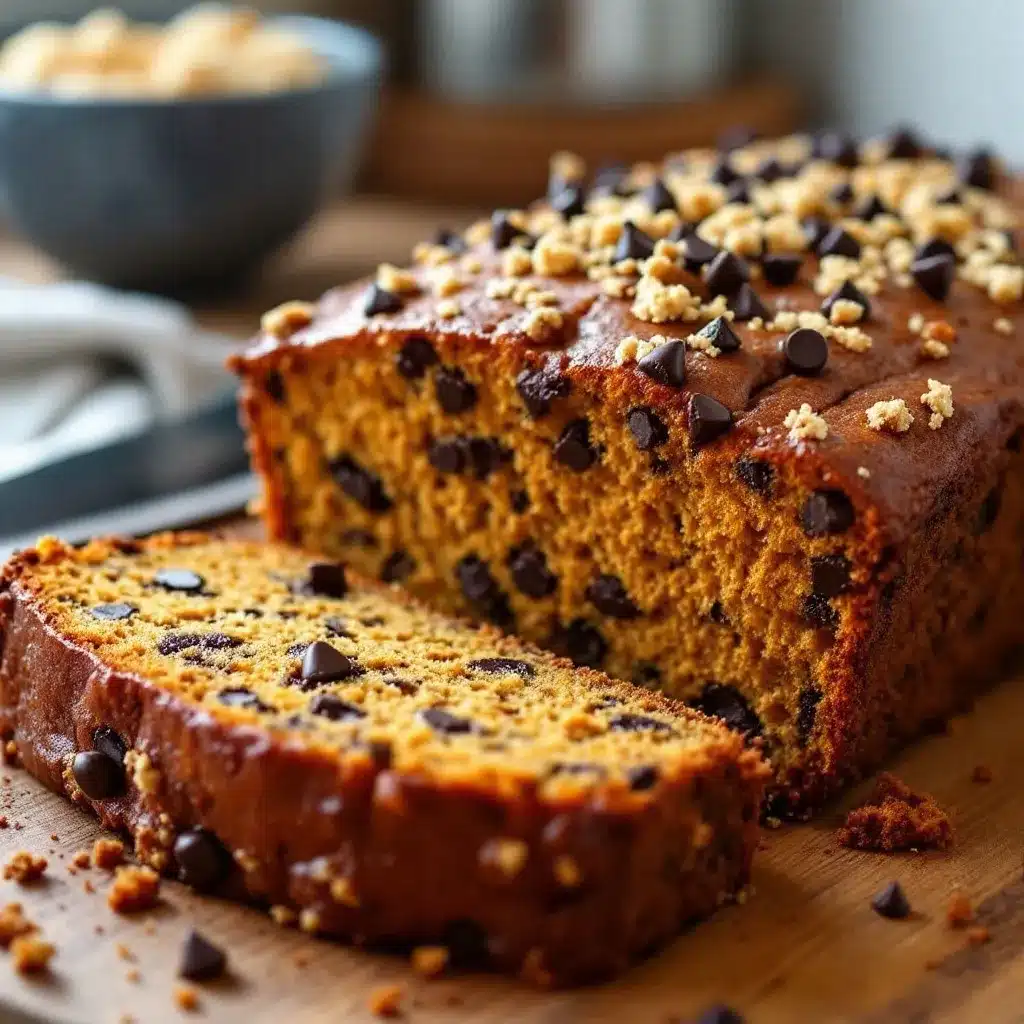
What makes this recipe truly special is the texture. It is dense enough to feel satisfying but light enough to keep you coming back for another slice. The chocolate chips stay suspended throughout the loaf (no sinking!) thanks to a simple trick I will share in the method. And the flavor? It deepens overnight. I actually think this bread tastes even better on day two.
What Ingredients You Will Need
This recipe uses simple, wholesome ingredients that you probably already have in your pantry. The magic happens when they all come together. Here is what you will need:
- Pumpkin Puree (1 cup / 240g): Make sure you are using 100% pure pumpkin puree, not pumpkin pie filling. The pie filling has added sugar and spices that will throw off the balance. I personally prefer Libby’s for its consistent texture, but any brand works.
- Granulated Sugar (1 cup / 200g): Provides sweetness and helps with the tender crumb. You can reduce it to ¾ cup if you prefer a less sweet loaf, but I would not go lower than that.
- Brown Sugar (½ cup / 100g, packed): Adds moisture and a deeper, caramel-like flavor. Light or dark brown sugar both work; dark will give a richer taste.
- Vegetable Oil (½ cup / 120ml): Keeps the bread incredibly moist. You can substitute melted coconut oil or a neutral-flavored oil like avocado oil.
- Applesauce (¼ cup / 60g): This is my secret ingredient. It adds extra moisture without making the bread greasy. Unsweetened applesauce is best.
- Large Eggs (2): Provide structure and richness. Make sure they are at room temperature so they mix in evenly.
- Vanilla Extract (2 teaspoons): Enhances all the warm flavors. Use pure vanilla extract if you have it.
- All-Purpose Flour (1 ¾ cups / 220g): The base of the bread. Spoon and level your flour for the most accurate measurement—do not scoop directly from the bag.
- Baking Soda (1 teaspoon): Helps the bread rise and gives it a light texture.
- Baking Powder (½ teaspoon): Adds a little extra lift.
- Salt (½ teaspoon): Balances the sweetness and enhances the spices.
- Ground Cinnamon (1 ½ teaspoons): The star spice in this recipe. It is warm and comforting.
- Ground Nutmeg (½ teaspoon): Adds a subtle, nutty warmth. Freshly grated nutmeg is amazing if you have it.
- Ground Cloves (¼ teaspoon): Just a pinch for depth. It is potent, so do not overdo it.
- Chocolate Chips (1 cup / 175g): I use a mix of semi-sweet and dark chocolate chips. The semi-sweet adds classic sweetness, while the dark chips provide a rich contrast. Reserve about 2 tablespoons to sprinkle on top before baking.
Equipment Needed
You do not need any fancy gadgets for this recipe. Here is what you will need:
- 9×5-inch Loaf Pan: This is the standard size. If you use an 8×4-inch pan, you will need to increase the baking time by about 5-10 minutes. If you use a larger pan, the bread will be shorter and bake faster.
- Mixing Bowls: One large bowl for the wet ingredients and another for the dry. Or just use one large bowl and mix the dry ingredients separately.
- Whisk and Rubber Spatula: A whisk for combining the wet ingredients and a spatula for folding everything together gently.
- Parchment Paper: Lining the pan with parchment paper makes it incredibly easy to lift the loaf out after baking. Leave a little overhang on the sides for handles.
- Cooling Rack: Essential for letting the bread cool evenly so it does not get soggy on the bottom.
Preparation Method
This recipe comes together quickly, so preheat your oven first. Trust me, you do not want to be waiting around with a fully mixed batter while your oven heats up.
- Preheat and Prep: Preheat your oven to 350°F (175°C). Grease a 9×5-inch loaf pan and line it with parchment paper, leaving some overhang on the long sides. This makes lifting the bread out so much easier later.
- Mix the Wet Ingredients: In a large mixing bowl, whisk together the pumpkin puree, granulated sugar, brown sugar, vegetable oil, applesauce, eggs, and vanilla extract. Whisk until everything is smooth and well combined. Do not overmix—just until there are no streaks of egg.
- Combine the Dry Ingredients: In a separate medium bowl, whisk together the all-purpose flour, baking soda, baking powder, salt, cinnamon, nutmeg, and cloves. This ensures the spices and leavening agents are evenly distributed throughout the flour.
- Fold Together: Pour the dry ingredients into the wet ingredients. Use a rubber spatula to fold them together gently. Stop mixing as soon as you no longer see streaks of flour. A few lumps are totally fine—overmixing will make the bread tough.
- Add the Chocolate Chips: Reserve about 2 tablespoons of chocolate chips for the top. Gently fold the remaining chocolate chips into the batter. Pro tip: Toss the chocolate chips in a tablespoon of flour before adding them to the batter. This helps prevent them from sinking to the bottom of the loaf.
- Bake: Pour the batter into the prepared loaf pan and spread it into an even layer. Sprinkle the reserved chocolate chips on top. Bake for 55 to 65 minutes, or until a toothpick inserted into the center comes out clean or with a few moist crumbs. If the top is browning too quickly (around the 40-minute mark), tent the loaf loosely with aluminum foil.
- Cool: Let the bread cool in the pan for about 15 minutes. Then, use the parchment paper handles to lift it out and transfer it to a wire rack to cool completely. This is the hardest part—waiting. But slicing it while it is still warm will make it crumble. Patience pays off here.
Cooking Tips & Techniques
After making this bread more times than I can count, I have learned a few things the hard way. Here are my best tips for success:
- Room Temperature Eggs: Cold eggs can cause the batter to seize up a little. If you forget to take them out ahead of time, place them in a bowl of warm water for 5 minutes. It works like a charm.
- Don’t Overmix: This is the number one mistake people make with quick breads. Overmixing develops the gluten, which leads to a dense, tough loaf. Mix just until the flour disappears.
- The Toothpick Test: Every oven runs a little differently. Start checking your bread at the 50-minute mark. If the toothpick comes out with wet batter, give it more time. If it comes out clean, it is done. A few moist crumbs are perfect.
- Let It Cool: I know it is tempting to cut into a warm loaf, but it really does need to cool completely. The structure is still setting as it cools. Slicing too early will result in a gummy, crumbly mess.
- Double the Recipe: This bread freezes beautifully. I often make two loaves at once and freeze one for later. Wrap it tightly in plastic wrap and then foil, and it will keep for up to 3 months.
Variations & Adaptations
This recipe is incredibly versatile. Here are a few ways to change it up:
- Gluten-Free Version: Substitute the all-purpose flour with a 1:1 gluten-free baking flour blend. I have had great results with Bob’s Red Mill. Make sure your blend contains xanthan gum for structure.
- Dairy-Free Option: This recipe is naturally dairy-free if you use dairy-free chocolate chips. Many dark chocolate chips are dairy-free, but always check the label.
- Add Some Crunch: Fold in ½ cup of chopped pecans or walnuts along with the chocolate chips. The nuts add a lovely crunch that contrasts with the soft bread.
- Swap the Spices: If you prefer pumpkin pie spice, use 2 teaspoons of it in place of the individual spices. It is a convenient shortcut that works perfectly.
- Make It a Muffin: This batter also makes excellent muffins. Divide it among a lined muffin tin and bake at 350°F (175°C) for 18-22 minutes. You will get about 12-14 muffins.
I once tried adding a handful of dried cranberries along with the chocolate chips for a festive twist. It was a hit at a Friendsgiving gathering. The tartness of the cranberries paired beautifully with the sweet chocolate. If you are looking for another cozy fall recipe, you might also enjoy these pumpkin dinner rolls with honey butter for your holiday table.
Serving & Storage Suggestions
This bread is wonderful on its own, but a few little extras can make it feel even more special.
- Serving: Serve slices at room temperature or lightly toasted. Toasting brings out the warmth of the spices and slightly melts the chocolate chips. A pat of salted butter on a warm slice is pure magic.
- Pairings: A cup of hot coffee, a chai latte, or a glass of cold milk are all perfect companions. For a dessert, serve it with a scoop of vanilla bean ice cream and a drizzle of caramel sauce.
- Storage: Store the bread in an airtight container at room temperature for up to 4 days. It actually gets more moist and flavorful on the second day. If your kitchen is very warm, you can refrigerate it, but let it come to room temperature before serving.
- Freezing: Wrap the cooled loaf tightly in plastic wrap, then in a layer of aluminum foil. Freeze for up to 3 months. To thaw, leave it on the counter overnight, or unwrap and microwave individual slices for 20-30 seconds.
- Reheating: For a quick fix, pop a slice in the microwave for 15 seconds. For a crispier exterior, toast it in a toaster oven or a skillet with a little butter.
Nutritional Information & Benefits
While this is definitely a treat, it does have some redeeming qualities. Here is an approximate nutritional breakdown per slice (based on 10 slices):
- Calories: 320
- Fat: 14g
- Carbohydrates: 47g
- Fiber: 3g
- Sugar: 28g
- Protein: 5g
Pumpkin is packed with vitamin A and fiber, which is great for your immune system and digestion. The applesauce helps reduce the amount of oil needed, keeping the bread moist while cutting down on fat. Of course, the chocolate chips are there for pure enjoyment, and that is perfectly okay. This bread is about balance—a cozy, satisfying treat that also sneaks in a little vegetable. If you are looking for a lighter option to pair with this, try this fresh autumn harvest salad with maple vinaigrette for a complete fall meal.
Conclusion
This cozy baked pumpkin chocolate chip bread is exactly what fall baking should be—simple, forgiving, and deeply satisfying. It does not require any fancy techniques or hard-to-find ingredients. It is the kind of recipe you can throw together on a lazy Sunday afternoon and feel like you have accomplished something wonderful. The smell alone is worth it.
I love that this bread works for so many occasions. It is humble enough for a weekday breakfast but special enough to bring to a holiday gathering. The chocolate chips make it feel like a treat, while the pumpkin and spices keep it grounded in the season. It is, honestly, my favorite loaf to bake all year.
I would love to hear how yours turns out. Did you add any mix-ins? Did you make it gluten-free? Leave a comment below and let me know. And if you share a photo on social media, tag me—I love seeing your baking adventures. For another comforting baked good, try these cranberry orange bread for a bright, tangy alternative. Happy baking, friends!
Frequently Asked Questions
Can I use fresh pumpkin instead of canned?
Yes, you can use fresh pumpkin puree. Just make sure to roast or steam the pumpkin until tender, then blend it until smooth. You will need to strain it through a cheesecloth or a fine-mesh sieve to remove excess water, as fresh pumpkin tends to be more watery than canned. If you skip this step, your bread might be too wet.
Why did my chocolate chips sink to the bottom?
This is a common issue, but an easy fix. The best way to prevent sinking is to toss the chocolate chips in about a tablespoon of flour before folding them into the batter. The flour coating helps the chips stay suspended in the batter as it bakes. Also, make sure your batter is not too thin—it should be thick and scoopable.
Can I make this bread vegan?
Absolutely. To make this vegan, substitute the eggs with flax eggs (1 tablespoon ground flaxseed mixed with 3 tablespoons water per egg, let it sit for 5 minutes). Use a plant-based milk in place of the applesauce if needed, and ensure your chocolate chips are vegan-friendly. The texture will be slightly denser, but it will still be delicious.
How do I know when the bread is fully baked?
The most reliable method is the toothpick test. Insert a toothpick or a thin skewer into the center of the loaf. If it comes out clean or with just a few moist crumbs, it is done. If it comes out with wet batter, it needs more time. You can also check the internal temperature with an instant-read thermometer; it should be around 200°F (93°C).
Can I use a different type of flour?
Yes, you can experiment with other flours. For a whole wheat version, substitute half of the all-purpose flour with whole wheat flour. The bread will be a bit denser and nuttier. For a gluten-free option, use a 1:1 gluten-free baking flour blend. Avoid using coconut flour or almond flour alone, as they require different ratios and will not work in this recipe without adjustments.
Pin This Recipe!
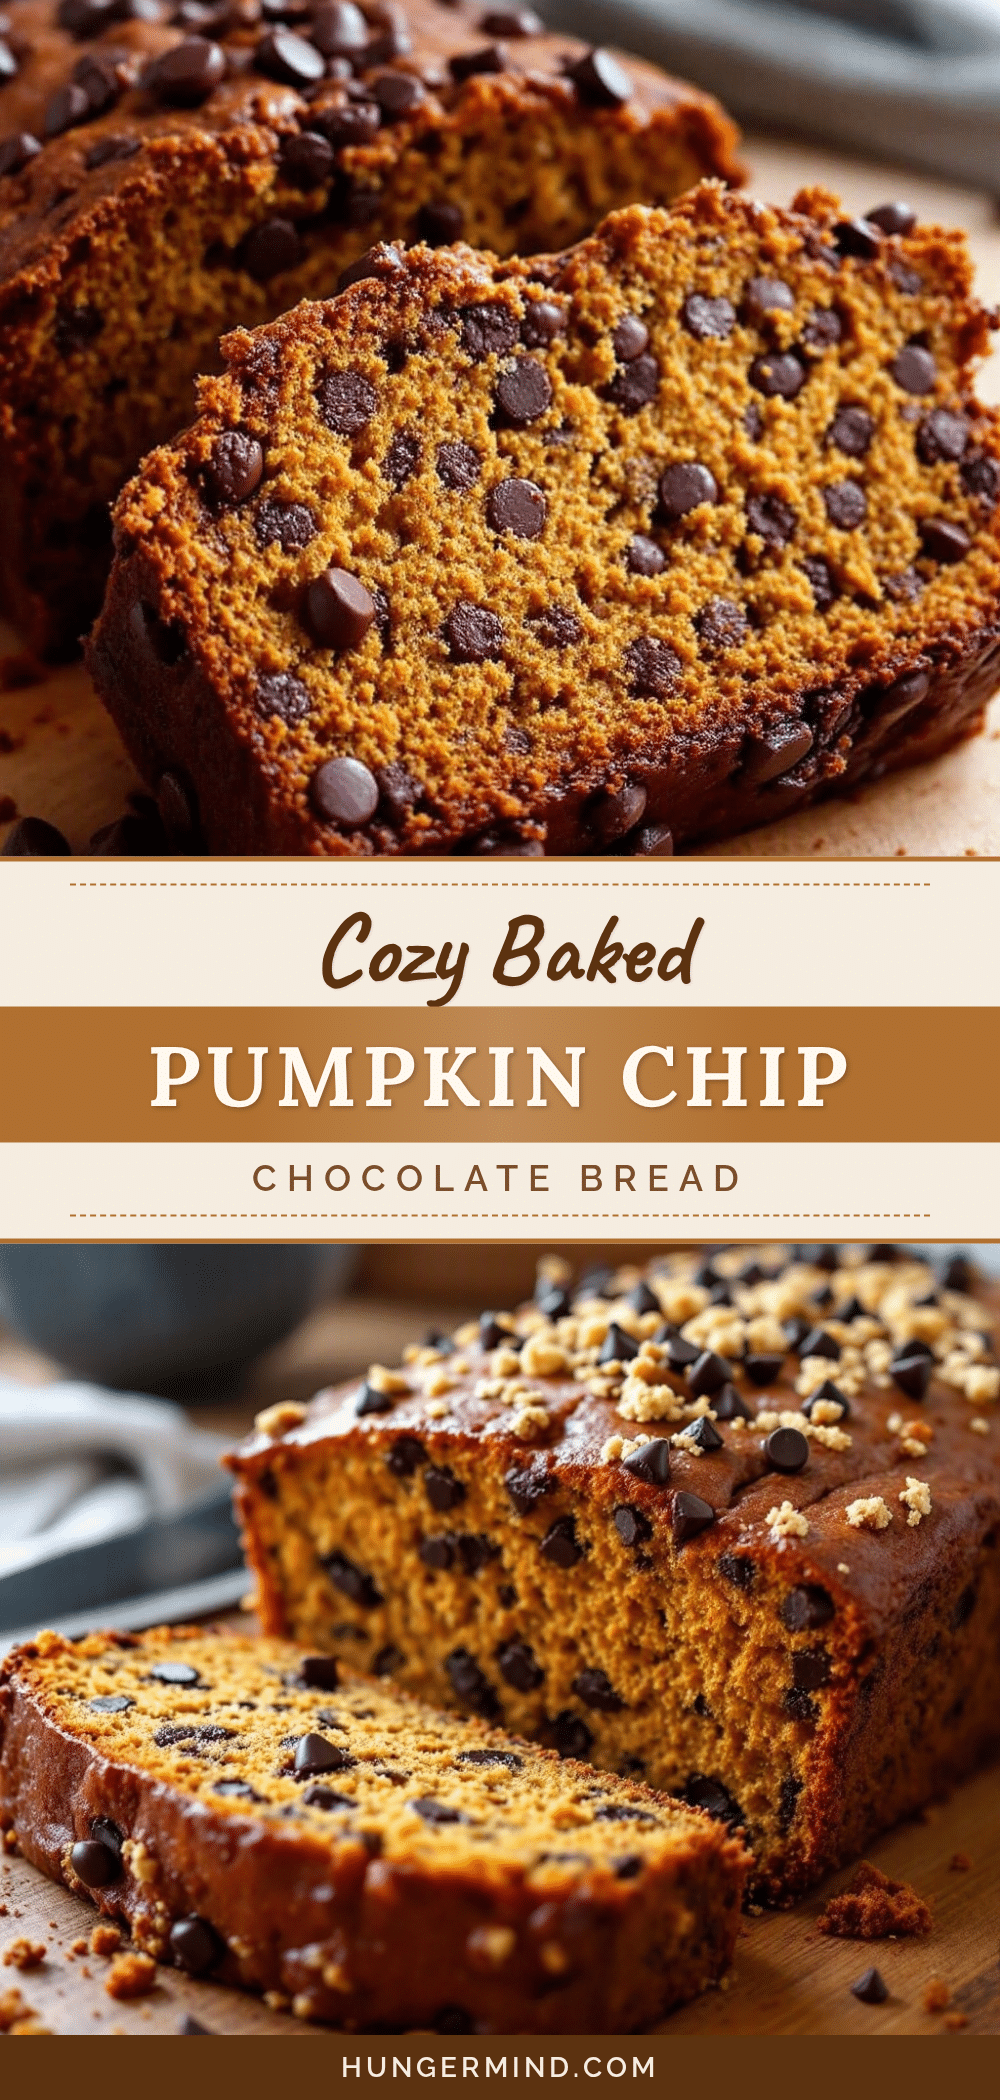
Best Baked Pumpkin Chocolate Chip Bread Recipe

This incredibly moist and perfectly spiced pumpkin chocolate chip bread is packed with melted chocolate in every bite. It’s an easy one-bowl recipe that comes together in under 15 minutes and tastes even better on day two.
- Prep Time: 15 minutes
- Cook Time: 55 minutes
- Total Time: 1 hour 10 minutes
- Yield: 10 servings 1x
- Category: Dessert
- Cuisine: American
Ingredients
- 1 cup (240g) pumpkin puree (100% pure, not pumpkin pie filling)
- 1 cup (200g) granulated sugar
- ½ cup (100g) packed brown sugar (light or dark)
- ½ cup (120ml) vegetable oil (or melted coconut oil, avocado oil)
- ¼ cup (60g) unsweetened applesauce
- 2 large eggs, room temperature
- 2 teaspoons vanilla extract
- 1 ¾ cups (220g) all-purpose flour (spooned and leveled)
- 1 teaspoon baking soda
- ½ teaspoon baking powder
- ½ teaspoon salt
- 1 ½ teaspoons ground cinnamon
- ½ teaspoon ground nutmeg
- ¼ teaspoon ground cloves
- 1 cup (175g) chocolate chips (mix of semi-sweet and dark), plus 2 tablespoons for topping
Instructions
- Preheat oven to 350°F (175°C). Grease a 9×5-inch loaf pan and line with parchment paper, leaving overhang on the long sides.
- In a large bowl, whisk together pumpkin puree, granulated sugar, brown sugar, vegetable oil, applesauce, eggs, and vanilla extract until smooth.
- In a separate medium bowl, whisk together flour, baking soda, baking powder, salt, cinnamon, nutmeg, and cloves.
- Pour dry ingredients into wet ingredients. Fold gently with a rubber spatula until just combined (a few lumps are fine). Do not overmix.
- Reserve 2 tablespoons of chocolate chips for topping. Toss remaining chocolate chips with 1 tablespoon flour (to prevent sinking), then fold into batter.
- Pour batter into prepared pan and spread evenly. Sprinkle reserved chocolate chips on top.
- Bake for 55–65 minutes, until a toothpick inserted in the center comes out clean or with a few moist crumbs. If top browns too quickly (around 40 minutes), tent loosely with foil.
- Cool in pan for 15 minutes, then lift out using parchment handles and transfer to a wire rack to cool completely before slicing.
Notes
For best results, use room temperature eggs and do not overmix the batter. Tossing chocolate chips in flour prevents them from sinking. The bread tastes even better on day two. Store in an airtight container at room temperature for up to 4 days, or freeze for up to 3 months.
Nutrition
- Serving Size: 1 slice
- Calories: 320
- Sugar: 28
- Sodium: 280
- Fat: 14
- Saturated Fat: 4
- Carbohydrates: 47
- Fiber: 3
- Protein: 5
Keywords: pumpkin chocolate chip bread, pumpkin bread, chocolate chip bread, fall baking, easy pumpkin bread, moist pumpkin bread