“You sure this is just five ingredients?” my friend asked, eyeing the tray of sliders I’d just pulled from the oven. Honestly, I was skeptical myself when I first stumbled on this idea. It started on a chaotic weeknight when I had nothing prepped and a fridge that looked pretty bare except for some ground beef, cheese, and a pack of those soft Hawaiian rolls sitting forgotten at the back. I threw things together on a whim, not expecting much, but as soon as the buttery, cheesy aroma filled the kitchen, I knew I had lucked out.
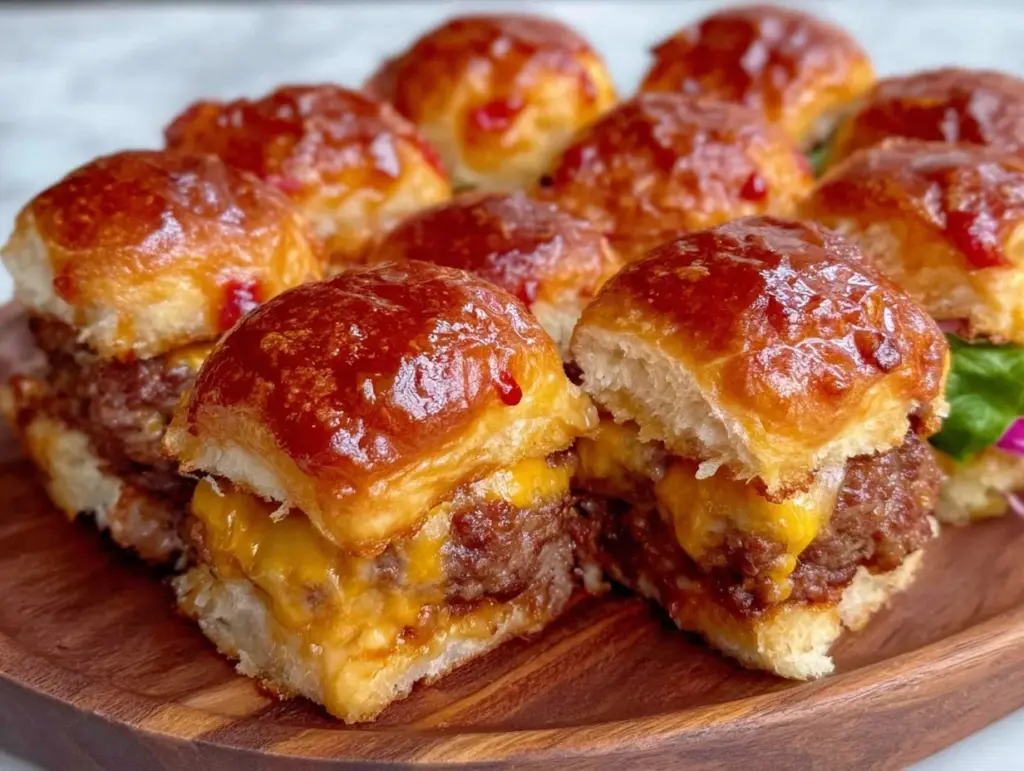
These tender pull-apart cheeseburger sliders on Hawaiian rolls quickly became my go-to for easy dinners and casual get-togethers. The rolls’ sweet, pillowy texture pairs perfectly with juicy, seasoned beef and melted cheese that pulls apart in gooey strands—no knives needed, just your fingers and a plate full of happy smiles. It’s funny how the simplest ingredients can surprise you like that.
What really sold me was how fast it all came together, especially after a long day when cooking feels like a chore. The sliders were ready before I even had a chance to think about what to make next. No fancy sauces or complicated steps—just pure comfort in every bite. And every time I serve these, whether it’s a last-minute gathering or a quiet night in, I find myself quietly grateful for this little accidental win in my recipe arsenal.
There’s something quietly satisfying about how these sliders invite you to slow down for just a moment, sharing warmth and ease without fuss. I hope you’ll find the same simple joy when you try them out.
Why You’ll Love This Recipe
If you’re anything like me, you want dinner to be quick, fuss-free, and delicious enough to keep everyone happy. These tender pull-apart cheeseburger sliders on Hawaiian rolls check all those boxes—and a few more:
- Quick & Easy: Ready in about 25 minutes, perfect for busy weeknights or when you’re craving something comforting fast.
- Simple Ingredients: Only five essentials—no need for specialty shopping or complicated prep.
- Perfect for Casual Gatherings: Great for game nights, potlucks, or just a cozy dinner with friends and family.
- Crowd-Pleaser: Kids, adults, picky eaters—you name it, these sliders win them over every time.
- Unbelievably Delicious: The combo of sweet Hawaiian rolls, savory beef, and melty cheese creates a flavor and texture mashup that’s pure comfort food.
This isn’t just another cheeseburger slider recipe floating around. The secret lies in the buttery, garlicky topping that soaks into the rolls, making them tender and pull-apart ready. Plus, using Hawaiian rolls adds a subtle sweetness that balances the savory beef perfectly. It’s the kind of recipe that’s simple enough to toss together on a whim but special enough to spark a little excitement at the table.
Honestly, these sliders have saved me on more than one occasion when I needed a quick, satisfying meal that felt like a treat. If you enjoy recipes where less is more and flavor does the talking, you’ll really appreciate this one.
What Ingredients You Will Need
This recipe uses simple, wholesome ingredients to deliver bold flavor and a satisfying texture without the fuss. Most of these are pantry staples, and if you shop smart, you probably have them on hand already.
- Ground Beef (80/20 blend, 1 pound / 450 grams): The star of the filling—juicy and flavorful when seasoned right. I usually go for a trusted brand like Certified Angus Beef for consistent quality and taste.
- Hawaiian Rolls (12 count): Soft, slightly sweet dinner rolls that are perfect for pull-apart sliders. King’s Hawaiian is a classic choice, but any similar soft roll works.
- Cheddar Cheese (8 oz / 225 grams, shredded): Sharp or mild cheddar works here—choose your favorite. You can swap for Monterey Jack or pepper jack if you like a little kick.
- Butter (1/2 cup / 115 grams, melted): Adds richness and helps the rolls get golden and tender. Unsalted butter lets you control the salt level better.
- Garlic Powder (1 teaspoon): Simple seasoning that gives the buttery topping a little depth without overpowering the beef.
Optional tweaks: If you want to make these sliders a bit more herbaceous, a sprinkle of dried parsley or Italian seasoning in the butter mix can add a fresh note. For a dairy-free version, swap the butter with olive oil and use a vegan cheese alternative. If you like your sliders with a touch of tang, a smear of mustard or a slice of pickle tucked inside won’t hurt the vibe.
Equipment Needed
- Baking Dish or Sheet Pan: A 9×13-inch (23×33 cm) baking dish works perfectly to hold the sliders snugly so they bake evenly.
- Mixing Bowl: For combining the ground beef and seasoning. A medium-sized bowl (about 2-3 quarts) does the trick.
- Skillet or Frying Pan: To brown the beef before layering it on the rolls. A non-stick skillet makes cleanup easier.
- Measuring Cups and Spoons: For precise ingredient amounts—especially the butter and garlic powder.
- Spatula or Wooden Spoon: For breaking up and cooking the beef evenly.
If you don’t have a baking dish, a rimmed sheet pan lined with parchment paper can substitute, though the sliders might spread out a bit more. I’ve used both methods and honestly, it just depends on your kitchen setup. Also, a good serrated knife helps cut the sliders cleanly if you want to portion them before serving, though pulling them apart by hand is part of the charm.
Preparation Method
- Preheat your oven to 350°F (175°C). This moderate temperature helps the sliders cook through gently while melting the cheese perfectly.
- Cook the ground beef: Heat a skillet over medium-high heat. Add the ground beef and cook for about 6-8 minutes, breaking it apart with a spatula until browned and no longer pink. Drain any excess fat to avoid soggy sliders.
- Season the beef lightly: Add a pinch of salt and pepper (to taste) to the cooked beef. This simple seasoning lets the beef’s natural flavor shine.
- Slice the Hawaiian rolls: With a serrated knife, carefully cut the entire pack horizontally in half—like a sandwich bun layer—keeping all the rolls connected in one sheet. Then separate the top and bottom halves.
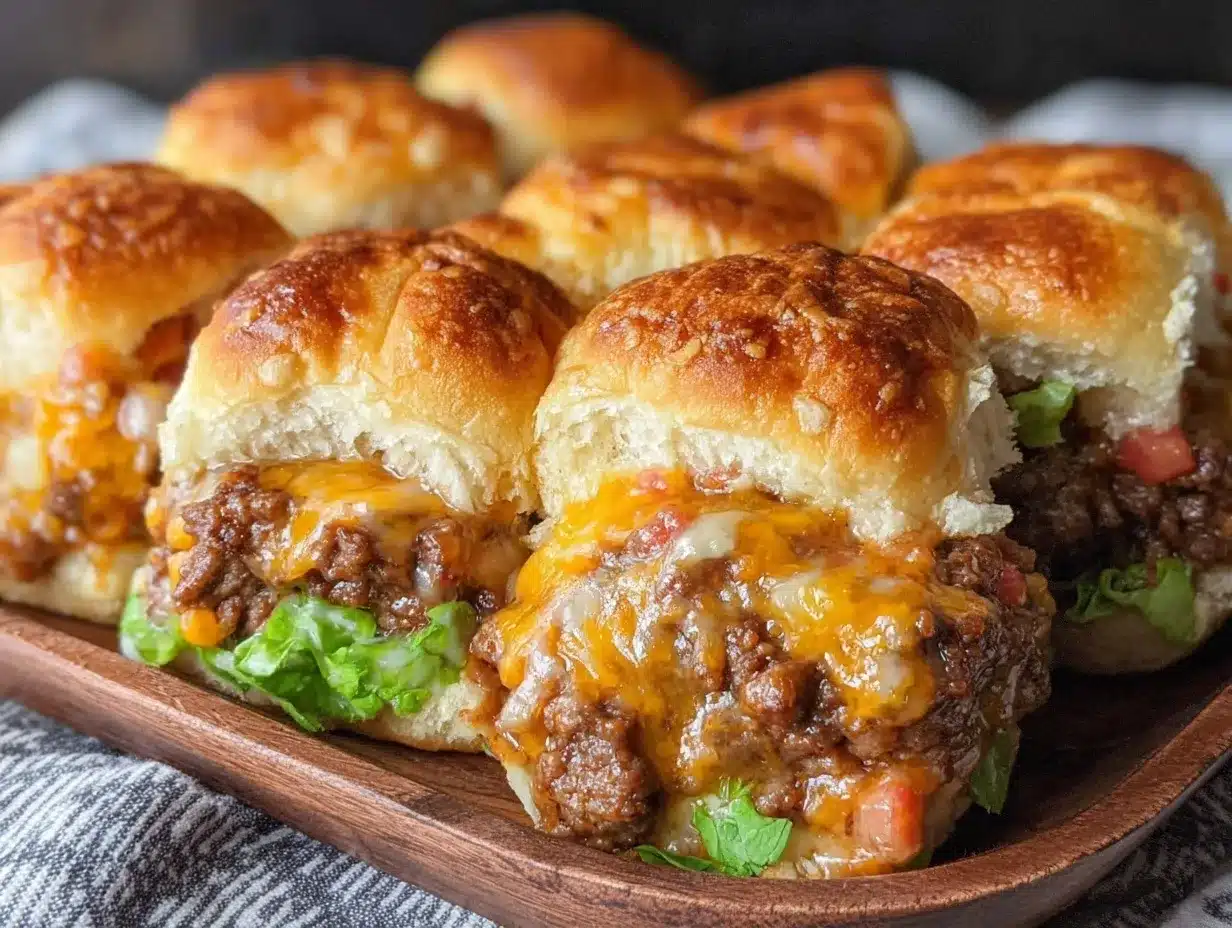
- Layer the sliders: Place the bottom half of the rolls in your baking dish. Spread the cooked beef evenly over the rolls. Sprinkle shredded cheddar cheese generously on top, then place the top half of the rolls back over the cheese layer.
- Prepare the buttery garlic topping: In a small bowl, combine melted butter with garlic powder. Brush this mixture generously over the top of the rolls, making sure to cover the entire surface. This step is what makes the rolls irresistibly tender and flavorful.
- Bake: Place the baking dish in the oven and bake for 15-20 minutes, or until the cheese is melted and the tops of the rolls are golden brown.
- Serve warm: Let the sliders rest for 5 minutes before pulling them apart. This helps the cheese set just enough to hold the sliders together but stay gooey.
If the tops brown too quickly, loosely tent the baking dish with foil to prevent burning. The smell of garlic and melted cheese baking into the soft rolls is your best indicator that you’re close to slider perfection. I always keep an eye to avoid overcooking the cheese—it should be melty, not rubbery.
Cooking Tips & Techniques
Here are some nuggets of experience to make your slider game foolproof:
- Don’t overmix the beef: When seasoning or breaking up the meat, handle it gently. Overworking can make the beef dense and tough.
- Drain the beef well: Excess grease can soak into the rolls and make them soggy. I usually tilt the pan and use a spoon to scoop out fat after browning.
- Brush the butter evenly: The garlic butter topping is key. Use a pastry brush or the back of a spoon to get every nook and cranny, especially the edges, for that golden crust.
- Use sharp knives for slicing rolls: A serrated bread knife cuts cleanly without squashing the soft rolls.
- Timing matters: Bake just until the cheese melts and the tops are golden. I set a timer for 15 minutes and check frequently—the last thing you want is dry sliders.
- Multi-task smartly: While the beef cooks, you can prep the rolls and butter mixture to save time.
I once tried using pre-shredded cheese and noticed it didn’t melt as smoothly as freshly shredded cheddar. So, if you want that gooey, stringy cheese pull, shred your own. Also, if you want to add a bit of extra flavor, a dash of Worcestershire sauce in the beef while cooking adds a subtle umami kick without overpowering the sliders.
Variations & Adaptations
These sliders are versatile, and you can easily tweak them to suit your needs or mood:
- Spicy Kick: Mix some chopped jalapeños or a dash of hot sauce into the beef before cooking for a little heat.
- Vegetarian Version: Swap the ground beef for a plant-based crumble or cooked lentils seasoned with smoked paprika and garlic.
- Different Cheese: Try Swiss for a nuttier flavor or mozzarella for extra gooeyness. I’ve even made these with a blend of cheddar and pepper jack for a mild spice.
- Gluten-Free Option: Use gluten-free slider rolls or small gluten-free buns if you’re avoiding gluten.
- Herb-Infused Butter: Add fresh or dried herbs like thyme, rosemary, or parsley to the butter mix for an herbal note that pairs nicely with the beef.
One time, I swapped the ground beef with turkey and added a sprinkle of smoked paprika, which gave a lighter but still flavorful spin. Also, if you want to switch up sides, these sliders pair wonderfully with something fresh and crunchy, like the Vietnamese pickled vegetables or even a simple green salad.
Serving & Storage Suggestions
These sliders are best enjoyed warm and fresh from the oven, when the cheese is melty and the rolls are tender. Serve them straight from the baking dish for that communal, pull-apart experience that’s so satisfying. Pair with a crisp side like the fresh autumn harvest salad to cut through the richness.
Leftovers keep well in an airtight container in the refrigerator for up to 3 days. To reheat, cover the sliders with foil and warm in a 350°F (175°C) oven for about 10 minutes, just until heated through and the cheese softens again. Microwaving works too, but the texture won’t be quite the same—more dense than tender.
Flavors tend to meld and deepen overnight, so if you can wait, reheated sliders sometimes taste even better the next day. Just make sure to keep the rolls wrapped well to avoid drying out.
Nutritional Information & Benefits
Each slider (assuming 12 servings) contains approximately:
| Calories | 220 kcal |
|---|---|
| Protein | 12 grams |
| Fat | 14 grams |
| Carbohydrates | 13 grams |
| Fiber | 1 gram |
The beef provides a good source of protein and iron, and the cheddar adds calcium and vitamin A. The Hawaiian rolls contribute some carbohydrates for energy, while the butter adds richness. For those watching carbs, you can try swapping regular rolls for lower-carb or whole grain options.
Note: This recipe contains dairy and gluten, so it’s not suitable for those with allergies or intolerances to these ingredients. However, with simple swaps like vegan cheese and gluten-free buns, it can be adapted to many dietary needs.
Conclusion
These tender pull-apart cheeseburger sliders on Hawaiian rolls have become a staple in my kitchen because they bring together ease, comfort, and flavor in a way that feels effortless. Whether you’re feeding a crowd or just craving a quick, cozy meal, this recipe delivers every time.
Feel free to tweak the cheese, add a dash of your favorite spices, or pair with vibrant sides like Mexican rice for a complete meal that’s both comforting and exciting. I love how forgiving and flexible these sliders are—you really can’t go wrong.
Give them a try and see how quickly they become your own little secret for easy, satisfying dinners. And when you do, I’d love to hear how you made them your own.
FAQs About Tender Pull-Apart Cheeseburger Sliders on Hawaiian Rolls
Can I make these sliders ahead of time?
Yes, you can assemble the sliders a few hours before baking and keep them covered in the fridge. Just add the buttery garlic topping right before baking for the best texture.
What if I want to add veggies to the sliders?
Feel free to mix diced onions, bell peppers, or mushrooms into the cooked beef for extra flavor and nutrition.
Can I freeze these sliders?
It’s best to freeze them before baking. Wrap tightly and freeze for up to 2 months. Thaw overnight in the fridge, then bake as directed.
What’s the best cheese for melting on these sliders?
Cheddar melts well and offers great flavor, but mozzarella or Monterey Jack also work if you prefer a milder or stretchier cheese.
Are Hawaiian rolls necessary for this recipe?
They’re ideal because of their sweet, soft texture, but you can substitute with any soft dinner rolls or slider buns you prefer.
Pin This Recipe!
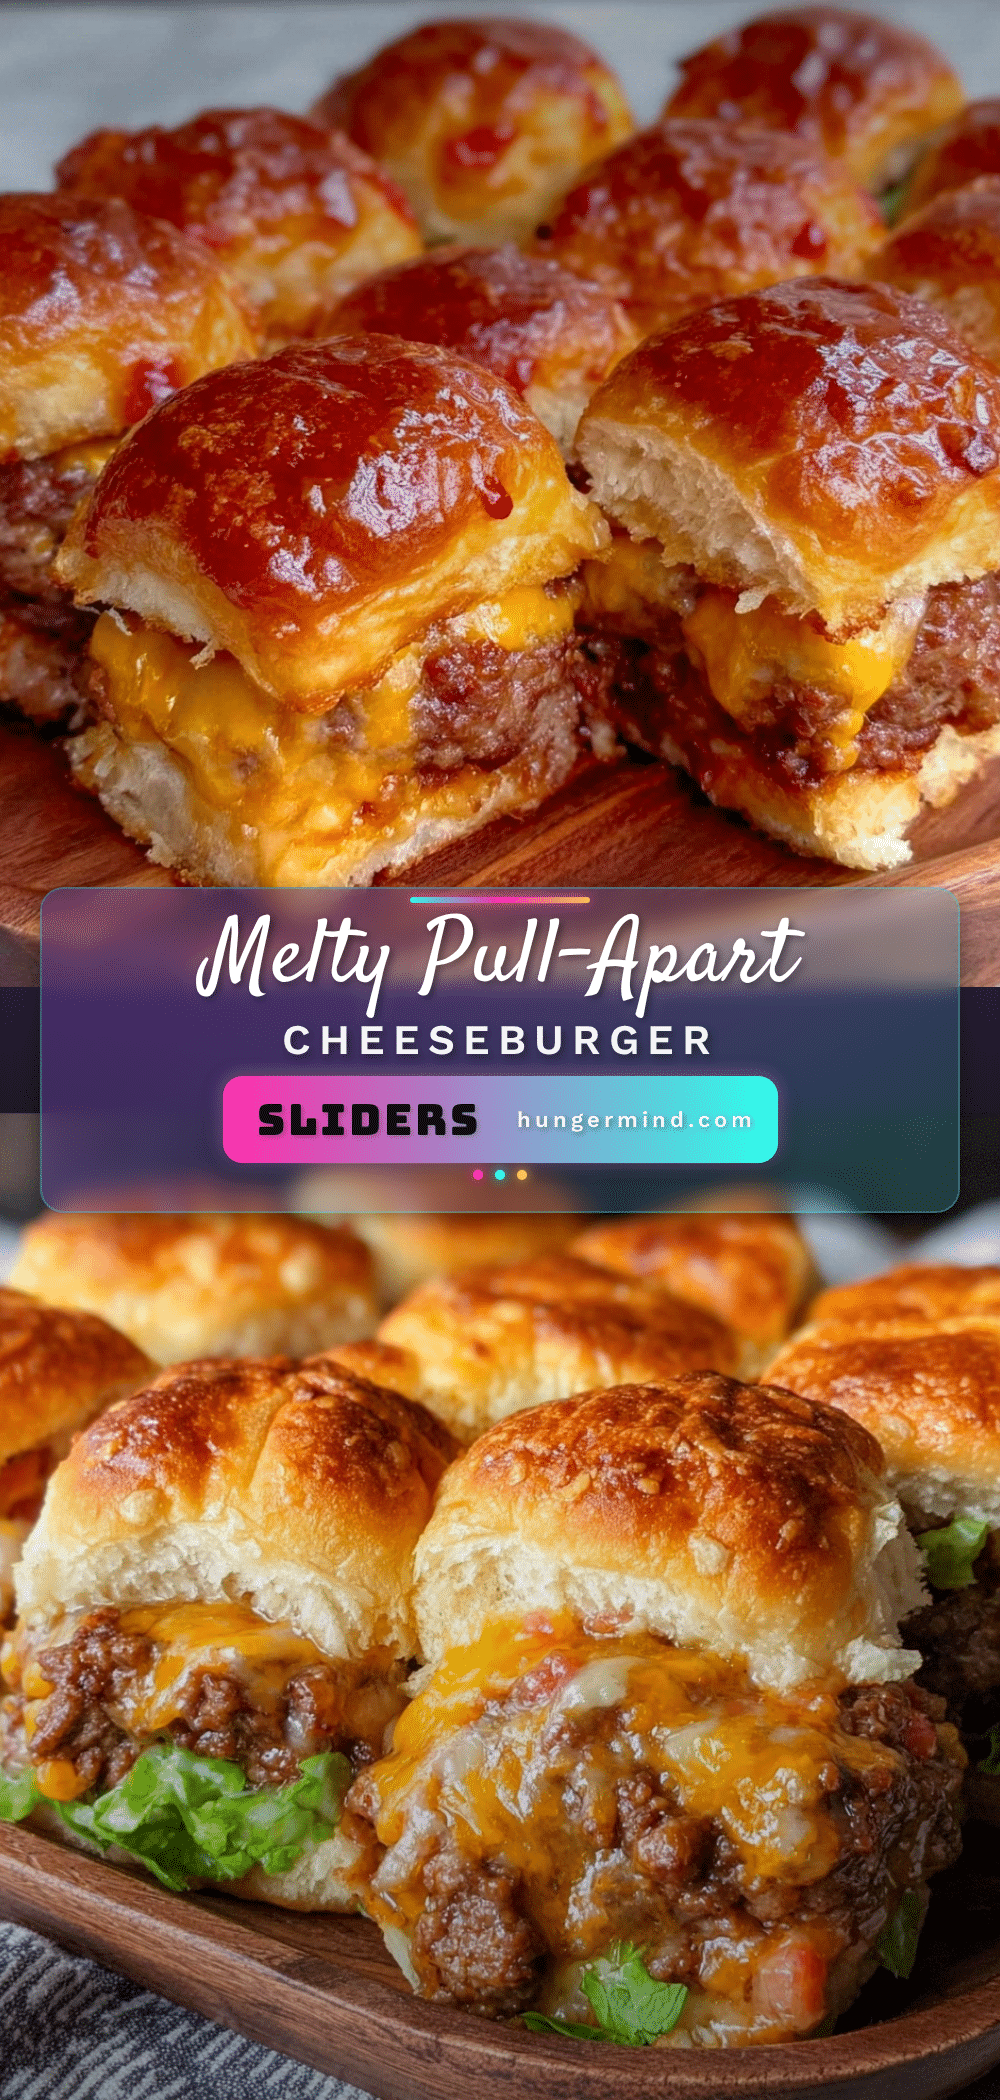
Tender Pull-Apart Cheeseburger Sliders on Hawaiian Rolls

These tender pull-apart cheeseburger sliders on Hawaiian rolls are an easy 5-ingredient recipe perfect for quick dinners and casual gatherings. The sweet rolls paired with juicy seasoned beef and melted cheese create a comforting, crowd-pleasing meal.
- Prep Time: 10 minutes
- Cook Time: 15-20 minutes
- Total Time: 25-30 minutes
- Yield: 12 servings 1x
- Category: Main Course
- Cuisine: American
Ingredients
- 1 pound (450 grams) ground beef (80/20 blend)
- 12 count Hawaiian rolls
- 8 oz (225 grams) shredded cheddar cheese
- 1/2 cup (115 grams) melted unsalted butter
- 1 teaspoon garlic powder
- Salt and pepper to taste (optional)
- Optional: dried parsley or Italian seasoning for butter mix
- Optional: mustard or pickle slices for serving
Instructions
- Preheat your oven to 350°F (175°C).
- Heat a skillet over medium-high heat. Add the ground beef and cook for about 6-8 minutes, breaking it apart with a spatula until browned and no longer pink. Drain any excess fat.
- Season the cooked beef lightly with salt and pepper to taste.
- With a serrated knife, carefully slice the entire pack of Hawaiian rolls horizontally in half, keeping all the rolls connected in one sheet. Separate the top and bottom halves.
- Place the bottom half of the rolls in a 9×13-inch baking dish. Spread the cooked beef evenly over the rolls.
- Sprinkle shredded cheddar cheese generously over the beef layer.
- Place the top half of the rolls back over the cheese layer.
- In a small bowl, combine melted butter with garlic powder. Brush this mixture generously over the top of the rolls, covering the entire surface.
- Bake in the preheated oven for 15-20 minutes, or until the cheese is melted and the tops of the rolls are golden brown. If tops brown too quickly, tent loosely with foil.
- Let the sliders rest for 5 minutes before serving warm and pulling apart.
Notes
Do not overmix the beef to keep it tender. Drain excess fat well to avoid soggy sliders. Brush butter evenly over the rolls for a golden crust. Use freshly shredded cheese for best melt and gooey texture. You can add Worcestershire sauce to beef for extra umami. Sliders can be assembled ahead and refrigerated before baking. Freeze before baking for up to 2 months.
Nutrition
- Serving Size: 1 slider
- Calories: 220
- Fat: 14
- Carbohydrates: 13
- Fiber: 1
- Protein: 12
Keywords: cheeseburger sliders, Hawaiian rolls, easy dinner, pull-apart sliders, quick recipe, 5-ingredient recipe, comfort food


