Introduction
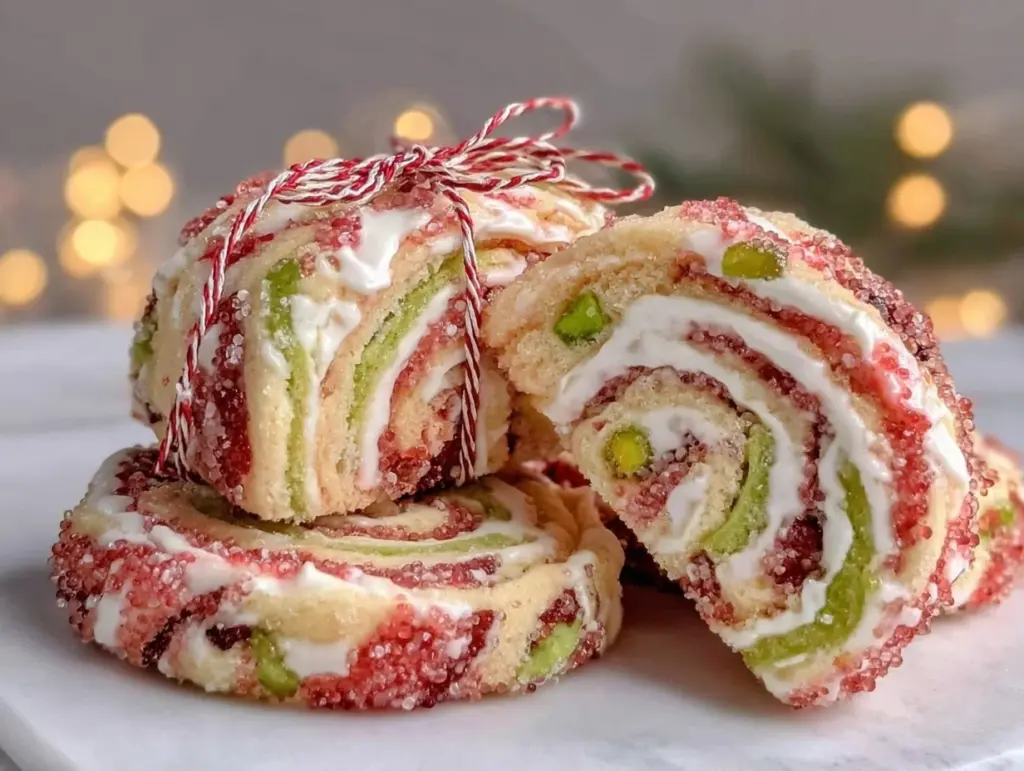
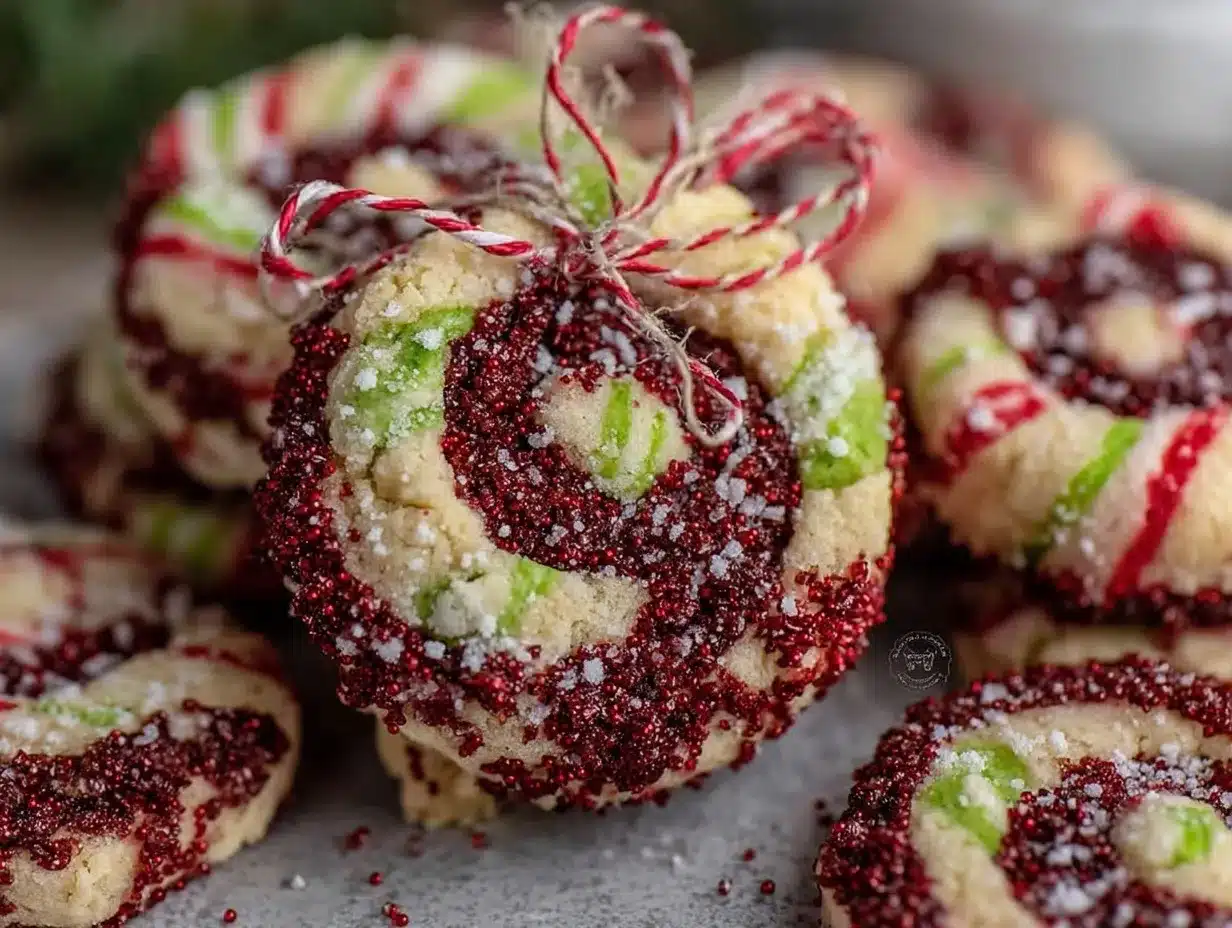
Picture this: the aroma of butter and sugar mingling with hints of vanilla and peppermint, filling your kitchen as snow gently falls outside. That’s the magic of baking these Perfect Christmas Pinwheel Cookies. The first time I made these, I was experimenting with holiday treats to impress my kids and their friends. You know what? The moment they saw those vibrant red and green swirls, their eyes lit up like the Christmas tree in our living room. It was one of those heartwarming moments when you pause, smile, and feel like you’ve captured a little piece of holiday joy.
These cookies are the kind that make you nostalgic for childhood snow days and family gatherings. My family couldn’t stop sneaking bites before dinner—my youngest even tried hiding them under the table! Honestly, these cookies are now a staple at every holiday party we host. They’re cheerful, buttery, and just the right amount of festive. If Pinterest had a scent, it would smell like these cookies baking in the oven!
Whether you’re looking for a fun baking project with the kids or something eye-catching to gift your neighbors, these pinwheel cookies are the answer. Tested and retested (in the name of research, of course), this recipe delivers the perfect balance of flavor and visual appeal. Trust me, once you make these, they’re going straight into your holiday baking rotation.
Why You’ll Love This Recipe
- Quick & Easy: Despite their stunning appearance, these cookies come together in just under an hour, including chilling time.
- Simple Ingredients: No fancy or hard-to-find items—just pantry staples you likely already have.
- Perfect for the Holidays: These cookies scream Christmas with their festive colors and peppermint flair.
- Crowd-Pleaser: Kids and adults alike won’t be able to resist their whimsical swirls and buttery goodness.
- Unbelievably Delicious: The combination of tender cookie dough with just a hint of peppermint is pure comfort in every bite.
What sets this recipe apart is its visual appeal paired with simplicity. You don’t need any fancy techniques—just a rolling pin and a little patience. Plus, the colors are customizable; you can swap out the red and green for other shades to match any celebration. But really, nothing beats the classic Christmas palette!
These cookies are the kind you close your eyes and savor after the first bite. They’re perfect for gifting, sharing, or just enjoying with a mug of hot cocoa by the fire. Pure holiday magic!
What Ingredients You Will Need
This recipe uses simple, wholesome ingredients to deliver bold flavor and satisfying texture. Here’s what you’ll need:
- Unsalted butter, softened: For that perfect buttery taste and tender texture.
- Granulated sugar: Adds sweetness and structure to the dough.
- Large egg, room temperature: Ensures the dough binds together smoothly.
- Vanilla extract: Adds warmth and depth to the flavor.
- Peppermint extract: Just a hint for that festive holiday touch (optional).
- All-purpose flour: The base of the dough that keeps its shape while baking.
- Salt: Brings out the flavors and balances the sweetness.
- Red gel food coloring: For vibrant, festive swirls.
- Green gel food coloring: Completes the holiday look.
Optional: You can add sprinkles or crushed candy canes for extra flair. If you prefer a gluten-free option, substitute the all-purpose flour with a 1:1 gluten-free baking mix. Don’t have peppermint extract on hand? You can skip it and still enjoy delicious cookies!
Equipment Needed
- Mixing bowls: A couple of medium-sized bowls for combining ingredients.
- Electric mixer: A handheld or stand mixer works great for creaming the butter and sugar.
- Rolling pin: Essential for rolling out the dough evenly.
- Parchment paper: Helps with rolling and prevents sticking.
- Sharp knife: For slicing the pinwheels cleanly.
- Baking sheets: Use rimless ones if possible for even baking.
If you don’t have gel food coloring, liquid food coloring will work, but it may require more to achieve vibrant hues. A silicone baking mat can also work in place of parchment paper.
Preparation Method
- Prepare the Dough: In a bowl, cream together 1 cup (227g) of softened butter and 1 cup (200g) of granulated sugar until light and fluffy, about 2 minutes.
- Add 1 large egg, 1 teaspoon (5ml) vanilla extract, and 1/2 teaspoon (2.5ml) peppermint extract. Beat until smooth.
- Gradually mix in 2 1/4 cups (280g) of all-purpose flour and 1/4 teaspoon (1.5g) of salt until fully combined. Divide the dough into two equal portions.
- Color the Dough: Add a few drops of red gel food coloring to one portion and green gel food coloring to the other. Knead gently until colors are evenly distributed.
- Roll the Dough: Roll out each portion of dough between sheets of parchment paper into rectangles approximately 1/4 inch (0.6 cm) thick.
- Layer and Roll: Carefully place the red dough over the green dough, using the parchment paper to help. Roll tightly into a log, starting from the long edge.
- Chill the Dough: Wrap the log in plastic wrap and refrigerate for at least 30 minutes to firm up.
- Slice and Bake: Preheat the oven to 350°F (175°C). Slice the log into 1/4-inch (0.6 cm) thick rounds and place on parchment-lined baking sheets, spacing them 2 inches (5 cm) apart.
- Bake for 10-12 minutes, or until the edges are set but not browned. Let cool completely on a wire rack.
If the dough feels sticky while rolling, pop it in the fridge for 10 minutes and try again. Don’t worry if the edges aren’t perfectly smooth—imperfections add character!
Cooking Tips & Techniques
- Chill the dough: This step is non-negotiable for maintaining the pinwheel shape. Warm dough will smear instead of slicing cleanly.
- Use gel food coloring: It provides vibrant hues without altering the dough’s texture.
- Roll evenly: Uneven dough can lead to wonky pinwheels. Use parchment paper to help guide the rolling.
- Keep your knife sharp: A dull knife will crush the dough rather than slicing it neatly.
- Don’t overbake: These cookies should be tender, not crispy. Remove them as soon as the edges are set.
Pro tip: Make extra logs and freeze them for up to 2 months. You can slice and bake fresh cookies whenever you need a festive treat!
Variations & Adaptations
- Flavor Variations: Swap peppermint extract for almond or orange extract for a unique twist.
- Seasonal Colors: Use pastel colors like pink and blue for Easter or orange and black for Halloween.
- Dietary Adjustments: Use a gluten-free flour blend for a celiac-friendly version, or dairy-free butter for vegan cookies.
One time, I made a batch using chocolate dough instead of green—let me tell you, the chocolate and peppermint combo was a hit! Feel free to get creative and make these cookies your own.
Serving & Storage Suggestions
Serve these cookies at room temperature on a festive platter alongside mugs of hot cocoa or mulled cider. They pair beautifully with creamy eggnog or a steaming cup of coffee.
To store, place cooled cookies in an airtight container for up to 5 days at room temperature. For longer storage, freeze them in a freezer-safe bag for up to 3 months. Thaw at room temperature before serving. To refresh their texture, warm them in a 300°F (150°C) oven for 2-3 minutes.
Nutritional Information & Benefits
Each cookie contains approximately:
- Calories: 120
- Fat: 6g
- Carbohydrates: 15g
- Protein: 1g
The butter provides richness, while the peppermint extract adds a refreshing touch. These cookies are a fun treat to share during the holidays, but they’re definitely an indulgence. If you’re watching your sugar intake, you can reduce the sugar slightly without sacrificing flavor.
Conclusion
These Perfect Christmas Pinwheel Cookies are a must-try for anyone looking to add a little extra holiday cheer to their dessert table. Their vibrant colors, buttery taste, and whimsical design make them irresistible. Whether you’re baking with loved ones or gifting them to friends, these cookies are guaranteed to bring smiles.
I love this recipe because it combines simplicity with creativity—it’s easy enough for beginners but impressive enough to wow your guests. Give it a go, and let me know how they turn out! Leave a comment below with your favorite holiday baking tip or share your own pinwheel cookie variations. Happy baking!
FAQs
- Can I make the dough ahead of time? Yes, you can refrigerate the dough log for up to 3 days or freeze it for up to 2 months.
- What if I don’t have gel food coloring? You can use liquid food coloring, but you may need to add more for vibrant colors.
- Can I skip the chilling step? No, chilling is essential for clean slices and maintaining the pinwheel shape.
- What’s the best way to slice the cookies? Use a sharp knife and clean it between slices for neat edges.
- Can I use natural food coloring? Absolutely! Powdered or plant-based food coloring works well for a more natural option.
Pin This Recipe!
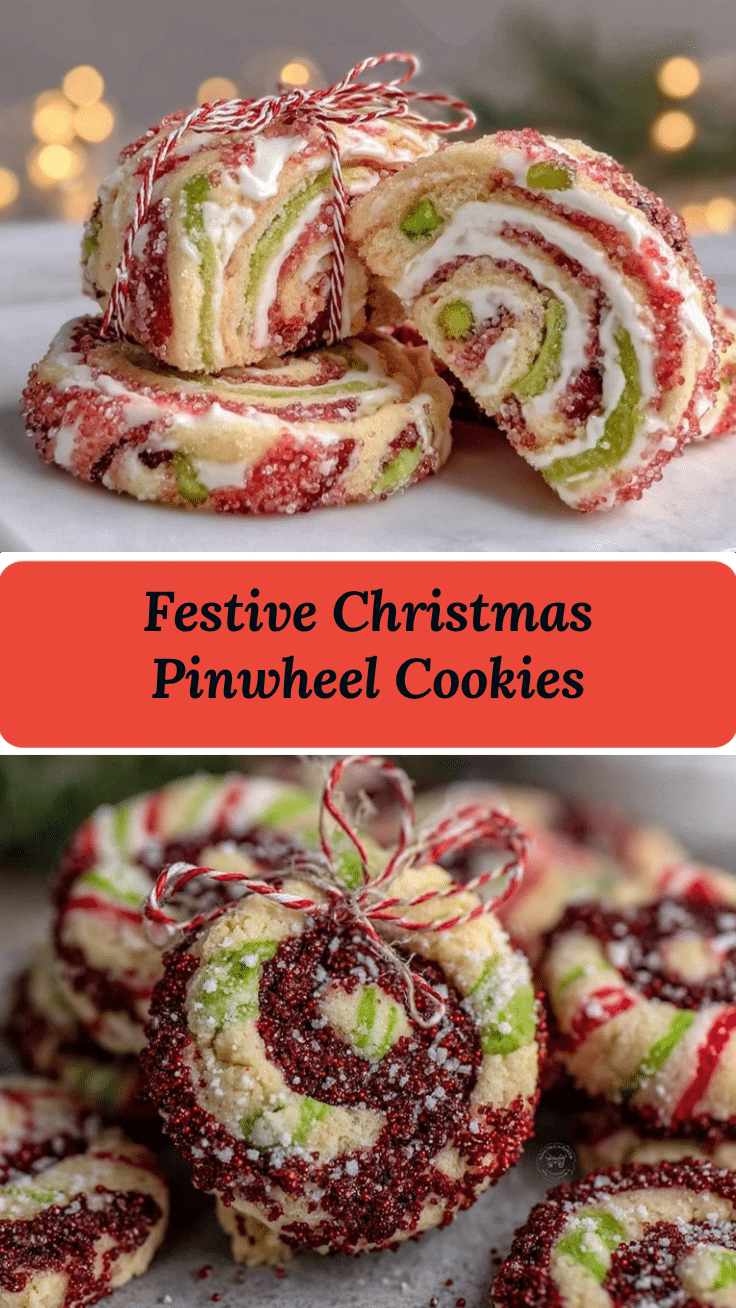
Perfect Christmas Pinwheel Cookies

These vibrant red and green pinwheel cookies are buttery, festive, and perfect for holiday gatherings or gifting. Their whimsical design and peppermint flavor make them irresistible.
- Prep Time: 30 minutes
- Cook Time: 12 minutes
- Total Time: 42 minutes
- Yield: 24 cookies 1x
- Category: Dessert
- Cuisine: American
Ingredients
- 1 cup (227g) unsalted butter, softened
- 1 cup (200g) granulated sugar
- 1 large egg, room temperature
- 1 teaspoon (5ml) vanilla extract
- 1/2 teaspoon (2.5ml) peppermint extract (optional)
- 2 1/4 cups (280g) all-purpose flour
- 1/4 teaspoon (1.5g) salt
- Red gel food coloring
- Green gel food coloring
Instructions
- In a bowl, cream together 1 cup (227g) of softened butter and 1 cup (200g) of granulated sugar until light and fluffy, about 2 minutes.
- Add 1 large egg, 1 teaspoon (5ml) vanilla extract, and 1/2 teaspoon (2.5ml) peppermint extract. Beat until smooth.
- Gradually mix in 2 1/4 cups (280g) of all-purpose flour and 1/4 teaspoon (1.5g) of salt until fully combined. Divide the dough into two equal portions.
- Add a few drops of red gel food coloring to one portion and green gel food coloring to the other. Knead gently until colors are evenly distributed.
- Roll out each portion of dough between sheets of parchment paper into rectangles approximately 1/4 inch (0.6 cm) thick.
- Carefully place the red dough over the green dough, using the parchment paper to help. Roll tightly into a log, starting from the long edge.
- Wrap the log in plastic wrap and refrigerate for at least 30 minutes to firm up.
- Preheat the oven to 350°F (175°C). Slice the log into 1/4-inch (0.6 cm) thick rounds and place on parchment-lined baking sheets, spacing them 2 inches (5 cm) apart.
- Bake for 10-12 minutes, or until the edges are set but not browned. Let cool completely on a wire rack.
Notes
Chill the dough for clean slices and vibrant pinwheel shapes. Use gel food coloring for the best results. Make extra logs and freeze them for up to 2 months.
Nutrition
- Serving Size: 1 cookie
- Calories: 120
- Fat: 6
- Carbohydrates: 15
- Protein: 1
Keywords: Christmas cookies, holiday baking, pinwheel cookies, festive treats, peppermint cookies


