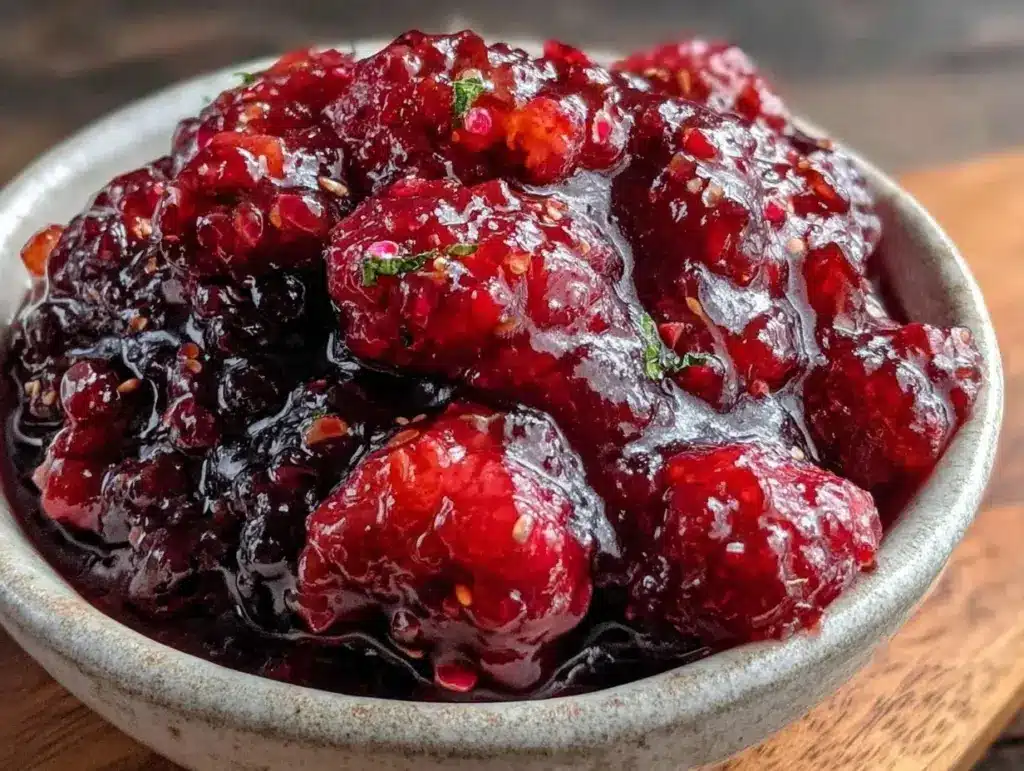
Let me tell you, the sweet aroma of fresh raspberries simmering gently on the stove is enough to make anyone’s mouth water. There’s something about homemade raspberry jam that just hits different—the kind of scent that fills your kitchen and wraps you in a warm, cozy hug. The first time I made this easy homemade raspberry jam recipe, I was instantly hooked. It was one of those rare moments where you pause, take a deep breath, and just smile because you know you’re onto something truly special.
Years ago, when I was knee-high to a grasshopper, my grandma would whip up little jars of jam that felt like pure magic. I always wished I’d discovered how straightforward making your own jam could be much earlier. Honestly, this recipe brings back that nostalgic comfort, but with a modern twist that’s dangerously easy and perfect for beginners. My family couldn’t stop sneaking spoonfuls off the cooling jars (and I can’t really blame them).
You know what? Whether you’re looking to brighten up your breakfast table, add a sweet touch to your afternoon tea, or gift something homemade and heartfelt, this easy homemade raspberry jam recipe is your new best friend. I’ve tested this recipe more times than I can count—in the name of research, of course—and it’s become a staple for family gatherings and cozy weekend mornings alike. Trust me, you’re going to want to bookmark this one.
Why You’ll Love This Recipe
This easy homemade raspberry jam recipe isn’t just another jam recipe—it’s a simple, foolproof way to bottle summer’s best flavors in just a few steps. Here’s why it’s a winner:
- Quick & Easy: Comes together in under 30 minutes, perfect for busy days or last-minute cravings.
- Simple Ingredients: No fancy grocery trips needed; you likely already have everything in your kitchen.
- Perfect for Gifting: Homemade jam always feels extra special for birthdays, holidays, or just because.
- Crowd-Pleaser: Kids and adults alike rave about the fresh, bright raspberry flavor.
- Unbelievably Delicious: The balance of tart and sweet with a luscious, spreadable texture is pure comfort food.
What sets this recipe apart is the way the raspberries are cooked gently with just the right amount of sugar and a hint of lemon juice to brighten the flavor without overpowering it. No pectin packets, no complicated steps—just a natural, straightforward method that yields consistently perfect jam. This isn’t just good jam; it’s the kind that makes you close your eyes after the first bite and smile.
It’s sweet, tangy, and soul-soothing all at once—ideal for impressing guests without stress or turning your simple toast into a memorable treat. You’re going to love how this recipe fits into your kitchen routine and your heart.
What Ingredients You Will Need
This recipe uses simple, wholesome ingredients to deliver bold flavor and satisfying texture without the fuss. Most of these are pantry staples or fresh produce you can find any time of year (hello, frozen raspberries!). Here’s what you’ll need:
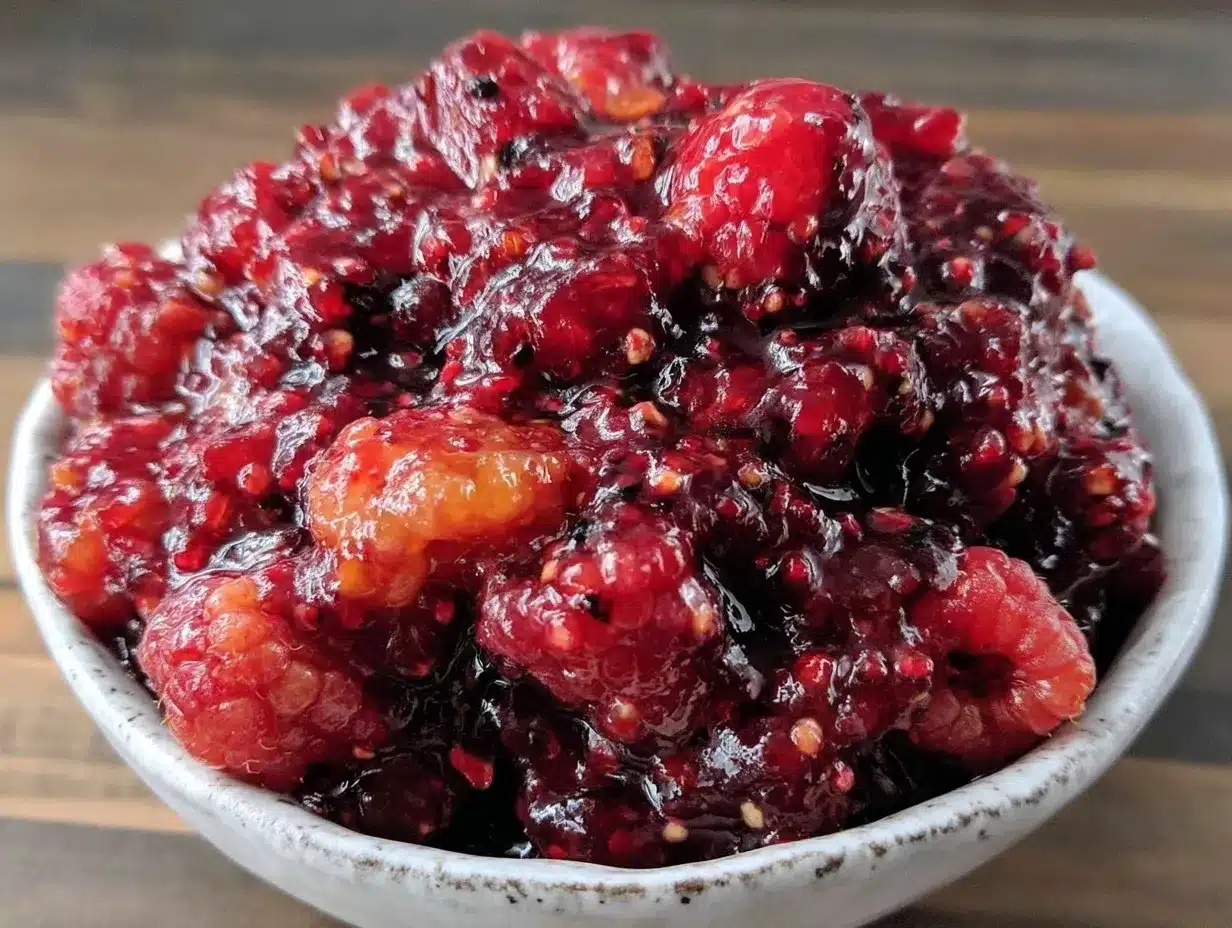
- Fresh or frozen raspberries – 4 cups (about 600g); fresh raspberries give the brightest flavor, but frozen work well too (just thaw before using).
- Granulated sugar – 2 to 2 ½ cups (400-500g); adjust to taste depending on your berry sweetness.
- Lemon juice – 2 tablespoons (30ml), freshly squeezed preferred; adds brightness and helps the jam set.
- Water – ¼ cup (60ml); helps the raspberries cook down smoothly.
If you want to experiment, you can swap granulated sugar with coconut sugar for a richer, caramel note or use honey for a natural sweetener twist (reduce quantity slightly). For a low-sugar version, try a sugar substitute suitable for cooking, but keep in mind it might change the texture a bit.
For the best results, I recommend using organic raspberries if you can find them, and fresh lemon juice rather than bottled. I’ve tried this recipe with various brands of sugar, but I tend to go with a trusted, fine granulated sugar like Domino for the smoothest jam texture. When raspberries are in season, nothing beats fresh—though frozen raspberries are a reliable, convenient alternative all year round.
Equipment Needed
Making easy homemade raspberry jam doesn’t require fancy gadgets, but having the right tools helps a lot. Here’s what you’ll want:
- Large heavy-bottomed saucepan: This helps distribute heat evenly and prevents burning. I use a 4-quart (3.8L) pot for my batches.
- Wooden spoon or heatproof silicone spatula: For stirring the jam as it cooks—avoid metal to prevent scratching.
- Measuring cups and spoons: Accuracy is key for consistent sweetness and texture.
- Clean glass jars with lids: For storing your jam. Mason jars work perfectly and are easy to sterilize.
- Fine mesh strainer or potato masher (optional): If you prefer a smoother jam without seeds, this comes in handy.
If you don’t have a heavy-bottomed saucepan, a thick pot or Dutch oven will do the trick just fine. I once used a regular stainless steel pan, and while it worked, I had to stir more often to avoid scorch spots—lesson learned! For budget-friendly options, thrift stores often have good-quality glass jars and utensils.
Preparation Method
- Prepare your raspberries: Rinse fresh raspberries gently under cold water and drain well. If you’re using frozen, thaw them completely and drain any excess liquid. This usually takes about 5 minutes.
- Combine ingredients: In your large saucepan, add the raspberries, sugar, lemon juice, and water. Stir gently to combine. Let the mixture sit for 10 minutes to help the sugar start dissolving and raspberries to release their juices.
- Cook the jam: Place the saucepan over medium heat and bring the mixture to a gentle boil. Stir frequently to prevent sticking. You’ll notice the raspberries breaking down and the mixture thickening—this takes roughly 15-20 minutes.
- Check the jam’s consistency: To test if your jam is ready, place a small spoonful on a chilled plate and let it cool for a minute. Run your finger through it; if the jam wrinkles and holds its shape, it’s done. If not, cook for a few more minutes and test again.
- Jar the jam: Remove the saucepan from heat. Carefully ladle the hot jam into sterilized glass jars, leaving about ¼ inch (6mm) headspace. Wipe the rims clean and seal with lids. Let cool at room temperature before refrigerating.
Preparation notes: Stir often during cooking, especially toward the end, to avoid burning. If foam forms on top, skim it off with a spoon—it won’t affect the taste but improves appearance. Don’t rush the cooking process; patience ensures that perfect jam texture you want.
Personally, I find that letting the jam sit for a day in the fridge helps flavors meld beautifully. The first time I made this, I was tempted to dig in right away, but trust me, the wait is worth it.
Cooking Tips & Techniques
Making jam can seem intimidating, but with a few tips, you’ll breeze through it like a pro. Here’s what I’ve learned from my many jam-making adventures:
- Use a heavy-bottomed pot: This keeps heat even and prevents the jam from scorching, which is a common pitfall.
- Don’t rush the boiling: A gentle boil is all you need. Too high heat can cause burning or overly thick jam.
- Test your jam early and often: The wrinkle test on a chilled plate is your best friend to avoid over or under-cooking.
- Skim the foam: It’s harmless but can make your jam look cloudy. Removing it results in a clearer, more appealing jar.
- Use fresh lemon juice: It helps the jam set and balances sweetness with a bright tang.
- Don’t forget sterilizing jars: Hot jam in cold jars can crack glass. Warm your jars in hot water before filling.
I once accidentally cooked my jam on too high heat, and it turned out like candy—not what I was aiming for! Since then, I keep the heat moderate and stir often. Multitasking helps too—while the jam simmers, I prepare my jars and clean up to stay efficient.
Variations & Adaptations
This easy homemade raspberry jam recipe is wonderfully versatile. Here are a few ways to make it your own:
- Low-sugar version: Use half the sugar and add a natural sweetener like stevia or monk fruit. The texture will be a bit looser, but the flavor remains fresh.
- Mixed berry jam: Swap half the raspberries for blackberries or blueberries for a deeper, more complex flavor.
- Seedless jam: After cooking, pass the jam through a fine mesh sieve or use a potato masher before cooking to break down seeds.
- Spiced raspberry jam: Add a cinnamon stick or a splash of vanilla extract during cooking for a cozy twist.
- For canning: Increase lemon juice slightly and follow proper sterilization and processing techniques to preserve longer.
My personal favorite variation is adding a teaspoon of fresh grated ginger—it adds a lovely zing that pairs beautifully with the tart raspberries. Give it a try if you want to shake things up a bit!
Serving & Storage Suggestions
This raspberry jam shines best served at room temperature. Spread it generously over warm toast, swirl into yogurt, or dollop on pancakes for a little burst of homemade goodness. It’s also fantastic paired with soft cheeses like cream cheese or ricotta for a simple yet elegant snack.
Store your jam in the refrigerator for up to 3 weeks. For longer storage, freeze it in airtight containers for up to 6 months. When reheating frozen jam, thaw overnight in the fridge and warm gently on the stove or in the microwave to restore spreadable consistency.
Flavors tend to deepen after a day or two in the fridge, so if you can wait, your taste buds will thank you. Just remember to use a clean spoon each time to keep it fresh and tasty.
Nutritional Information & Benefits
Homemade raspberry jam is a delightful way to enjoy the antioxidants and vitamins packed into fresh raspberries. Each serving (about 1 tablespoon or 20g) contains roughly:
| Calories | Carbs | Fiber | Sugar | Vitamin C |
|---|---|---|---|---|
| 50 | 13g | 1.5g | 12g | 8% DV |
Raspberries are rich in vitamin C and dietary fiber, supporting immune health and digestion. Because this recipe uses no artificial preservatives or additives, you’re getting a clean, wholesome spread. For those watching sugar intake, reducing sugar or using alternatives can make this jam fit into many dietary preferences including gluten-free and vegetarian diets.
Conclusion
This easy homemade raspberry jam recipe is a no-fuss way to bring a little sweetness and sunshine into your kitchen. Whether you’re a jam newbie or a seasoned pro, this recipe offers a straightforward approach with delicious results every time. I love how it captures the true essence of raspberries without overwhelming them with sugar or complicated steps.
Feel free to customize it to your taste—whether that’s less sugar, added spices, or a mix of berries. Honestly, making your own jam feels like a small act of love you get to enjoy for weeks. So go on, grab those raspberries, and start cooking—you’ll be so glad you did!
If you give this recipe a try, drop a comment below and let me know how it turned out or any fun twists you added. Sharing is caring, friends!
FAQs
How long does homemade raspberry jam last?
Refrigerated, it lasts about 3 weeks. If properly canned and sealed, it can keep for up to a year. You can also freeze it for 6 months.
Can I use frozen raspberries for this jam?
Yes! Just thaw them completely and drain excess liquid before cooking. Frozen raspberries work great year-round.
Do I need to use pectin in this recipe?
Nope! The natural pectin in raspberries combined with lemon juice helps the jam set nicely without added pectin.
What’s the best way to sterilize jars?
Wash jars and lids in hot soapy water, rinse well, then boil them in water for 10 minutes or bake in the oven at 225°F (107°C) for 10 minutes.
Can I make this jam sugar-free?
You can reduce sugar or use sugar substitutes, but keep in mind the texture and preservation might be affected. Try small batches first!
Pin This Recipe!
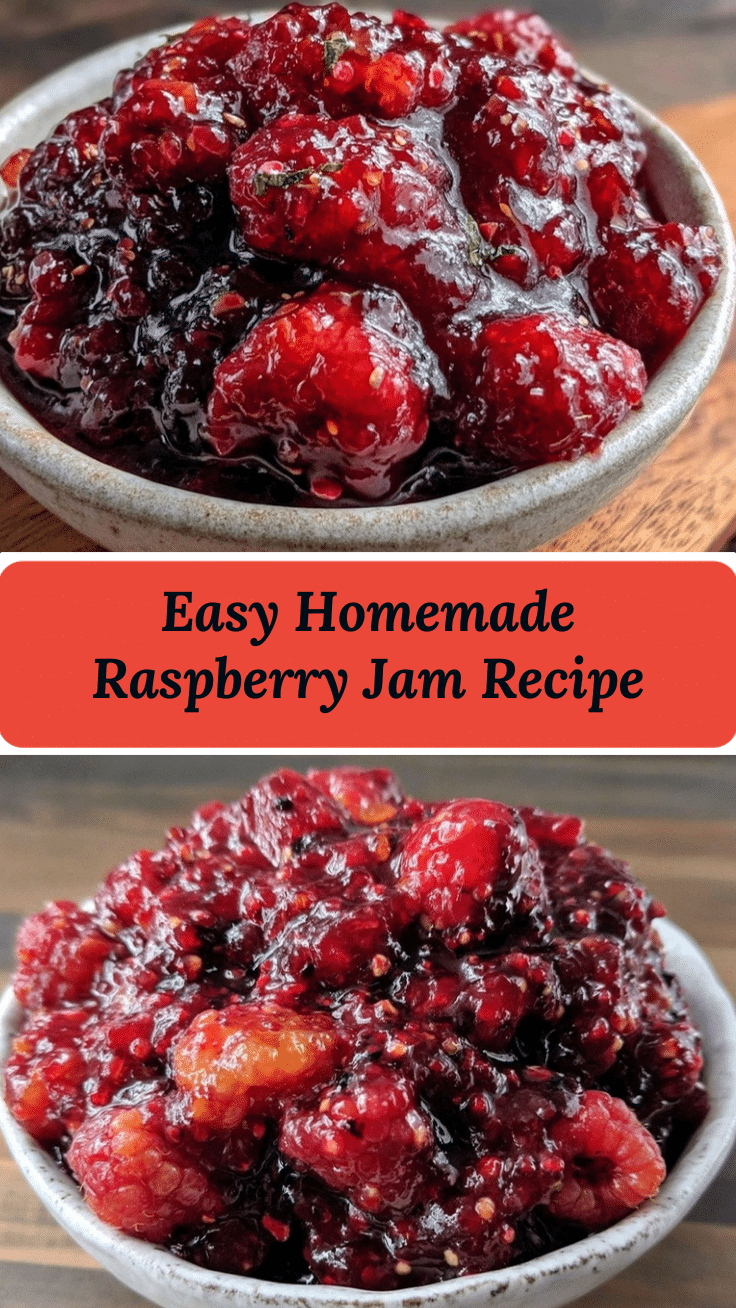
Easy Homemade Raspberry Jam Recipe

A simple, foolproof recipe for homemade raspberry jam that captures the fresh, bright flavor of raspberries with just a few ingredients and easy steps.
- Prep Time: 15 minutes
- Cook Time: 20 minutes
- Total Time: 35 minutes
- Yield: About 4 half-pint jars (8 servings) 1x
- Category: Preserves
- Cuisine: American
Ingredients
- 4 cups fresh or frozen raspberries (about 600g / 21 oz)
- 2 to 2 ½ cups granulated sugar (400-500g / 14–18 oz), adjust to taste
- 2 tablespoons freshly squeezed lemon juice (30ml / 2 tbsp)
- ¼ cup water (60ml / ¼ cup)
Instructions
- Rinse fresh raspberries gently under cold water and drain well. If using frozen, thaw completely and drain excess liquid (about 5 minutes).
- In a large heavy-bottomed saucepan, combine raspberries, sugar, lemon juice, and water. Stir gently to combine and let sit for 10 minutes to dissolve sugar and release juices.
- Place saucepan over medium heat and bring mixture to a gentle boil, stirring frequently to prevent sticking. Cook for 15-20 minutes until raspberries break down and mixture thickens.
- Test jam consistency by placing a small spoonful on a chilled plate; if it wrinkles and holds shape after cooling for a minute, jam is ready. If not, cook a few more minutes and test again.
- Remove from heat and carefully ladle hot jam into sterilized glass jars, leaving about ¼ inch (6mm) headspace. Wipe rims clean, seal with lids, and let cool at room temperature before refrigerating.
Notes
Stir often during cooking to avoid burning. Skim off foam for clearer jam. Use fresh lemon juice for best flavor and setting. Let jam sit in fridge for a day to meld flavors. Sterilize jars properly to avoid contamination. For seedless jam, strain or mash before cooking.
Nutrition
- Serving Size: 1 tablespoon (20g)
- Calories: 50
- Sugar: 12
- Carbohydrates: 13
- Fiber: 1.5
Keywords: raspberry jam, homemade jam, easy jam recipe, raspberry preserves, no pectin jam, simple jam, fruit jam


