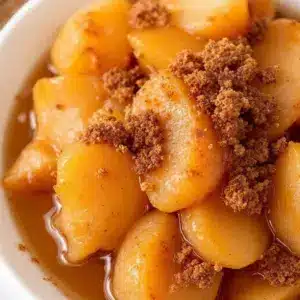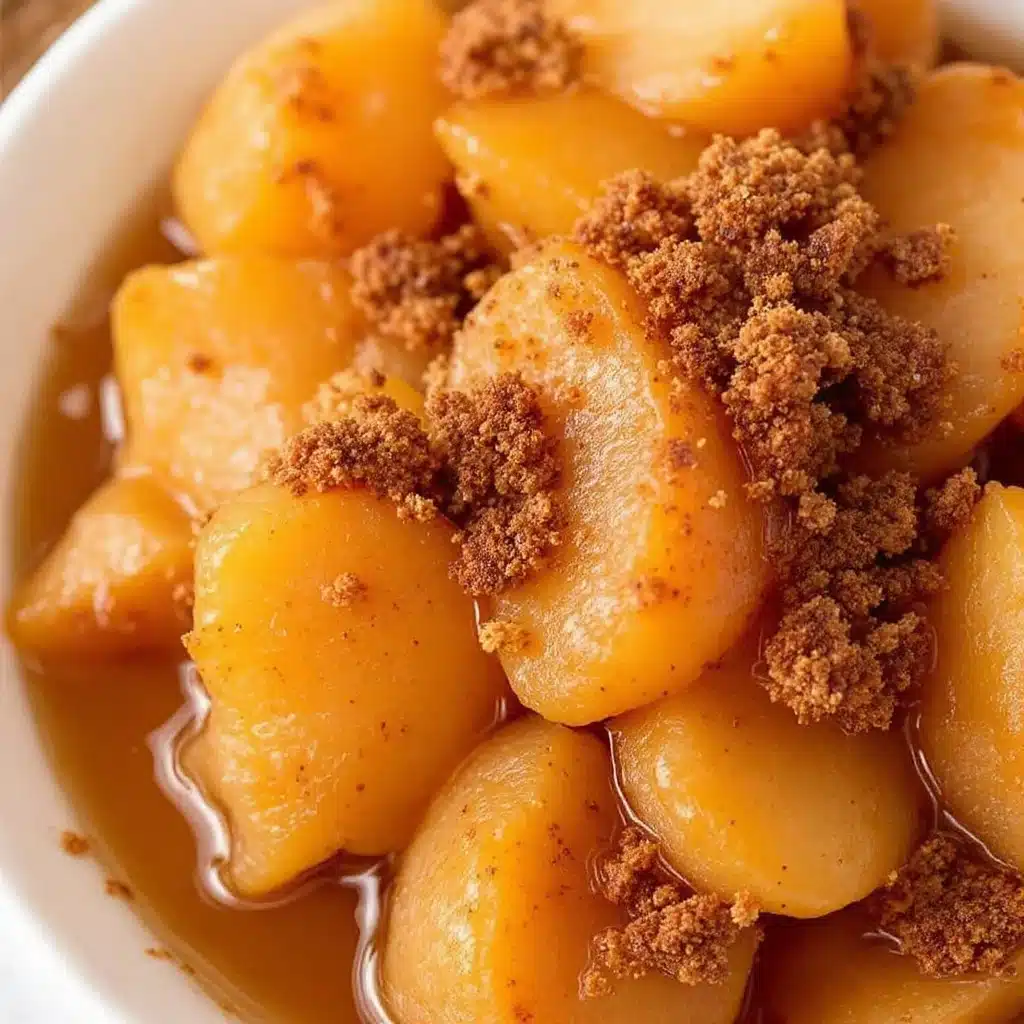
“You know what I’d really love? Pears. But like… fancy pears.” My sister said this while shuffling through my pantry last December, and honestly, it stopped me cold. Not because it was a weird request—she’d just moved into her first apartment and was building her kitchen from scratch. But because I had a half-bushel of Bosc pears sitting on my counter that I’d bought on impulse at the farmers’ market, and I had no idea what to do with them.
I’d been canning for a few years by then, mostly tomatoes and pickles and the occasional strawberry jam. But pears? They always felt a little intimidating. Too delicate. Too easy to turn into mush. But there was something about the way she said “fancy pears” that got me thinking. Not fancy in a complicated way. Fancy in a cinnamon-stick-and-vanilla-bean kind of way. The kind of pears you’d spoon over vanilla ice cream on a Tuesday night just because.
So I grabbed a few jars, raided my spice drawer, and started experimenting. That first batch of homemade cinnamon spiced canned pears in vanilla syrup turned out better than I expected. The syrup was golden and fragrant, the pears stayed firm but tender, and the whole house smelled like a holiday candle for two days. My sister ate the first jar within a week—on yogurt, on pancakes, straight out of the jar with a fork. And that’s how this recipe became a permanent fixture in my kitchen.
These aren’t just canned pears. They’re little jars of winter comfort you can open whenever you need it.
Why You’ll Love This Recipe
Let me tell you why this recipe has earned a permanent spot in my canning rotation. I’ve tested it across multiple batches, with different pear varieties and spice combinations, and this version is the one I keep coming back to. It’s not complicated, but it delivers results that feel special.
- Simple Ingredients : You need pears, sugar, vanilla, cinnamon, and a lemon. That’s it. No weird preservatives or hard-to-find spices.
- Beginner-Friendly Canning : If you’ve never canned before, this is a great place to start. The water bath method is straightforward, and pears are forgiving as long as you handle them gently.
- Perfect for Gifting : A jar of these tied with a ribbon makes a thoughtful homemade gift. I’ve given them for housewarmings, holidays, and “just because” moments.
- Year-Round Summer Flavor : When you open a jar in February, it tastes like autumn. There’s something magical about that.
- Incredibly Versatile : Eat them straight from the jar, spoon them over oatmeal, bake them into a crisp, or serve them with cheese. They adapt to whatever you need.
What makes this recipe different from other canned pears? It’s the syrup. Most recipes use plain sugar syrup, but the vanilla and cinnamon infuse every bite with warmth. The pears soak up those flavors during processing, so by the time you open a jar, they’ve transformed into something truly special. I’ve had friends tell me these taste like “pear pie filling without the work.”
Honestly, this recipe is the kind that makes you feel accomplished without stressing you out. It’s comfort in a jar, and you deserve to have some stashed away for when you need it.
What Ingredients You Will Need
This recipe uses simple, wholesome ingredients to create something that tastes far more complex than the sum of its parts. Most of these are pantry staples, but a few deserve a little explanation.
- Firm, Ripe Pears (about 4-5 pounds) : Bosc or Bartlett pears work best. Bosc hold their shape beautifully during processing, while Bartletts are sweeter and more tender. Look for pears that are ripe but still firm—they should yield slightly when pressed near the stem, but not feel mushy. Under-ripe pears won’t soften enough, and over-ripe ones will turn to mush in the jar. I prefer Bosc for their elegant shape and honeyed flavor.
- Granulated Sugar (3 cups) : This creates the syrup base. Don’t reduce the sugar—it’s essential for preserving the texture and preventing spoilage. The pears absorb some of the sweetness, and the syrup becomes a bonus treat.
- Water (4 cups) : Filtered or distilled water is best if your tap water has a strong mineral taste. It makes a difference in the final flavor.
- Vanilla Beans (2 whole, split lengthwise) : This is where the magic happens. Real vanilla beans infuse the syrup with tiny black specks and a deep, floral sweetness. I recommend Madagascar or Tahitian vanilla beans for the best flavor. You can substitute 2 teaspoons of pure vanilla extract, but add it right before filling the jars—not during boiling.
- Cinnamon Sticks (4-6, depending on size) : Use whole sticks, not ground cinnamon. They infuse the syrup gently without clouding it. Ceylon cinnamon is milder and sweeter, while Cassia is more intense. I like using one of each for a balanced flavor. Break the sticks in half if they’re too long for your jars.
- Fresh Lemon Juice (1/4 cup) : This prevents the pears from browning and adds a subtle brightness that balances the sweetness. Bottled lemon juice works in a pinch, but fresh tastes noticeably better.
- Optional: Star Anise (2-3 pods) : Not traditional, but I love adding one star anise pod per jar for a subtle licorice note. It pairs beautifully with the cinnamon and vanilla.
For the canning process, you’ll also need:
- Canning salt or kosher salt (just a pinch per jar to enhance flavor—optional but recommended)
- Lemon juice or Fruit-Fresh produce protector for the water bath to prevent discoloration
I recommend using Ball or Kerr jars for consistency. The wide-mouth pint jars (16 oz) are perfect for this recipe—they fit the pears nicely and make it easy to pack them in.
Equipment Needed
You don’t need a professional canning setup, but having the right tools makes the process smoother and safer. Here’s what you’ll need:
- Water Bath Canner or Large Stockpot : A water bath canner with a rack is ideal, but a deep stockpot works too. It needs to be deep enough to cover the jars with at least 1-2 inches of water. I’ve used my grandmother’s old enamel canner for years, and it still works perfectly.
- Canning Jars (4-5 pint jars) : Wide-mouth pint jars (16 oz) are my go-to. Make sure they’re free of cracks or chips. I always buy a few extra in case one doesn’t seal.
- New Canning Lids and Bands : Never reuse lids—they won’t seal properly. Bands can be reused as long as they’re not rusty or bent.
- Jar Lifter : This is non-negotiable. Trying to lift hot jars with tongs is a recipe for burns and broken jars. A jar lifter costs about $10 and saves your sanity.
- Wide-Mouth Funnel : Makes filling jars with syrup much less messy. A regular funnel works, but the wide-mouth version fits canning jars perfectly.
- Bubble Remover and Headspace Tool : This plastic tool helps release air bubbles from the jars before sealing. A chopstick works in a pinch, but the tool is easier.
- Large Pot for Blanching : You’ll need a separate pot to blanch the pears before peeling. A 6-quart pot works well.
- Sharp Paring Knife : For peeling and coring the pears. A Y-shaped peeler is faster, but a paring knife gives you more control.
- Slotted Spoon : For transferring pears from the blanching water to the ice bath.
- Large Bowl of Ice Water : For shocking the pears after blanching to stop the cooking process.
- Clean Kitchen Towels : For drying jars and wiping rims before sealing.
If you don’t have a water bath canner, you can use a large pot with a folded kitchen towel on the bottom to keep jars from rattling. Just make sure the pot is deep enough. I’ve done this in a pinch and it works fine.
Preparation Method
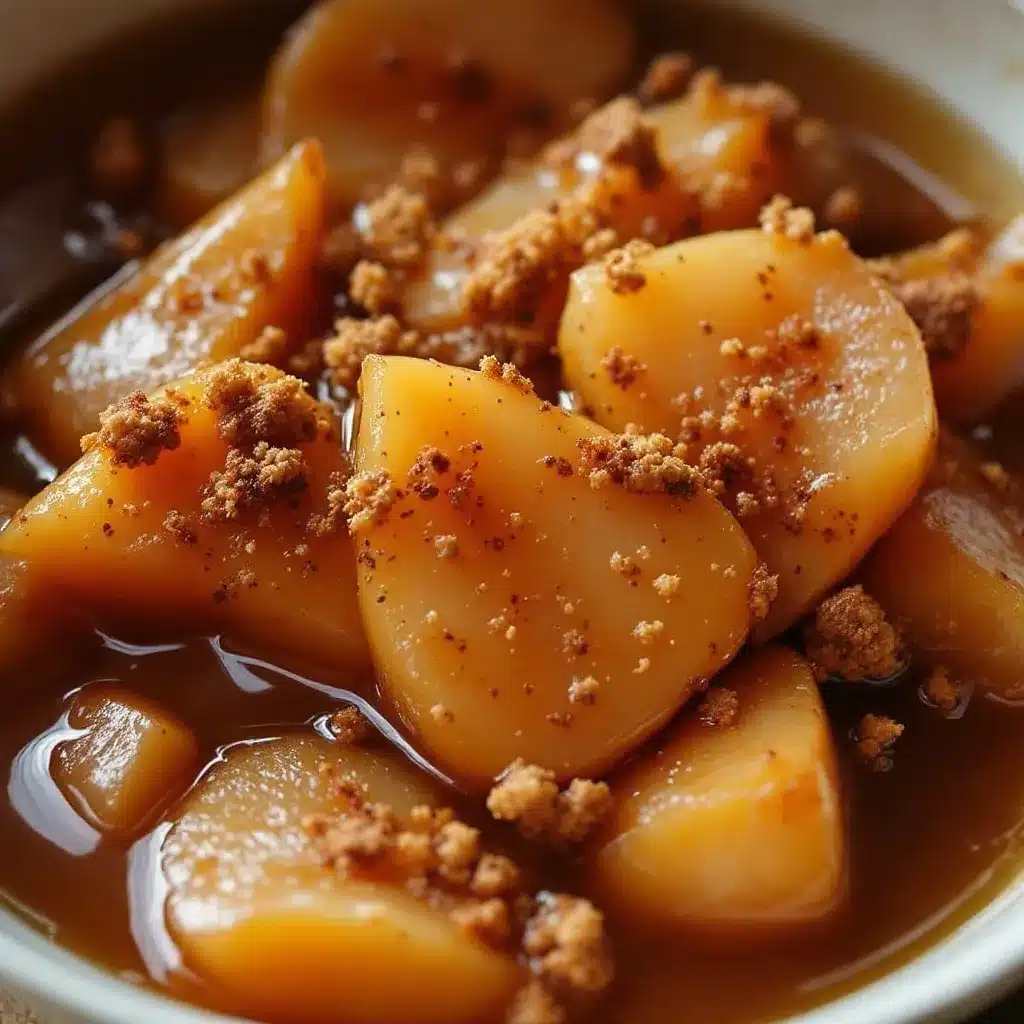
This process takes about 2 hours from start to finish, but most of that is hands-off time while the jars process. Here’s how to do it step by step.
Step 1: Prepare Your Canning Station
Wash your jars, lids, and bands in hot, soapy water. Rinse thoroughly. Place the jars in your canner or stockpot, cover with water, and bring to a simmer (180°F). Keep them hot until you’re ready to fill them. Place the lids in a small saucepan of hot water (not boiling) to soften the sealing compound. Set the bands aside.
Step 2: Make the Vanilla Cinnamon Syrup
In a large saucepan, combine 4 cups of water and 3 cups of granulated sugar. Split the vanilla beans lengthwise with a sharp knife and scrape the seeds into the sugar water. Drop the vanilla pods in too—they’ll continue infusing. Add the cinnamon sticks. Bring to a boil over medium-high heat, stirring occasionally until the sugar dissolves completely. Reduce heat and let it simmer while you prepare the pears. The syrup should be fragrant and golden. Taste it—it should taste like liquid vanilla cinnamon candy.
Step 3: Blanch and Peel the Pears
Fill a large pot with water and bring it to a boil. Carefully drop the pears into the boiling water for 30-60 seconds. This loosens the skins and makes peeling much easier. Use a slotted spoon to transfer them to a bowl of ice water. Let them cool for a minute or two. Once they’re cool enough to handle, peel the pears with a paring knife or Y-shaped peeler. The skins should slip off easily. If they don’t, blanch them for another 30 seconds.
Step 4: Core and Halve the Pears
Cut each peeled pear in half lengthwise. Use a melon baller or small spoon to scoop out the core and seeds. If you want to keep the pears whole, you can leave them intact and core them from the bottom using a corer, but halves pack more easily into jars and cook more evenly. As you work, drop the pear halves into a bowl of water mixed with the lemon juice to prevent browning.
Step 5: Pack the Jars
Remove a hot jar from the canner using your jar lifter. Drain the pear halves and pack them tightly into the jar, cut side down. You want them snug but not crushed. Add one cinnamon stick piece and one piece of vanilla bean pod (if desired) to each jar. Leave about 1/2 inch of headspace at the top. Use your bubble remover tool to release any trapped air bubbles by sliding it down the sides of the jar. Add more syrup if needed to maintain headspace.
Step 6: Seal the Jars
Wipe the rim of each jar with a clean, damp towel to remove any syrup residue. Place a lid on each jar and screw on a band until it’s fingertip-tight—don’t overtighten. The band should be snug but not cranked down, because air needs to escape during processing.
Step 7: Process in Water Bath
Place the filled jars back into the canner, making sure they’re covered by at least 1-2 inches of water. Bring the water to a full rolling boil. Process pint jars for 20 minutes (adjust for altitude—add 5 minutes for every 1,000 feet above sea level). Start the timer when the water returns to a boil after adding the jars.
Step 8: Cool and Check Seals
After processing, turn off the heat and let the jars sit in the water for 5 minutes. Use your jar lifter to transfer them to a clean towel on the counter. Let them cool completely, undisturbed, for 12-24 hours. You should hear the satisfying “pop” of the lids sealing as they cool. After cooling, press the center of each lid—it shouldn’t flex. If a jar didn’t seal, refrigerate it and use within 2 weeks.
Troubleshooting Tip : If your pears float in the jars after processing, don’t worry—it’s normal. They’ll settle as they absorb the syrup over the next few weeks. The flavor is still perfect.
Cooking Tips & Techniques
After making these pears more times than I can count, I’ve learned a few tricks that make the process smoother and the results better.
Don’t Skip the Blanch : I know it seems like an extra step, but blanching the pears before peeling is a game-changer. The skins come off in seconds, and you don’t lose half the pear to peeling mistakes. I once tried peeling Bosc pears without blanching, and let’s just say it wasn’t pretty. The skin stuck like glue, and I ended up with mangled pears and a sore hand. Never again.
Use a Melon Baller for Coring : A melon baller is the perfect tool for scooping out pear cores. It removes the seeds and stringy bits without wasting too much flesh. If you don’t have one, a small teaspoon works, but the baller is faster.
Keep the Syrup Hot : When you’re filling jars, the syrup should be hot—almost boiling. Cold syrup can cause the jars to break when they hit the hot water bath. I keep my syrup simmering on a back burner while I pack the jars.
Don’t Overcook the Pears : The pears will continue to soften during processing. If they’re already soft when you pack them, they’ll turn into pear sauce in the jar. Aim for pears that are still slightly firm—they’ll finish cooking in the water bath.
Label Your Jars : I know it sounds basic, but I’ve lost track of which jars are which more times than I’d like to admit. Write the date and contents on the lid with a permanent marker. It’s especially helpful if you make multiple batches with different spices.
Let Them Rest : The pears taste best after sitting for at least 2 weeks. The flavors meld and deepen during that time. I always stash a few jars in the back of my pantry and forget about them—then rediscover them months later like buried treasure.
My Biggest Failure : I once tried to can pears without adding enough lemon juice, and they turned an unappetizing gray-brown. They were still safe to eat, but they looked sad. Now I’m generous with the lemon juice, and the pears stay beautifully golden.
Variations & Adaptations
This recipe is incredibly flexible. Here are some variations I’ve tried and loved.
Spiced Chai Pears : Add 2 cardamom pods, a strip of orange zest, and 1 teaspoon of black peppercorns to the syrup along with the cinnamon and vanilla. The result is warm, aromatic, and perfect for fall. I made these for a holiday gift exchange, and they were gone in minutes.
Honey Vanilla Syrup : Replace half the granulated sugar with honey. Use a mild honey like clover or orange blossom so it doesn’t overpower the pears. The syrup will be slightly darker and more complex. This is my go-to version for drizzling over Greek yogurt.
Low-Sugar Option : You can reduce the sugar to 1.5 cups and use a low-sugar pectin or Pomona’s Pectin to help with preservation. The texture will be slightly softer, but the flavor is still wonderful. I’ve done this for friends who are watching their sugar intake, and they loved it.
Bourbon Vanilla Pears : Add 2 tablespoons of bourbon to each jar before sealing. The alcohol cooks off during processing, leaving behind a subtle oakiness that pairs beautifully with the vanilla. This version is incredible spooned over pound cake or vanilla ice cream.
Dairy-Free & Vegan : This recipe is already dairy-free and vegan as written. The only ingredient to watch is the vanilla extract if you’re using it—make sure it’s pure vanilla extract, not a blend with sugar or corn syrup.
Spicy Pears : Add a dried chili pepper (like a small arbol or chipotle) to each jar along with the cinnamon. The heat builds slowly and surprises you. I made these for a friend who loves spicy food, and she ate an entire jar in one sitting.
If you enjoy experimenting with preserves, you might also like our cranberry orange bread for another fruit-forward treat that’s perfect for gifting or holiday brunch.
Serving & Storage Suggestions
These pears are incredibly versatile. Here’s how I like to use them.
Serving Ideas :
- Spoon them over vanilla ice cream or frozen yogurt for an instant dessert
- Serve alongside a cheese board with sharp cheddar, blue cheese, or brie
- Dice them and fold into pancake or waffle batter
- Layer them in a trifle with pound cake and whipped cream
- Use the syrup to sweeten cocktails or mocktails—try it in a bourbon smash or sparkling water
- Warm them gently and serve over oatmeal or porridge
- Blend the pears into a smoothie for natural sweetness
Storage Instructions :
- Store sealed jars in a cool, dark, dry place like a pantry or basement. They’ll keep for up to 12 months.
- Once opened, refrigerate and use within 2-3 weeks.
- If a jar doesn’t seal properly, refrigerate immediately and use within 2 weeks.
- Don’t store jars in direct sunlight or near heat sources—the pears will discolor and the seals may fail.
Reheating Tips :
- To serve warm, spoon the pears and syrup into a small saucepan and heat gently over low heat for 3-5 minutes. Don’t boil—they’ll break apart.
- Microwave individual servings in a bowl for 30-45 seconds.
Flavor Development : The pears taste best after at least 2 weeks of resting. The vanilla and cinnamon really penetrate the fruit during that time. If you open a jar too soon, the flavor will be good but not great. Patience is rewarded here.
For a complete Friendsgiving spread, these pears pair beautifully with our crispy latkes—the sweet pears complement the savory, crispy latkes perfectly.
Nutritional Information & Benefits
While these pears are a treat, they also offer some nutritional benefits worth noting.
Estimated Nutritional Values (per 1/2 cup serving, including syrup):
- Calories: 180-200
- Total Fat: 0g
- Sodium: 5mg
- Total Carbohydrates: 48g
- Dietary Fiber: 4g
- Sugars: 42g
- Protein: 1g
Health Benefits of Key Ingredients:
- Pears are rich in fiber, vitamin C, and antioxidants. They support digestive health and help reduce inflammation.
- Cinnamon has anti-inflammatory properties and may help regulate blood sugar levels.
- Vanilla contains small amounts of antioxidants and has a calming, mood-boosting aroma.
Dietary Considerations:
- Naturally gluten-free, dairy-free, and vegan
- Contains no nuts or soy
- High in sugar due to the syrup—enjoy in moderation
- Not suitable for low-sugar or keto diets without modifications
Potential Allergens: None of the common allergens are present in this recipe, but always check your vanilla extract for hidden ingredients if you have sensitivities.
I personally love that these pears feel indulgent but are made from whole, real ingredients. They’re a treat I feel good about keeping in my pantry—and sharing with friends.
If you’re looking for another make-ahead side dish that’s both healthy and festive, try our pomegranate quinoa salad for a fresh, colorful addition to any meal.
Conclusion
These homemade cinnamon spiced canned pears in vanilla syrup are one of those recipes that feels like a secret weapon. They’re simple enough for a beginner canner, but impressive enough to gift to someone who thinks you’re a kitchen wizard. The combination of tender pears, warm cinnamon, and fragrant vanilla is pure comfort in a jar.
I love that this recipe captures a moment in time—the peak of pear season, preserved in syrup so you can enjoy it months later. Every time I open a jar in the middle of winter, I’m transported back to that crisp autumn afternoon when I first made them for my sister. And honestly? That’s the best part of canning. It’s not just about preserving food. It’s about preserving memories.
I’d love to hear how these turn out for you. Did you try a variation? Serve them with something unexpected? Share your experience in the comments below—I read every single one. And if you make a batch for someone special, tag me so I can see your beautiful jars. Happy canning, friends!
Frequently Asked Questions
Can I use ground cinnamon instead of cinnamon sticks?
You can, but I don’t recommend it. Ground cinnamon will make the syrup cloudy and can settle at the bottom of the jar. Cinnamon sticks infuse the syrup gently and leave it clear and beautiful. If you must use ground, add about 1/2 teaspoon per jar, but expect a different texture.
How long do these canned pears last?
Properly sealed jars stored in a cool, dark place will last up to 12 months. After that, the quality starts to decline, though they’ll still be safe to eat if the seal is intact. I always try to use mine within 6-8 months for the best flavor and texture.
Do I need to peel the pears?
Yes, peeling is essential for this recipe. The skins become tough and chewy during processing, and they can make the syrup cloudy. The blanching step makes peeling easy, so don’t skip it.
Can I use this recipe for other fruits?
Absolutely! The vanilla cinnamon syrup works beautifully with apples, peaches, nectarines, and even plums. Adjust the processing time based on the fruit—apples need 20 minutes, peaches need 25, and plums need 20. Just make sure the fruit is firm and ripe.
What if my jars don’t seal?
Don’t panic. If a jar doesn’t seal within 24 hours, simply refrigerate it and use within 2 weeks. The pears are perfectly safe to eat—they just need to be stored in the fridge. You can also reprocess the jar with a new lid if you catch it within 24 hours, but I usually just enjoy them as a “refrigerator treat.”
Pin This Recipe!
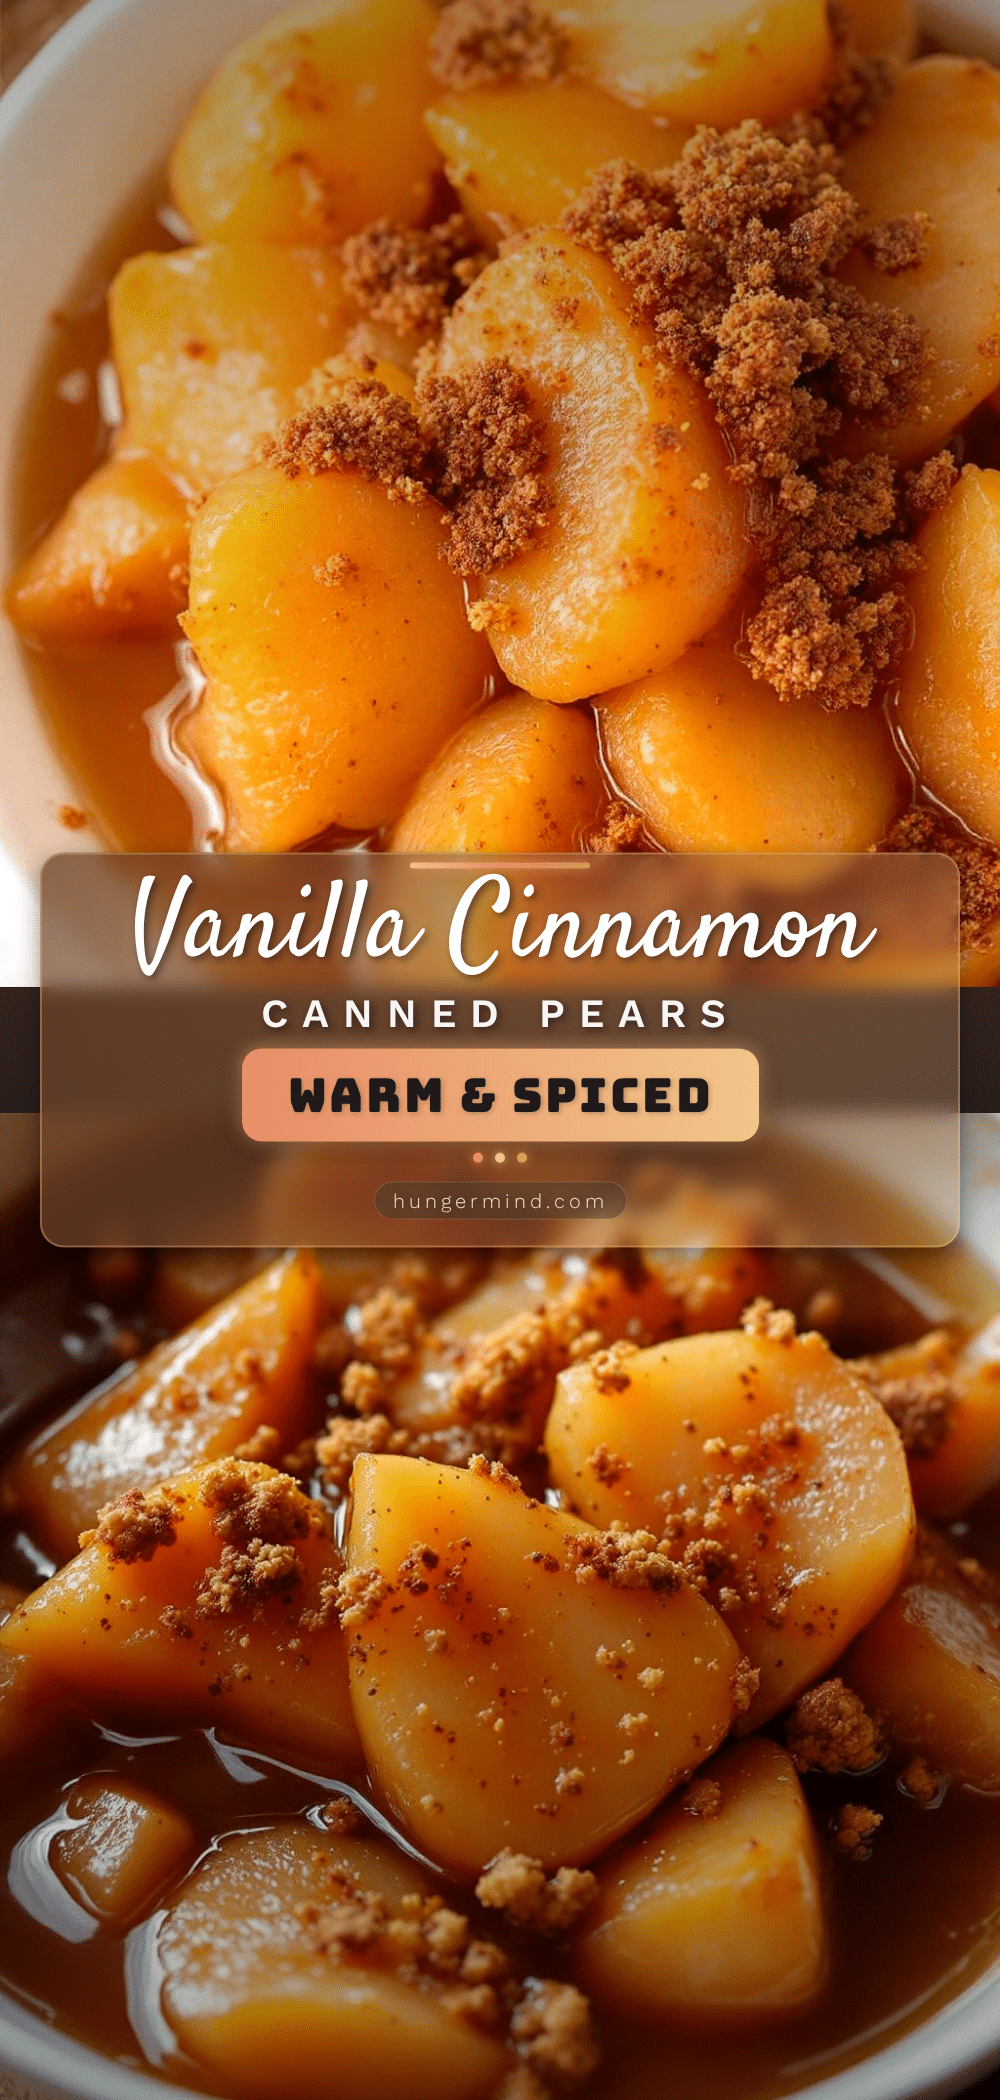
Easy Homemade Cinnamon Vanilla Canned Pears

These homemade cinnamon spiced canned pears in vanilla syrup are simple enough for a beginner canner, but impressive enough to gift. The combination of tender pears, warm cinnamon, and fragrant vanilla is pure comfort in a jar.
- Prep Time: 30 minutes
- Cook Time: 20 minutes
- Total Time: 2 hours (including cooling)
- Yield: 4-5 pint jars 1x
- Category: Preserves
- Cuisine: American
Ingredients
- 4–5 pounds firm, ripe pears (Bosc or Bartlett)
- 3 cups granulated sugar
- 4 cups water
- 2 vanilla beans, split lengthwise
- 4–6 cinnamon sticks
- 1/4 cup fresh lemon juice
- Optional: 2-3 star anise pods
- Pinch of canning salt or kosher salt per jar (optional)
Instructions
- Wash jars, lids, and bands in hot soapy water. Place jars in canner or stockpot, cover with water, and bring to a simmer (180°F). Keep hot until ready to fill. Place lids in hot water to soften sealing compound.
- In a large saucepan, combine 4 cups water and 3 cups sugar. Split vanilla beans, scrape seeds into sugar water, and add pods. Add cinnamon sticks. Bring to a boil, stirring until sugar dissolves. Reduce heat and simmer.
- Fill a large pot with water and bring to a boil. Drop pears in for 30-60 seconds. Transfer to ice water. Cool, then peel with a paring knife.
- Cut each pear in half lengthwise. Remove core and seeds with a melon baller or spoon. Place pear halves in a bowl of water mixed with lemon juice to prevent browning.
- Remove a hot jar from canner. Drain pears and pack tightly into jar, cut side down. Add one cinnamon stick piece and one piece of vanilla bean pod per jar. Leave 1/2 inch headspace. Remove air bubbles with bubble remover tool. Add more syrup if needed.
- Wipe jar rims with a clean, damp towel. Place lid on jar and screw on band until fingertip-tight.
- Place filled jars back into canner, ensuring they are covered by 1-2 inches of water. Bring to a full rolling boil. Process pint jars for 20 minutes (adjust for altitude: add 5 minutes per 1,000 feet above sea level).
- After processing, turn off heat and let jars sit in water for 5 minutes. Transfer to a clean towel on counter. Cool completely, undisturbed, for 12-24 hours. Check seals: press center of lid; it should not flex. Refrigerate any unsealed jars and use within 2 weeks.
Notes
Don’t skip blanching the pears—it makes peeling easy. Keep the syrup hot when filling jars to prevent breakage. Pears taste best after resting for at least 2 weeks. If pears float after processing, don’t worry; they’ll settle as they absorb syrup.
Nutrition
- Serving Size: 1/2 cup
- Calories: 180200
- Sugar: 42
- Sodium: 5
- Carbohydrates: 48
- Fiber: 4
- Protein: 1
Keywords: canned pears, cinnamon pears, vanilla pears, homemade canned pears, water bath canning, pear preserves, spiced pears, easy canning recipe