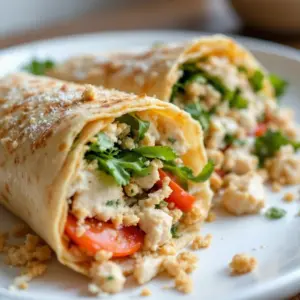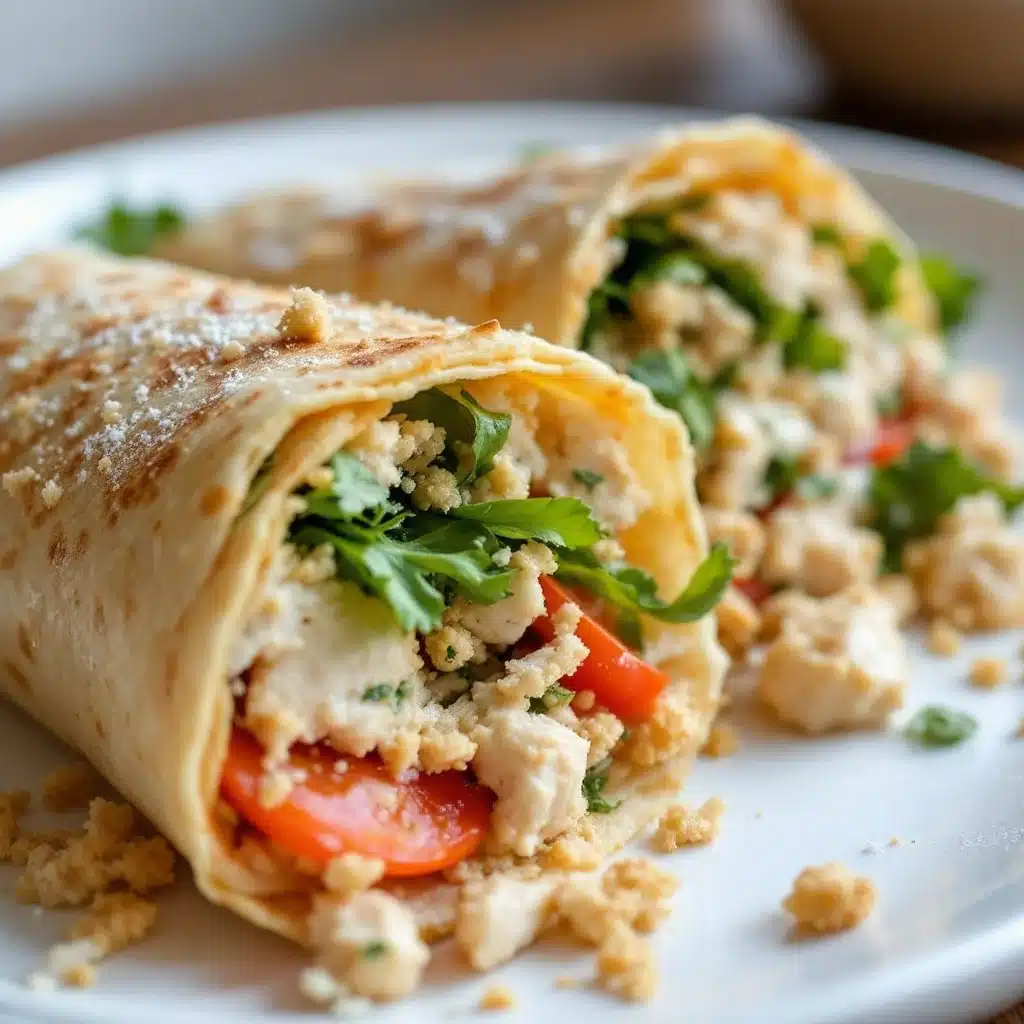
Monday morning, 7:42 AM. The lunchboxes were sitting open on the counter—empty, staring at me like three little accusations. I had leftover rotisserie chicken from Sunday dinner, half a head of romaine that was starting to look sad, and a block of Parmesan that was mostly rind at this point. The kids needed something packable by 8:15. Not soup. Not something that would get soggy. Something they’d actually eat, not trade away.
I grabbed the chicken and started shredding it with my fingers (still cold from the fridge). The Caesar dressing was hiding behind a jar of pickles—store-bought, but good enough. I tore the romaine into strips, dumped everything into a bowl, and tossed it with my hands. Then I saw the tortillas in the back of the bread drawer, half a pack from taco night two weeks ago. And I just thought—why not wrap it?
These Easy Chicken Caesar Wraps weren’t supposed to be a recipe. They were a survival move. But when I bit into the test wrap (because you always test the first one, obviously), I actually stopped chewing for a second. The crunch of the romaine against the creamy dressing, the salty punch of Parmesan, the way the chicken held everything together—it worked. It really, really worked. My oldest asked for seconds that afternoon. That never happens.
And honestly? That’s how the best lunchbox recipes are born. Not from planning or Pinterest boards. From a clock that’s ticking and a fridge that’s almost empty.
Why You’ll Love This Recipe
I’ve made these wraps at least thirty times since that first desperate morning. They’ve become my secret weapon for school lunches, park picnics, and those days when I need to eat something at my desk that doesn’t require a fork. Here’s why they work:
- 15 Minutes Flat — From fridge to lunchbox in the time it takes to brew coffee. No cooking required if you use pre-cooked chicken.
- No Soggy Bread Drama — The romaine stays crunchy because the dressing gets tossed with the chicken first. Science, baby.
- Pantry-Friendly — You probably have 80% of these ingredients right now. The other 20% are easy swaps.
- Kid-Approved, Adult-Craved — My nephew calls them “salad tacos” and eats three in one sitting. I call that a win.
- Meal Prep Gold — Make five on Sunday, grab and go all week. They actually taste better on day two.
What makes these different from every other wrap recipe out there? It’s the technique. Most people just dump everything in a tortilla and roll it up like a burrito. That’s fine, but it’s not great. I toss the chicken and Parmesan with the dressing first—letting it sit for two minutes so the cheese softens and the flavors meld. Then I add the romaine right before rolling. That little extra step means every bite has perfectly coated chicken, not just the first one.
These wraps are the kind of recipe that makes you feel like you have your life together, even when you absolutely don’t. They’re forgiving, flexible, and somehow manage to be both comforting and fresh at the same time. You close your eyes after the first bite, and for a second, everything feels manageable.
What Ingredients You Will Need
This recipe leans on simple, supermarket-friendly ingredients that come together for something way bigger than the sum of their parts. No specialty stores, no obscure sauces. Just honest ingredients that do their job.
For the wraps:
- Cooked chicken breast — 2 cups, shredded or diced. Rotisserie chicken is my go-to (the one from Costco works perfectly). Leftover grilled chicken, baked chicken, or even canned chicken in a pinch—just drain it well.
- Romaine lettuce — 2 cups, chopped into bite-sized strips. The inner leaves are crunchier. Save the darker outer leaves for something else.
- Parmesan cheese — ½ cup, freshly grated. Please don’t use the green can. The pre-grated stuff doesn’t melt into the dressing the same way. A microplane does the job in 30 seconds.
- Large flour tortillas — 4 to 6, depending on how stuffed you like them. Burrito-size (10-inch) works best. Spinach or sun-dried tomato tortillas add color and a mild flavor boost.
- Caesar dressing — ⅓ cup, plus a little extra for brushing. I like Ken’s or homemade if I have anchovies in the fridge. The refrigerated stuff near the produce section is usually better than the shelf-stable bottles.
- Croutons — ½ cup, crushed slightly (optional but recommended). They add texture that makes these wraps feel more substantial. I crush them right in the bag with my hands—therapeutic.
For the optional add-ins:
- Lemon juice — 1 tablespoon, fresh. Brightens everything up if your dressing is heavy.
- Black pepper — Freshly cracked, to taste. Skip the salt—Parmesan and dressing are salty enough.
- Fresh parsley or chives — A handful, chopped. Makes it look like you tried harder than you did.
Equipment Needed
You don’t need much for these wraps. That’s kind of the point. Here’s what you’ll want:
- Cutting board and sharp knife — A dull knife will bruise the romaine. Trust me, I’ve done it. A sharp chef’s knife makes clean cuts.
- Large mixing bowl — Big enough to toss everything without flinging romaine across the counter. I use my grandmother’s old ceramic one.
- Microplane or box grater — For the Parmesan. A vegetable peeler works too, but you’ll get bigger shards instead of fine shreds.
- Measuring cups and spoons — Or just eyeball it. After the first time, you’ll know.
- Plastic wrap or parchment paper — For wrapping the finished wraps tightly. Parchment is better for the environment, but plastic wrap seals tighter.
- Sharpie or labels — If you’re meal prepping, write the date on the wrap. Day-old wraps are fine. Three-day-old wraps are a gamble.
No food processor needed. No stand mixer. No special gadgets. If you’ve got a knife, a bowl, and a flat surface, you’re in business.
Preparation Method
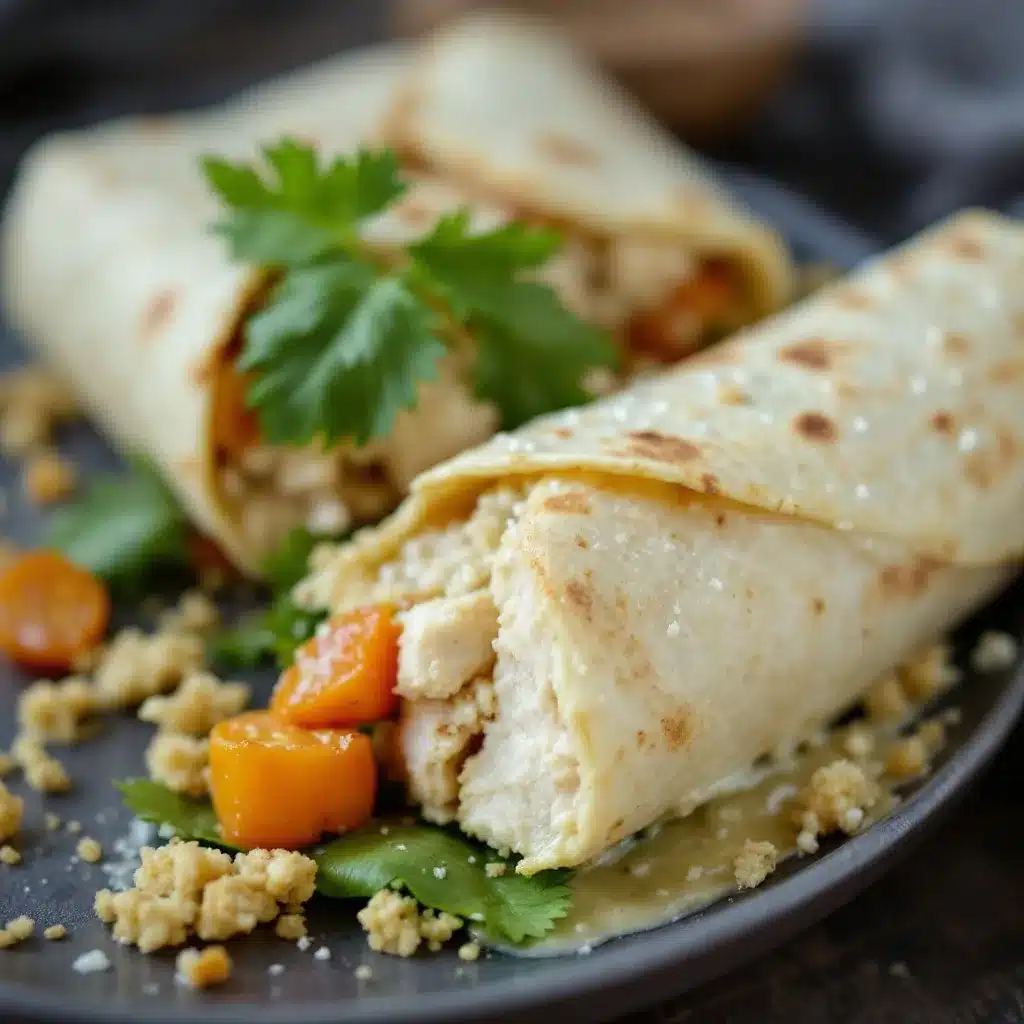
- Prep your chicken (2 minutes) — If using rotisserie chicken, pull the meat off the bone and shred it with two forks or your fingers. Dice into small, even pieces—about ½-inch chunks. Nobody wants a giant hunk of chicken in one bite and nothing in the next. You should have about 2 cups. If your chicken is cold from the fridge, let it sit on the counter for 5 minutes while you prep everything else.
- Grate the Parmesan (1 minute) — Use the fine side of a box grater or a microplane. You want fluffy, snow-like shreds, not thick strips. Measure ½ cup loosely packed. Eat a pinch. Then another pinch. Now you have slightly less than ½ cup. That’s fine.
- Wash and chop the romaine (2 minutes) — Rinse the romaine hearts and pat them completely dry with a clean kitchen towel or paper towels. Wet lettuce = soggy wraps. Stack the leaves, roll them into a cigar shape, and slice crosswise into ½-inch ribbons. You want pieces small enough to stay in the wrap but big enough to give you that crunch.
- Make the chicken mixture (3 minutes) — In your large bowl, combine the shredded chicken, ⅓ cup Caesar dressing, and half the grated Parmesan. Toss until every piece of chicken is coated. Let it sit for 2 minutes. This is the magic step. The Parmesan softens into the dressing, and the chicken absorbs all that garlicky, anchovy goodness.
- Add the crunch (1 minute) — If using croutons, crush them inside the bag with your hands or a rolling pin. You want pea-sized pieces, not dust. Add them to the chicken mixture and toss again. They’ll absorb a little dressing and stay soft in the center with crispy edges.
- Add the romaine (30 seconds) — Add the chopped romaine to the bowl. Toss gently with your hands or tongs. Don’t overmix—you want the lettuce coated, not bruised. The romaine should look glossy but not wet. If it looks soupy, you used too much dressing. Add a few more lettuce leaves to balance it out.
- Warm the tortillas (30 seconds) — Microwave the tortillas between damp paper towels for 15-20 seconds. This makes them pliable and less likely to crack when you roll them. Alternatively, warm them one at a time in a dry skillet for 10 seconds per side. You’ll see tiny bubbles form—that’s your signal.
- Assemble the wraps (2 minutes each) — Lay a warm tortilla on a clean surface. Spoon about ¾ cup of the filling into the center, leaving a 2-inch border on all sides. Don’t overstuff—I know it’s tempting, but overstuffed wraps burst. Spread the filling into a log shape, not a circle. Sprinkle the remaining Parmesan on top of the filling.
- Roll like a pro (1 minute each) — Fold the sides of the tortilla inward over the filling. Then fold the bottom edge up and over the filling, tucking it snugly. Roll away from you, keeping tension but not squeezing so hard that the filling squishes out the ends. Place seam-side down. If your tortilla cracks, you either overstuffed it or didn’t warm it enough.
- Secure and chill (1 minute) — Wrap each completed wrap tightly in plastic wrap or parchment paper. Twist the ends like a candy wrapper. Refrigerate for at least 15 minutes before slicing—this helps the wrap hold its shape. When you’re ready to eat, slice diagonally with a serrated knife. The diagonal cut looks fancier and makes the filling less likely to fall out.
Cooking Tips & Techniques
The first time I made these, I used cold tortillas straight from the fridge. Big mistake. The tortilla cracked right down the middle, and I ended up eating a deconstructed Caesar salad wrap bowl with a fork. Still delicious. Not lunchbox-friendly.
The drying step matters more than you think. Wet romaine is the enemy of a good wrap. After washing, spin the lettuce in a salad spinner, then lay the leaves on a clean kitchen towel and roll it up. Let it sit for 5 minutes while you prep everything else. That extra drying time makes a noticeable difference. If you’re in a hurry, use paper towels and press gently.
Don’t skip the resting time. After you roll the wraps, let them sit in the fridge for at least 15 minutes before cutting. I know you’re hungry. I know the kids are circling. But that resting time lets the gluten in the tortilla relax and the filling settle. Wraps cut immediately fall apart. Wraps that rest hold together beautifully.
Here’s a trick I learned from a deli counter guy in Brooklyn: brush the outside of the tortilla with a tiny bit of olive oil or extra dressing before you roll it. It seals the tortilla slightly and adds flavor. Don’t overdo it—just a light smear with a pastry brush or your finger.
My biggest failure? I once made these with low-fat dressing to save calories. Don’t do it. The texture was watery, the flavor was flat, and the wraps fell apart by lunchtime. Full-fat dressing has emulsifiers that help everything stick together. If you’re watching calories, use less dressing, not a different kind.
Timing tip: Make the chicken mixture the night before and store it in the fridge. In the morning, all you have to do is chop the lettuce, warm the tortillas, and roll. That cuts your morning time down to about 5 minutes.
Variations & Adaptations
These wraps are basically a blank canvas. Here are the versions I’ve tested and loved:
Grilled Chicken Caesar Wrap — Instead of rotisserie chicken, grill a chicken breast with salt, pepper, and a squeeze of lemon. Let it rest for 5 minutes before slicing. The smoky flavor adds a whole new dimension. I do this when I’m already firing up the grill for dinner and make extra for the week.
Mediterranean Twist — Swap the Caesar dressing for a lemon-herb vinaigrette. Add chopped kalamata olives, crumbled feta instead of Parmesan, and a handful of cherry tomatoes sliced in half. Leave out the croutons and add toasted pine nuts instead. This version is incredible with the shaved fennel and apple salad I sometimes serve alongside.
Spicy Southwest Version — Use chipotle ranch dressing instead of Caesar. Add black beans, corn, diced avocado, and a sprinkle of cumin. Top with crushed tortilla chips instead of croutons. My teenager requests this version specifically—it’s the one that gets traded most at the lunch table.
Low-Carb Lettuce Wraps — Skip the tortilla entirely and use large romaine or butter lettuce leaves as the wrapper. Double up the leaves for sturdiness. Fill and roll the same way, using toothpicks to secure. These don’t hold as long in the fridge (eat within 24 hours), but they’re perfect for a low-carb lunch.
Vegetarian Option — Replace chicken with chickpeas (drained, rinsed, and roughly mashed) or cubed extra-firm tofu that’s been pan-seared until golden. Toss with the same dressing mixture. The chickpea version is surprisingly satisfying—the texture mimics chicken better than you’d expect.
Serving & Storage Suggestions
These wraps are best served cold or at room temperature. If you’re packing them for lunch, take them straight from the fridge and add an ice pack to the lunchbox. They’ll be perfectly chilled by lunchtime.
For presentation: Slice diagonally and arrange cut-side up on a plate. A small handful of extra romaine on the side makes it look like a restaurant plate. I sometimes tuck a few crispy patatas bravas alongside for a heartier meal.
Storage: Wrapped tightly in plastic wrap or parchment paper, these keep in the refrigerator for up to 3 days. Day 2 is actually the sweet spot—the flavors have melded, and the tortilla has softened just enough to be easy to bite through. By day 4, the romaine starts to wilt and the tortilla can get soggy. I don’t recommend freezing these—the lettuce texture suffers too much.
Reheating: Honestly, don’t. These are meant to be eaten cold. If you absolutely must have a warm wrap, assemble it fresh and heat it in a panini press or dry skillet for 2 minutes per side. But you’ll lose the crunch of the romaine. Cold is the way to go here.
Packing tip for lunchboxes: If you’re packing these for kids, slice the wrap into 1-inch pinwheels instead of diagonal halves. They look like sushi rolls and kids find them more fun to eat. Secure each pinwheel with a toothpick if needed.
The flavors actually develop over time. The garlic in the dressing mellows out, the Parmesan integrates more fully, and the chicken absorbs the dressing in a way that makes it taste almost marinated. These are one of those rare recipes that get better as they sit.
Nutritional Information & Benefits
Per wrap (using standard ingredients, no add-ins):
- Calories: Approximately 380-420
- Protein: 28-32 grams
- Carbohydrates: 28-32 grams
- Fat: 16-20 grams
- Fiber: 3-4 grams
- Sodium: 680-750 mg (varies by dressing)
These wraps pack a solid protein punch, which makes them great for keeping energy levels steady through the afternoon. The romaine provides vitamin A and K, plus hydration. The Parmesan adds calcium and a little protein boost. If you use Greek yogurt-based Caesar dressing, you can lower the fat content without sacrificing creaminess.
Dietary considerations: This recipe contains gluten (tortillas), dairy (Parmesan), and eggs (in most Caesar dressings). For a gluten-free version, use corn tortillas or lettuce wraps. For dairy-free, use a vegan Caesar dressing and omit the Parmesan or use a plant-based alternative. For nut-free, this recipe is naturally nut-free as written.
I’m not a nutritionist, but I’ve found that having a high-protein lunch like this one keeps me from reaching for the 3 PM snack drawer. It’s real food that actually fuels you—not just filler.
Conclusion
These Easy Chicken Caesar Wraps have saved more lunchbox mornings than I can count. They’re the kind of recipe that doesn’t ask much of you but gives back a lot—a full fridge, a full belly, and the satisfaction of knowing you made something good with what you had.
The beauty of this recipe is how forgiving it is. Use whatever chicken you’ve got. Swap the dressing for ranch if that’s what’s in your fridge. Add bacon if you’re feeling fancy. Leave out the croutons if you’re watching carbs. It works every time. That’s not a brag—that’s just the truth of a well-designed recipe.
I’d love to hear how these turn out for you. Did you add something unexpected? Did your kid actually eat them without complaint? Drop a comment below and let me know. And if you’re looking for another lunchbox-friendly option, try these with a side of crispy broccoli salad with bacon and cranberries—they’re a surprisingly good match.
Now go raid your fridge. I bet you’re closer to a great lunch than you think.
Frequently Asked Questions
Can I make these wraps ahead of time for the whole week?
Yes, but I wouldn’t push it past 3 days. Make them on Sunday, and they’ll be perfect for Monday through Wednesday lunch. By Thursday, the romaine starts to lose its crunch. If you want to prep further ahead, make the chicken mixture alone and store it in the fridge, then assemble the wraps fresh each morning. That takes about 3 minutes per wrap.
What’s the best way to keep the wraps from getting soggy?
Dry your romaine thoroughly. This is the number one cause of soggy wraps. After washing, spin the lettuce in a salad spinner, then roll it in a clean kitchen towel and let it sit for 5 minutes. Also, don’t overdress the chicken mixture—it should be coated but not swimming. If you’re packing these for a later lunch, keep the dressing separate and add it just before eating.
Can I use a different type of lettuce?
Romaine is the best choice because it’s sturdy and stays crunchy. Butter lettuce is too delicate and will wilt. Iceberg works in a pinch but has less flavor. Kale is too tough unless you massage it with dressing first. If you’re out of romaine, go with a sturdy green like little gem or even shredded cabbage for a different texture.
How do I keep the wraps from unrolling in the lunchbox?
Wrap them tightly in plastic wrap or parchment paper and twist the ends like a candy wrapper. The pressure keeps everything in place. If you’re really worried, use a damp paper towel around the outside before wrapping—the moisture helps the tortilla seal. For kids’ lunchboxes, slicing into pinwheels and securing with toothpicks works beautifully.
Can I grill these wraps for a warm lunch?
You can, but you’ll lose the cold crunch that makes these wraps special. If you want a warm version, assemble the wrap without the romaine, grill it in a panini press or dry skillet for 2-3 minutes per side until golden, then open it up, add the romaine, and close it back up. The romaine stays cold and crunchy while the outside is warm and toasty. Best of both worlds.
Pin This Recipe!
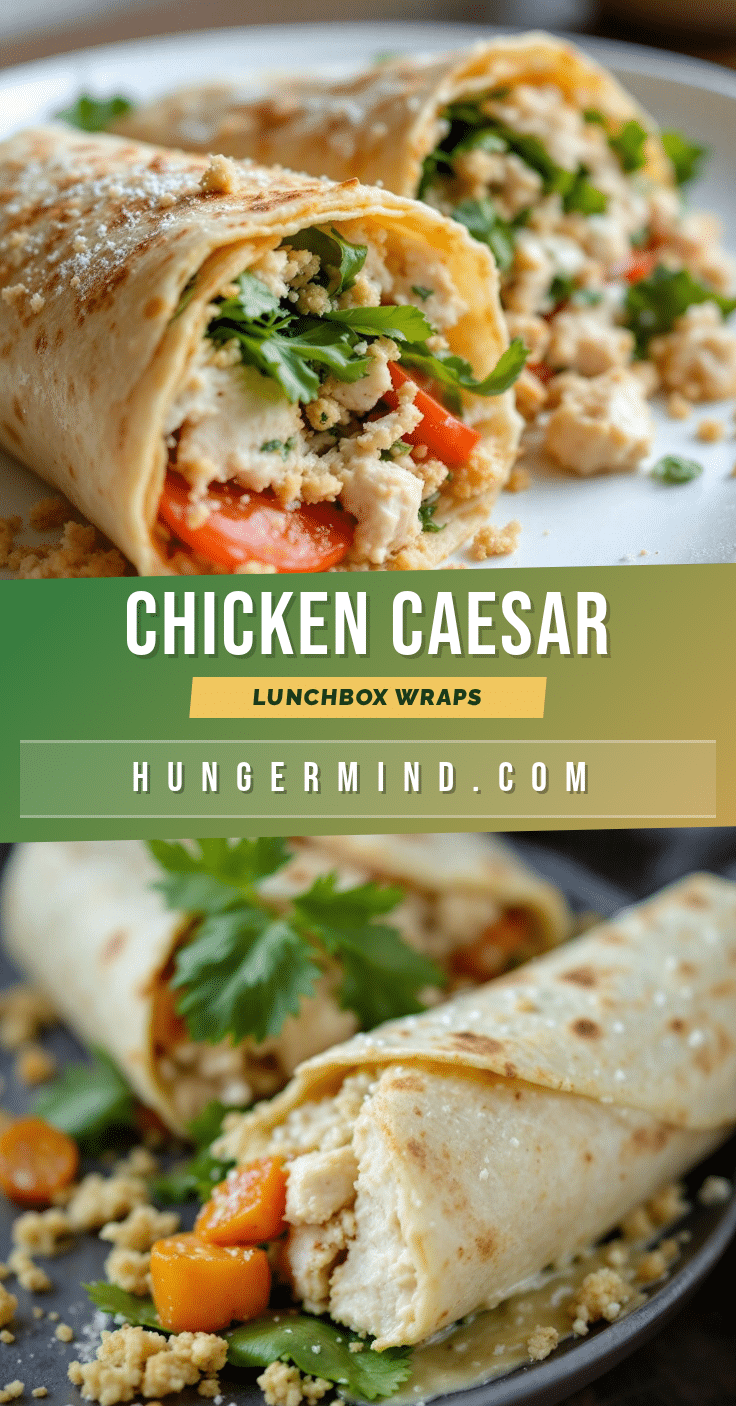
Easy Chicken Caesar Wraps: Best 15-Minute Lunchbox Meal

These Easy Chicken Caesar Wraps are a quick, 15-minute lunchbox solution made with rotisserie chicken, crunchy romaine, Parmesan, and Caesar dressing. Perfect for busy mornings, they stay fresh for days and are kid-approved.
- Prep Time: 15 minutes
- Cook Time: 0 minutes
- Total Time: 15 minutes
- Yield: 4 to 6 servings 1x
- Category: Main Course
- Cuisine: American
Ingredients
- 2 cups cooked chicken breast, shredded or diced
- 2 cups romaine lettuce, chopped into bite-sized strips
- ½ cup freshly grated Parmesan cheese
- 4 to 6 large flour tortillas (10-inch)
- ⅓ cup Caesar dressing, plus extra for brushing
- ½ cup croutons, crushed slightly (optional)
- 1 tablespoon fresh lemon juice (optional)
- Freshly cracked black pepper to taste (optional)
- A handful fresh parsley or chives, chopped (optional)
Instructions
- Prep your chicken (2 minutes): If using rotisserie chicken, pull the meat off the bone and shred it with two forks or your fingers. Dice into small, even pieces—about ½-inch chunks. You should have about 2 cups. If your chicken is cold from the fridge, let it sit on the counter for 5 minutes while you prep everything else.
- Grate the Parmesan (1 minute): Use the fine side of a box grater or a microplane. You want fluffy, snow-like shreds, not thick strips. Measure ½ cup loosely packed.
- Wash and chop the romaine (2 minutes): Rinse the romaine hearts and pat them completely dry with a clean kitchen towel or paper towels. Stack the leaves, roll them into a cigar shape, and slice crosswise into ½-inch ribbons.
- Make the chicken mixture (3 minutes): In a large bowl, combine the shredded chicken, ⅓ cup Caesar dressing, and half the grated Parmesan. Toss until every piece of chicken is coated. Let it sit for 2 minutes.
- Add the crunch (1 minute): If using croutons, crush them inside the bag with your hands or a rolling pin to pea-sized pieces. Add them to the chicken mixture and toss again.
- Add the romaine (30 seconds): Add the chopped romaine to the bowl. Toss gently with your hands or tongs. Don’t overmix—you want the lettuce coated, not bruised.
- Warm the tortillas (30 seconds): Microwave the tortillas between damp paper towels for 15-20 seconds. Alternatively, warm them one at a time in a dry skillet for 10 seconds per side.
- Assemble the wraps (2 minutes each): Lay a warm tortilla on a clean surface. Spoon about ¾ cup of the filling into the center, leaving a 2-inch border on all sides. Spread the filling into a log shape. Sprinkle the remaining Parmesan on top.
- Roll like a pro (1 minute each): Fold the sides of the tortilla inward over the filling. Then fold the bottom edge up and over the filling, tucking it snugly. Roll away from you, keeping tension. Place seam-side down.
- Secure and chill (1 minute): Wrap each completed wrap tightly in plastic wrap or parchment paper. Twist the ends like a candy wrapper. Refrigerate for at least 15 minutes before slicing. When ready to eat, slice diagonally with a serrated knife.
Notes
Dry the romaine thoroughly to avoid soggy wraps. Let the chicken mixture sit for 2 minutes to meld flavors. Rest the rolled wraps in the fridge for at least 15 minutes before slicing. For meal prep, make the chicken mixture the night before and assemble in the morning.
Nutrition
- Serving Size: 1 wrap
- Calories: 400
- Sugar: 2
- Sodium: 715
- Fat: 18
- Saturated Fat: 5
- Carbohydrates: 30
- Fiber: 3.5
- Protein: 30
Keywords: chicken Caesar wraps, easy lunchbox meal, 15-minute recipe, rotisserie chicken, kid-friendly lunch, meal prep wraps