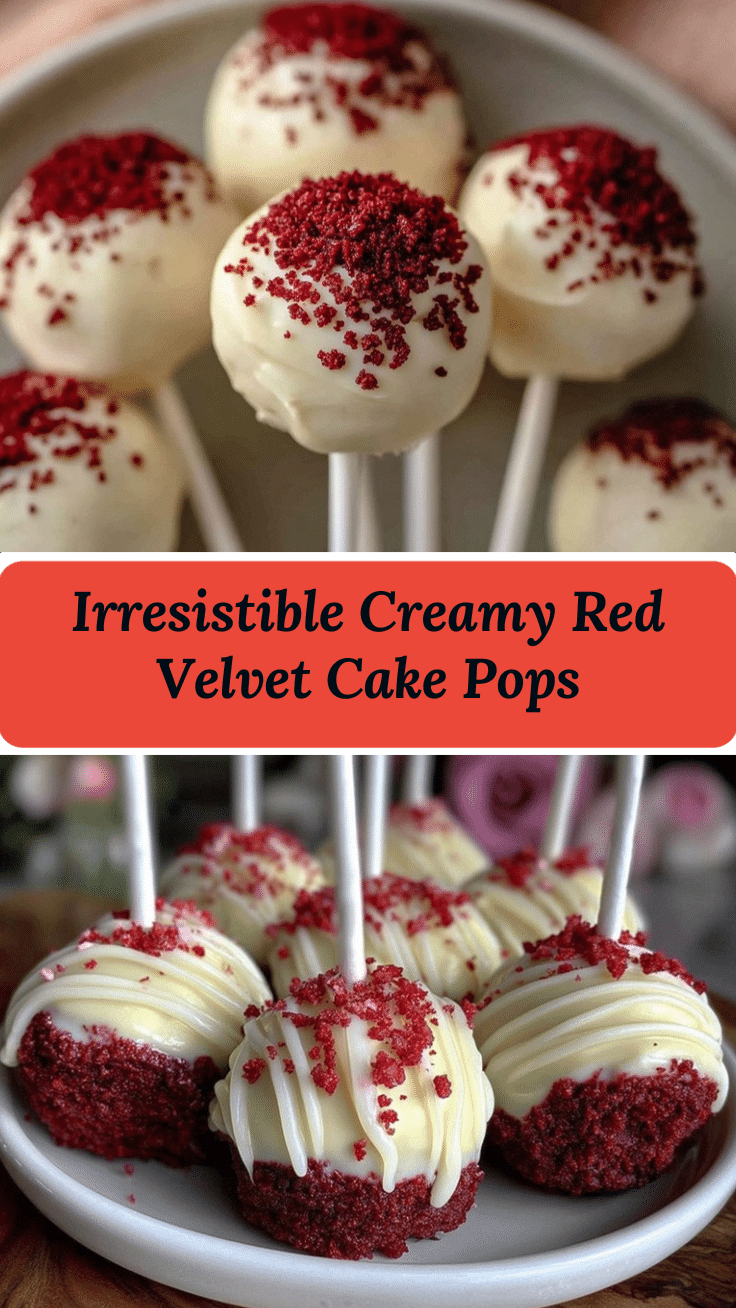
Let me tell you, the moment the rich, tangy aroma of cream cheese frosting mingled with the deep, cocoa-infused scent of red velvet hit my kitchen, I knew I was onto something truly special. The first time I made these creamy red velvet cake pops, I was instantly hooked—the kind of moment where you pause, take a deep breath, and just smile because you know you’re about to share pure, nostalgic comfort in bite-sized form. Years ago, when I was knee-high to a grasshopper, my grandma’s kitchen was a treasure trove of sweet treats, but nothing quite compared to these little gems. I stumbled upon this recipe on a rainy weekend, trying to capture that classic red velvet flavor with a fun twist.
Honestly, my family couldn’t stop sneaking these cake pops off the cooling rack (and I can’t really blame them). They’re dangerously easy to make and perfect for potlucks, birthday parties, or just brightening up your Pinterest dessert board with a pop of color and creamy texture. You know what? These creamy red velvet cake pops have become a staple for family gatherings and gifting, tested multiple times in the name of research, of course. If you haven’t tried making cake pops at home, you’re going to want to bookmark this one.
Why You’ll Love This Creamy Red Velvet Cake Pops Recipe
From my kitchen to yours, this creamy red velvet cake pops recipe stands out for so many reasons. I’ve tried countless versions, but this one hits all the right notes—moist, creamy, and packed with flavor. It’s been chef-tested, family-approved, and yes, it’s got that perfect balance of sweet and tangy that makes red velvet so beloved.
- Quick & Easy: Comes together in under an hour, perfect for busy weeknights or last-minute dessert cravings.
- Simple Ingredients: No fancy grocery trips needed; you likely already have everything in your pantry.
- Perfect for Any Occasion: Whether it’s a birthday bash, baby shower, or cozy winter gathering, these cake pops fit right in.
- Crowd-Pleaser: Kids and adults alike rave about the creamy texture and bold red velvet flavor.
- Unbelievably Delicious: The combo of moist cake and smooth cream cheese frosting makes every bite a pure joy.
What makes these cake pops different? It’s all about the creamy filling—blending just the right amount of cream cheese to get that luscious texture without overpowering the delicate cocoa flavor. Plus, the secret is in the carefully balanced sweetness and tang, making these pops more than just a dessert—they’re a little celebration on a stick. This recipe isn’t just good—it’s the kind that makes you close your eyes after the first bite and savor the moment.
What Ingredients You Will Need for Creamy Red Velvet Cake Pops
This recipe uses simple, wholesome ingredients to deliver bold flavor and a satisfying texture without the fuss. Most are pantry staples, with a few fresh items to make the creaminess pop.
- For the Red Velvet Cake:
- All-purpose flour, 2 cups (240g) – I prefer King Arthur for consistent texture
- Granulated sugar, 1 ½ cups (300g)
- Unsweetened cocoa powder, 2 tbsp (use Dutch-processed for richer flavor)
- Baking soda, 1 tsp
- Salt, ½ tsp
- Buttermilk, 1 cup (240ml) – adds moisture and tang; substitute with milk + vinegar if needed
- Vegetable oil, ½ cup (120ml) – for tender crumb
- Large eggs, 2, room temperature
- Vanilla extract, 1 tsp
- Red food coloring, 2 tbsp (gel or liquid works; gel is more vibrant)
- Distilled white vinegar, 1 tsp (helps the cake rise and enhances color)
- For the Cream Cheese Frosting Filling:
- Cream cheese, 8 oz (225g), softened – I love Philadelphia brand for smoothness
- Unsalted butter, ½ cup (113g), softened (adds richness)
- Powdered sugar, 2 cups (240g), sifted to avoid lumps
- Vanilla extract, 1 tsp
- For Coating and Decoration:
- White chocolate or candy melts, 12 oz (340g) – choose good-quality for smooth finish
- Sprinkles or edible glitter (optional, for that extra sparkle)
- Cake pop sticks
Feel free to swap all-purpose flour with a gluten-free blend if needed, and use dairy-free cream cheese and butter alternatives for a vegan twist. Freshness counts here, so soften your cream cheese and butter well for that creamy filling you’ll swoon over.
Equipment Needed
- Mixing bowls (medium and large)
- Electric mixer or stand mixer – a lifesaver for smooth frosting
- Measuring cups and spoons for accuracy
- Baking pans (9×13-inch or two 8-inch round pans work well)
- Cooling rack to let the cake cool evenly
- Cake pop sticks (available online or at craft stores)
- Microwave-safe bowl or double boiler for melting chocolate
- Baking sheet lined with parchment paper or a silicone mat for setting cake pops
If you don’t have a stand mixer, a hand mixer will do just fine (I’ve made these countless times with both). For melting chocolate, a double boiler is gentler, preventing burning, but the microwave method works great with careful 20-second bursts and stirring. Don’t forget to keep your cake pop sticks handy—nothing worse than ready-to-dip cake balls without sticks!
Preparation Method
- Preheat your oven to 350°F (175°C) and grease your baking pans or line them with parchment paper. This helps your cake slide right out without sticking.
- Mix Dry Ingredients: In a large bowl, sift together 2 cups (240g) all-purpose flour, 2 tbsp (15g) cocoa powder, 1 tsp baking soda, and ½ tsp salt. This ensures a light, even crumb.
- Whisk Wet Ingredients: In another bowl, combine 1 ½ cups (300g) granulated sugar and ½ cup (120ml) vegetable oil until smooth. Add 2 large eggs one at a time, beating well after each.
- Add Flavor and Color: Stir in 1 tsp vanilla extract, 2 tbsp red food coloring, and 1 tsp distilled white vinegar for that signature tang and vibrant red hue.
- Alternate Mixing Wet and Dry: Gradually add the dry ingredients to the wet mixture, alternating with 1 cup (240ml) buttermilk. Begin and end with dry ingredients. Mix until just combined to avoid dense cake.
- Bake the Cake: Pour batter evenly into prepared pans and bake for 30-35 minutes, or until a toothpick comes out clean. Let cool completely on a rack—this is key for making perfect cake pops.
- Prepare the Cream Cheese Frosting: Beat 8 oz (225g) softened cream cheese and ½ cup (113g) softened butter until fluffy. Gradually add 2 cups (240g) sifted powdered sugar, beating until smooth, then mix in 1 tsp vanilla extract.
- Crumble and Mix: Once the cake is cool, crumble it finely into a large bowl. Add about ¾ cup (180g) of the cream cheese frosting and mix until the texture is moist enough to hold shape but not sticky.
- Form Cake Balls: Roll the mixture into 1-inch (2.5cm) balls and place on a lined baking sheet. Chill in the fridge for at least 1 hour to firm up.
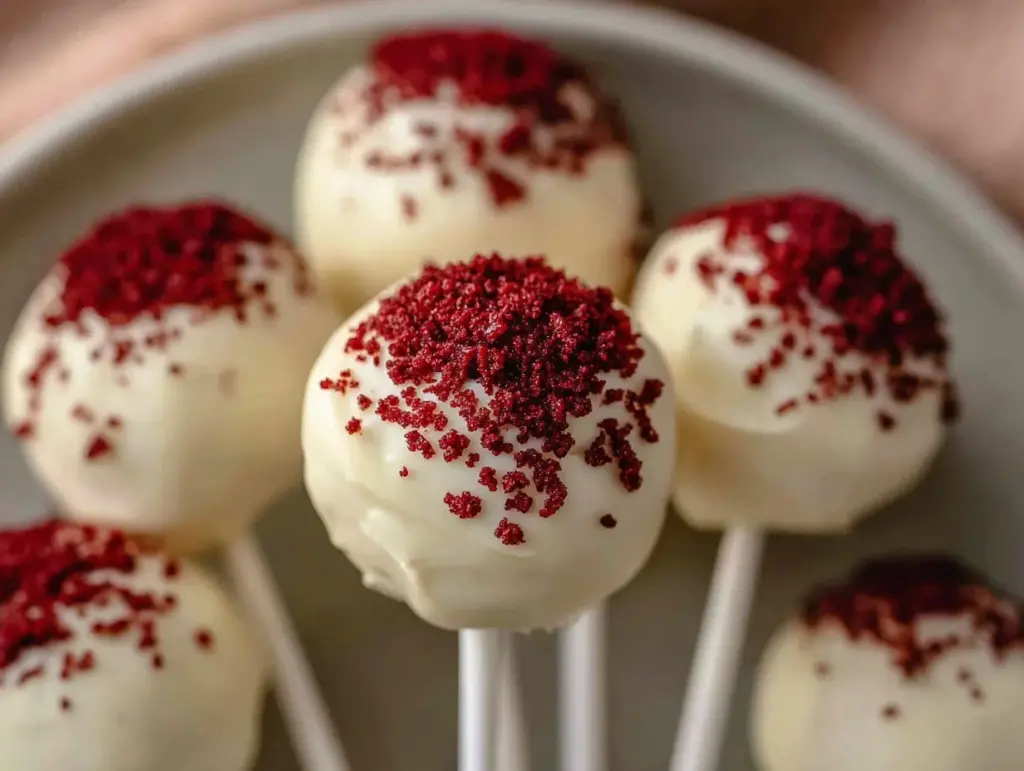
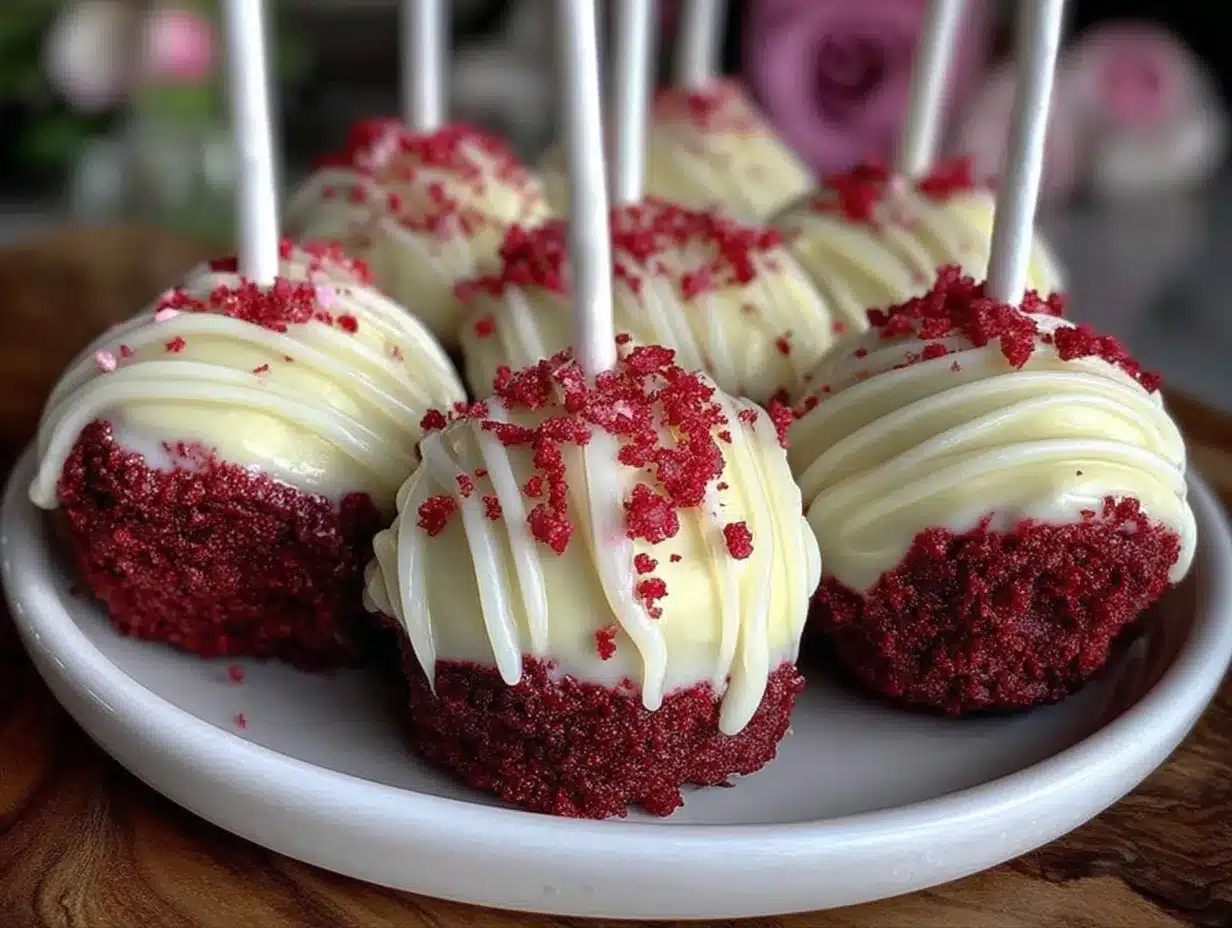
- Dip and Decorate: Melt 12 oz (340g) white chocolate or candy melts in a microwave-safe bowl (30-second intervals, stirring). Dip the tip of a cake pop stick into the chocolate, then insert halfway into a cake ball (this keeps them secure). Dip the entire ball into the melted chocolate, tap off excess, and decorate with sprinkles if desired.
- Set and Serve: Stick the cake pops upright in a styrofoam block or a stand. Let the coating harden at room temperature or briefly chill to speed up the process. Enjoy!
Pro tip: If your melted chocolate feels too thick, stir in a teaspoon of vegetable oil to get a smoother dip. Also, don’t skip chilling the cake balls before dipping—they hold together much better and prevent cracking.
Cooking Tips & Techniques for Perfect Cake Pops
Making creamy red velvet cake pops is a bit like magic, but a few lessons learned the hard way can save you some headaches. First off, don’t overmix your batter—overworked cake can become dense and dry, and that’s the last thing you want here. When mixing the cake crumbs with frosting, add the frosting gradually. Too little frosting and your balls will crumble apart; too much and they’ll be greasy and heavy.
Melting chocolate can be tricky. I’ve burnt more than one batch by rushing it. Use short bursts in the microwave or a gentle double boiler, stirring often. If your chocolate thickens as you dip, a tiny splash of oil helps smooth it back out.
Chilling time is your friend. Let the cake balls chill for at least 60 minutes to firm up. This prevents them from falling apart when you insert the sticks or dip them. I’ve learned this the hard way (hello, soggy cake pops!).
Lastly, when dipping, hold the cake pop still and tap off excess coating gently—you want a smooth, even layer without big drips. If you want sprinkles, add them right after dipping before the chocolate sets.
Variations & Adaptations
Want to switch things up? Here are some ideas to make these cake pops your own:
- Vegan Version: Swap eggs for flax eggs (1 tbsp flaxseed meal + 3 tbsp water per egg), use dairy-free cream cheese and butter, and make sure your candy melts are vegan-friendly.
- Seasonal Flavors: Add a pinch of cinnamon or pumpkin pie spice to the cake batter for fall vibes, or swap red food coloring with natural beet powder.
- Chocolate Lover’s Twist: Mix mini dark chocolate chips into the cake-frosting mixture or drizzle melted dark chocolate over the white chocolate coating for contrast.
- Nut-Free Option: Ensure all ingredients and decorations are nut-free; substitute any almond-based products with safe alternatives.
- Personal Favorite: I once added a splash of espresso to the batter for a mocha red velvet pop that was an absolute hit at an office party.
Serving & Storage Suggestions
Serve these creamy red velvet cake pops at room temperature for the best texture and flavor. They’re fantastic on a dessert table, paired with a cup of coffee or a glass of cold milk. For presentation, line them up in a pretty vase or foam block decorated with colorful tissue paper—it’s always a crowd-pleaser.
Store leftover cake pops in an airtight container in the refrigerator for up to 5 days. Before serving, let them sit out for 15 minutes to take off the chill and soften slightly. If you want to keep them longer, freeze them for up to 2 months. Thaw overnight in the fridge and bring to room temp before serving.
Flavors actually deepen a bit after a day or two in the fridge, so making them ahead can be a smart move (just keep them covered to prevent drying out). Reheating? Just skip it—these pops are meant to be enjoyed cool and creamy, not warm.
Nutritional Information & Benefits
Each creamy red velvet cake pop contains approximately 180-220 calories, depending on size and coating thickness. They offer a satisfying treat with a moderate amount of fat and sugar, perfect for occasional indulgence. Key ingredients like cream cheese provide calcium and protein, while cocoa powder adds antioxidants.
This recipe can be adapted for gluten-free or vegan diets, making it versatile for many dietary needs. Just be mindful of common allergens like dairy and eggs, and swap accordingly if needed. I find these cake pops a wonderful way to enjoy dessert without going overboard—balanced sweetness and real ingredients make them a feel-good treat.
Conclusion
If you’re looking for a dessert that’s creamy, colorful, and downright irresistible, these creamy red velvet cake pops are it. They strike the perfect balance between classic flavors and fun presentation, making them a guaranteed hit whether you’re baking for friends, family, or just yourself. Customize them with your favorite flavors or decorating style, and you’ll have a dessert that feels personal and special.
I love this recipe because it’s both comforting and playful—reminding me of childhood memories while making new ones. So go ahead, give these cake pops a try and let me know how they turn out! Don’t forget to share your own tweaks or decorating fails—because honestly, that’s half the fun of baking.
Now it’s your turn: grab your ingredients and get popping!
FAQs About Creamy Red Velvet Cake Pops
How long do red velvet cake pops last?
Stored in an airtight container in the refrigerator, they last up to 5 days. For longer storage, freeze for up to 2 months.
Can I use a boxed cake mix for the cake pops?
Absolutely! A red velvet boxed mix works well if you’re short on time. Just adjust the frosting amount to get the right consistency.
Why are my cake pops crumbly and falling apart?
Usually, this means there’s not enough frosting mixed in. Add a bit more frosting gradually until the mixture holds together without being greasy.
Can I make cake pops without cake pop sticks?
Yes, but the sticks make them easier to dip and eat. You can use wooden skewers or even sturdy toothpicks as alternatives.
How do I prevent chocolate coating from cracking?
Make sure your cake pops are chilled before dipping, and avoid rapid temperature changes. Room temperature dipping chocolate also helps prevent cracking.
Pin This Recipe!
Creamy Red Velvet Cake Pops

These creamy red velvet cake pops combine moist red velvet cake with smooth cream cheese frosting, coated in white chocolate for a perfect bite-sized dessert. Easy to make and perfect for any occasion, they offer a nostalgic and colorful treat.
- Prep Time: 20 minutes
- Cook Time: 35 minutes
- Total Time: 1 hour 55 minutes
- Yield: 24 servings 1x
- Category: Dessert
- Cuisine: American
Ingredients
- 2 cups (240g) all-purpose flour
- 1 ½ cups (300g) granulated sugar
- 2 tbsp (15g) unsweetened cocoa powder (Dutch-processed preferred)
- 1 tsp baking soda
- ½ tsp salt
- 1 cup (240ml) buttermilk (or milk + vinegar substitute)
- ½ cup (120ml) vegetable oil
- 2 large eggs, room temperature
- 1 tsp vanilla extract
- 2 tbsp red food coloring (gel or liquid)
- 1 tsp distilled white vinegar
- 8 oz (225g) cream cheese, softened
- ½ cup (113g) unsalted butter, softened
- 2 cups (240g) powdered sugar, sifted
- 1 tsp vanilla extract
- 12 oz (340g) white chocolate or candy melts
- Sprinkles or edible glitter (optional)
- Cake pop sticks
Instructions
- Preheat oven to 350°F (175°C) and grease or line baking pans with parchment paper.
- In a large bowl, sift together flour, cocoa powder, baking soda, and salt.
- In another bowl, mix sugar and vegetable oil until smooth. Add eggs one at a time, beating well after each.
- Stir in vanilla extract, red food coloring, and distilled white vinegar.
- Alternately add dry ingredients and buttermilk to the wet mixture, beginning and ending with dry ingredients. Mix until just combined.
- Pour batter into prepared pans and bake 30-35 minutes or until a toothpick comes out clean. Cool completely on a rack.
- Beat cream cheese and butter until fluffy. Gradually add powdered sugar, beating until smooth, then mix in vanilla extract.
- Crumble cooled cake into a large bowl. Add about ¾ cup (180g) cream cheese frosting and mix until moist but not sticky.
- Roll mixture into 1-inch balls and place on a lined baking sheet. Chill in fridge for at least 1 hour.
- Melt white chocolate or candy melts in microwave-safe bowl in 30-second intervals, stirring between.
- Dip tip of cake pop stick into melted chocolate, insert halfway into cake ball, then dip entire ball into chocolate. Tap off excess and decorate with sprinkles if desired.
- Place cake pops upright in styrofoam block or stand. Let coating harden at room temperature or chill briefly before serving.
Notes
Do not overmix the batter to avoid dense cake. Add frosting gradually to cake crumbs to get the right consistency. Chill cake balls for at least 1 hour before dipping to prevent cracking. Use short bursts when melting chocolate and stir often. Add a teaspoon of vegetable oil to melted chocolate if too thick. Store cake pops in an airtight container in the fridge up to 5 days or freeze up to 2 months.
Nutrition
- Serving Size: 1 cake pop
- Calories: 200
- Sugar: 18
- Sodium: 150
- Fat: 12
- Saturated Fat: 6
- Carbohydrates: 24
- Fiber: 1
- Protein: 3
Keywords: red velvet cake pops, creamy cake pops, cream cheese frosting, easy dessert, party treats, bite-sized dessert


