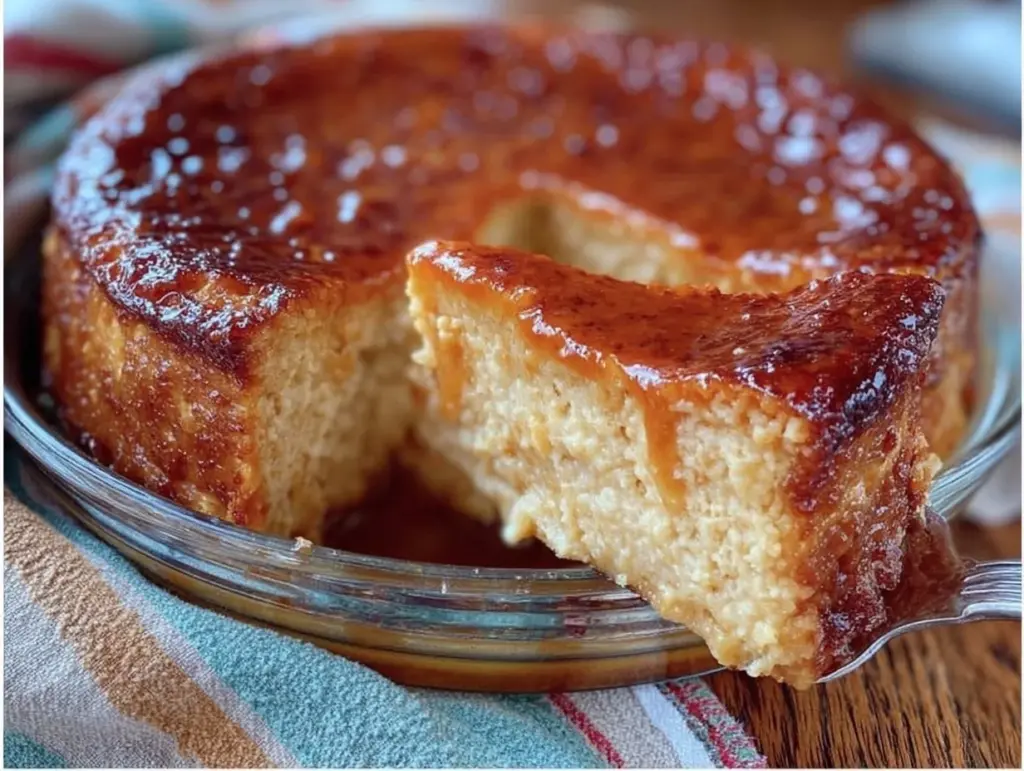
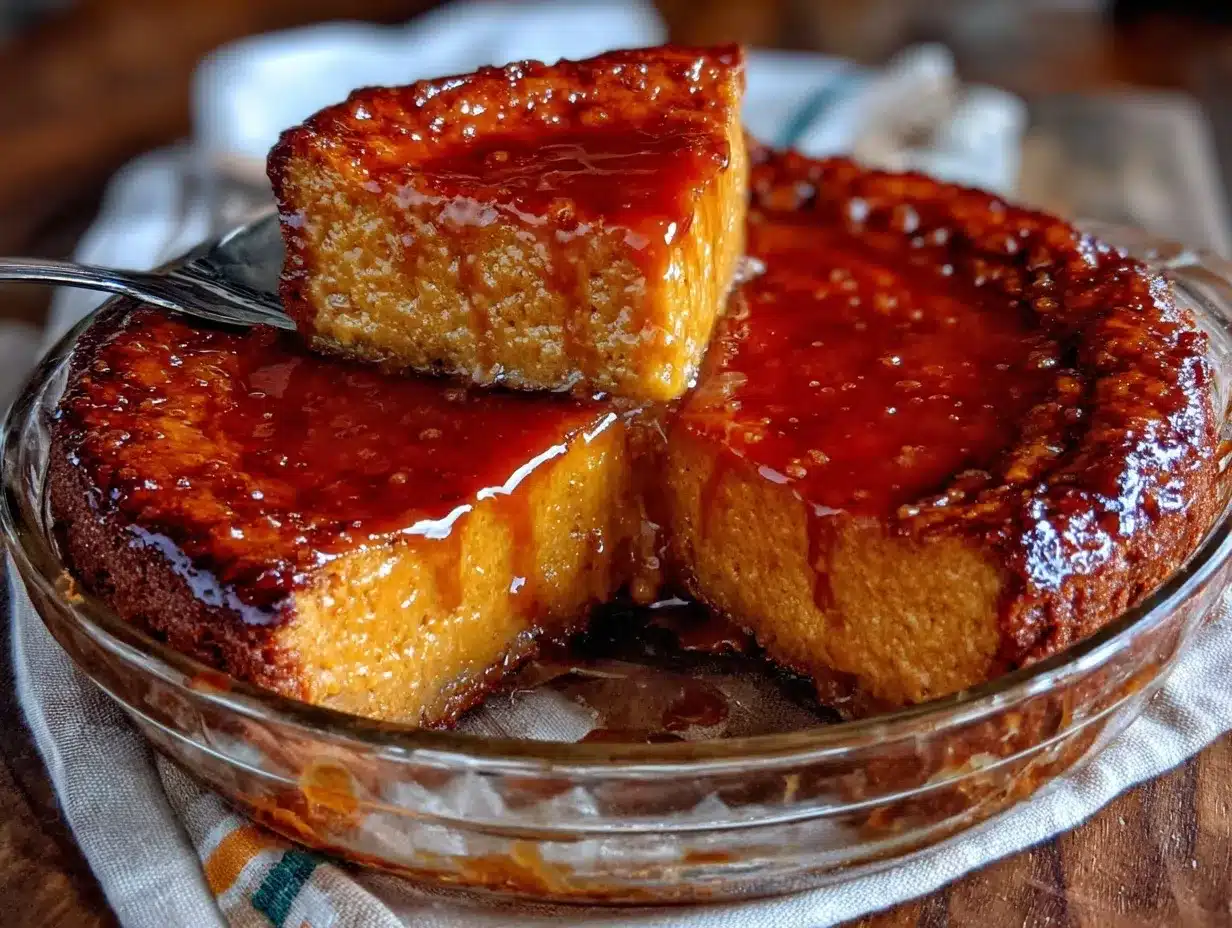
Let me tell you, the first time I tasted this creamy crustless pumpkin pie, it was like autumn had wrapped me in a warm hug. The aroma of cinnamon, nutmeg, and pumpkin filling the air—it’s the kind of scent that instantly makes you think of cozy sweaters, crunchy leaves, and holiday gatherings. The texture? Oh, it’s smooth and velvety, with just the right balance of sweetness and spice. Honestly, it’s everything you love about pumpkin pie but simpler, lighter, and completely gluten-free.
Years ago, I started experimenting with crustless pies to save time (and let’s be real, fewer dishes to wash). This pumpkin pie was born out of one of those rainy fall days when I wanted something comforting but didn’t feel like rolling out dough. The result? A perfect slice of autumn that’s become a family favorite. My kids call it “the magic pie,” and my husband has been known to sneak an extra slice when no one’s looking. You know it’s good when it doesn’t even make it to the fridge for leftovers!
This recipe is dangerously easy to make and perfect for gifting or gatherings. Whether you’re hosting Thanksgiving or just want a sweet treat to enjoy on a crisp fall evening, this creamy pumpkin pie is going to hit the spot. It’s so good, I’ve tested it multiple times “for research purposes” (wink), and every single time, it’s been a hit.
Why You’ll Love This Recipe
- Quick & Easy: Comes together in under an hour, so you can whip it up even on busy days.
- Simple Ingredients: No fancy shopping trips required—most of these are pantry staples.
- Gluten-Free: Perfect for those with dietary restrictions, but trust me, everyone will love it.
- Creamy Texture: Smooth, velvety, and rich without being overly heavy.
- Perfect for Fall: Packed with warm spices and pumpkin flavor that screams autumn.
- Make-Ahead Friendly: Great for prepping ahead of time for gatherings or holiday feasts.
What sets this pie apart is its simplicity and flavor. No crust means less hassle, but the filling is so creamy and satisfying that you won’t miss it one bit. Plus, you can easily customize the spice level or sweetness to suit your tastes. It’s comfort food at its finest—easy, delicious, and guaranteed to make you feel all warm and fuzzy inside.
What Ingredients You Will Need
This recipe uses simple, wholesome ingredients to deliver bold flavor and satisfying texture without the fuss. Here’s what you’ll need:
- Pure Pumpkin Puree: Not pumpkin pie filling! I recommend canned pumpkin for convenience.
- Sweetened Condensed Milk: Creates the perfect creamy texture and sweetness.
- Large Eggs: Room temperature, for binding and richness.
- Pumpkin Pie Spice: A blend of cinnamon, nutmeg, ginger, and cloves for that classic fall flavor.
- Vanilla Extract: Just a touch to enhance the flavors.
- Salt: Balances the sweetness and spices.
All of these ingredients are easy to find and work together to create a pie that’s bursting with autumn flavor. If you’re feeling adventurous, you can tweak the spices or add a splash of maple syrup for extra depth.
Equipment Needed
- Mixing Bowl: A medium-sized bowl works perfectly.
- Whisk: For blending the ingredients smoothly.
- 9-Inch Pie Dish: Glass or ceramic pie dishes work best for even baking.
- Spatula: Handy for scraping every last bit of filling.
- Oven Mitts: Safety first!
If you don’t have a dedicated pie dish, a round cake pan works in a pinch. Just make sure to grease it lightly to avoid sticking.
Preparation Method
- Preheat your oven to 350°F (175°C). Grease your 9-inch pie dish lightly with butter or cooking spray.
- In a mixing bowl, whisk together the pumpkin puree and sweetened condensed milk until smooth.
- Add the eggs, one at a time, whisking well after each addition.
- Sprinkle in the pumpkin pie spice, vanilla extract, and salt. Stir until fully combined.
- Pour the mixture into the prepared pie dish, smoothing the top with a spatula.
- Bake for 40-45 minutes or until the center is set and a knife inserted comes out clean.
- Remove from the oven and let cool completely at room temperature, then refrigerate for at least 2 hours before serving.
Pro tip: If the edges start browning too quickly, cover them with foil to prevent overbaking. The pie will firm up as it cools, so don’t worry if it looks a little jiggly when you take it out of the oven.
Cooking Tips & Techniques
- Room Temperature Ingredients: Use eggs at room temperature for a smoother filling.
- Don’t Overmix: Whisk just until combined to avoid air bubbles in your pie.
- Let It Cool: Allow the pie to cool completely for the best texture and flavor.
- Test Doneness: A clean knife means your pie is ready to come out of the oven.
- Adjust Spices: If you like a stronger spice kick, add an extra dash of cinnamon or nutmeg.
One mistake I made while testing this recipe was rushing the cooling process. Trust me—let it chill completely; the flavors deepen and the texture becomes beautifully creamy.
Variations & Adaptations
- Dairy-Free: Swap sweetened condensed milk with coconut milk and add a little maple syrup for sweetness.
- Low-Carb: Use a sugar-free condensed milk alternative for a keto-friendly version.
- Extra Spicy: Add a pinch of cardamom or allspice for a unique twist.
- Seasonal Topping: Serve with whipped cream and a sprinkle of crushed pecans or caramel drizzle.
If you want a fun personal twist, try adding a layer of whipped cream on top before serving—it makes the pie look extra festive and adds a light, fluffy contrast to the creamy filling.
Serving & Storage Suggestions
This pie is best served chilled, straight from the fridge. Pair it with a dollop of whipped cream or a scoop of vanilla ice cream for a perfect dessert experience.
- Store: Cover tightly and refrigerate for up to 4 days.
- Freeze: Wrap in plastic wrap and foil, and freeze for up to 1 month. Thaw overnight in the fridge.
- Reheat: Warm slices gently in the microwave if you prefer a warm dessert.
The flavors deepen as the pie sits, so I actually think it tastes better the next day!
Nutritional Information & Benefits
Here’s a general estimate per slice (based on 8 servings):
- Calories: 180
- Protein: 4g
- Fat: 5g
- Carbohydrates: 30g
- Sugar: 22g
Pumpkin is packed with beta-carotene, which supports eye health and boosts immunity, and the spices add natural anti-inflammatory benefits. Plus, with no crust, this dessert is lower in carbs compared to traditional pies.
Conclusion
Trust me, this creamy crustless pumpkin pie is one recipe you’ll want to keep handy all season long. It’s simple, gluten-free, and full of cozy fall flavors that make every bite memorable. Whether you’re hosting a gathering or treating yourself to a slice after dinner, this pie delivers comfort and joy in every bite.
I’d love to hear how you make this recipe your own! Do you tweak the spices or add your favorite toppings? Share your thoughts in the comments below—and don’t forget to pin this recipe for later. Happy baking!
FAQs
Can I use fresh pumpkin instead of canned?
Absolutely! Just make sure to puree it until smooth and drain any excess liquid for the best texture.
How do I know when the pie is done?
The center should be set, and a knife inserted should come out clean. If it jiggles slightly, it will firm up as it cools.
Can I make this pie ahead of time?
Yes, it’s perfect for prepping ahead! Chill it in the fridge overnight for the best flavor.
What toppings go well with this pie?
Whipped cream, crushed pecans, caramel drizzle, or even a sprinkle of cinnamon are great options.
Is this recipe suitable for a keto diet?
With a few tweaks, such as using sugar-free condensed milk, it can fit into a low-carb or keto lifestyle.
Pin This Recipe!
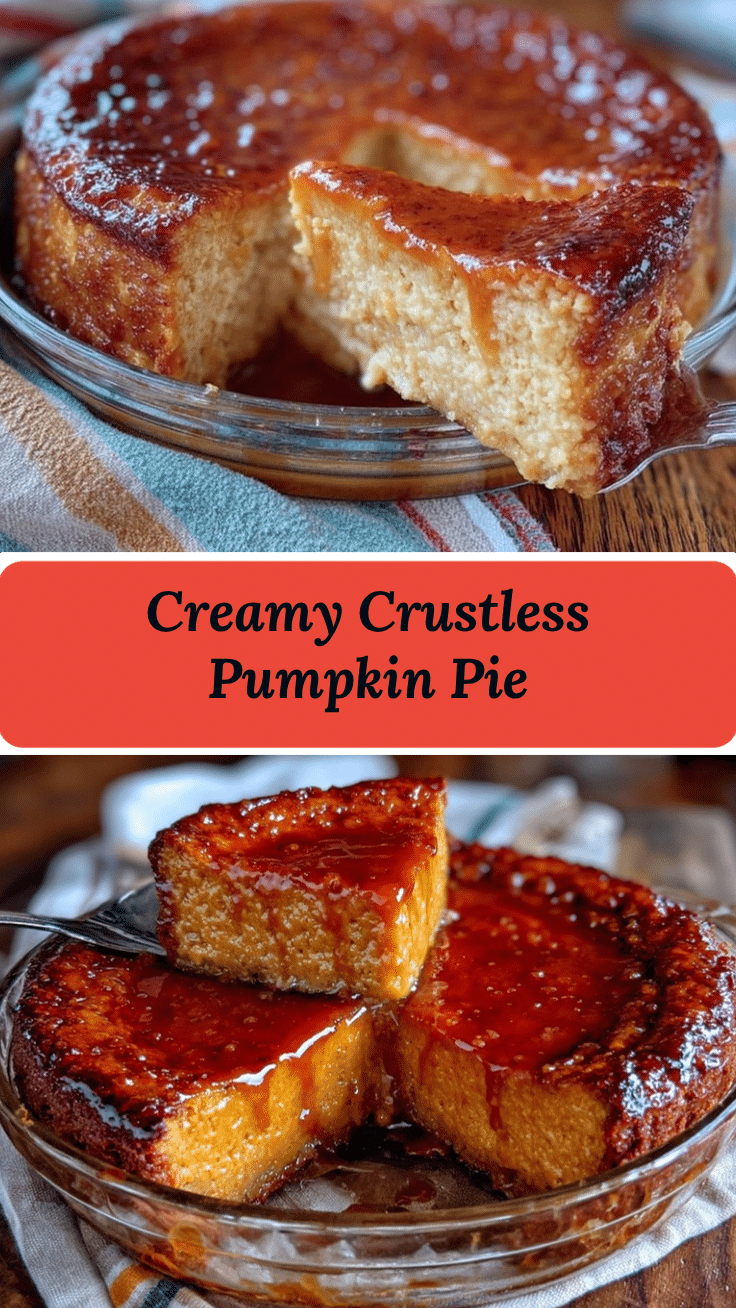
Creamy Pumpkin Pie Recipe Gluten-Free Perfect for Fall

A creamy, crustless pumpkin pie that’s smooth, velvety, and packed with cozy fall flavors. This gluten-free dessert is easy to make and perfect for gatherings or holiday feasts.
- Prep Time: 10 minutes
- Cook Time: 45 minutes
- Total Time: 55 minutes
- Yield: 8 servings 1x
- Category: Dessert
- Cuisine: American
Ingredients
- 1 can (15 ounces) pure pumpkin puree
- 1 can (14 ounces) sweetened condensed milk
- 2 large eggs, room temperature
- 1 teaspoon pumpkin pie spice
- 1 teaspoon vanilla extract
- 1/4 teaspoon salt
Instructions
- Preheat your oven to 350°F (175°C). Grease your 9-inch pie dish lightly with butter or cooking spray.
- In a mixing bowl, whisk together the pumpkin puree and sweetened condensed milk until smooth.
- Add the eggs, one at a time, whisking well after each addition.
- Sprinkle in the pumpkin pie spice, vanilla extract, and salt. Stir until fully combined.
- Pour the mixture into the prepared pie dish, smoothing the top with a spatula.
- Bake for 40-45 minutes or until the center is set and a knife inserted comes out clean.
- Remove from the oven and let cool completely at room temperature, then refrigerate for at least 2 hours before serving.
Notes
Allow the pie to cool completely for the best texture and flavor. Cover the edges with foil if they start browning too quickly. The pie firms up as it cools.
Nutrition
- Serving Size: 1 slice
- Calories: 180
- Sugar: 22
- Fat: 5
- Carbohydrates: 30
- Protein: 4
Keywords: pumpkin pie, gluten-free dessert, fall recipe, crustless pie, creamy pumpkin pie


