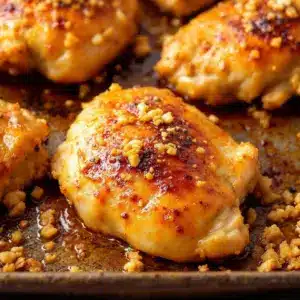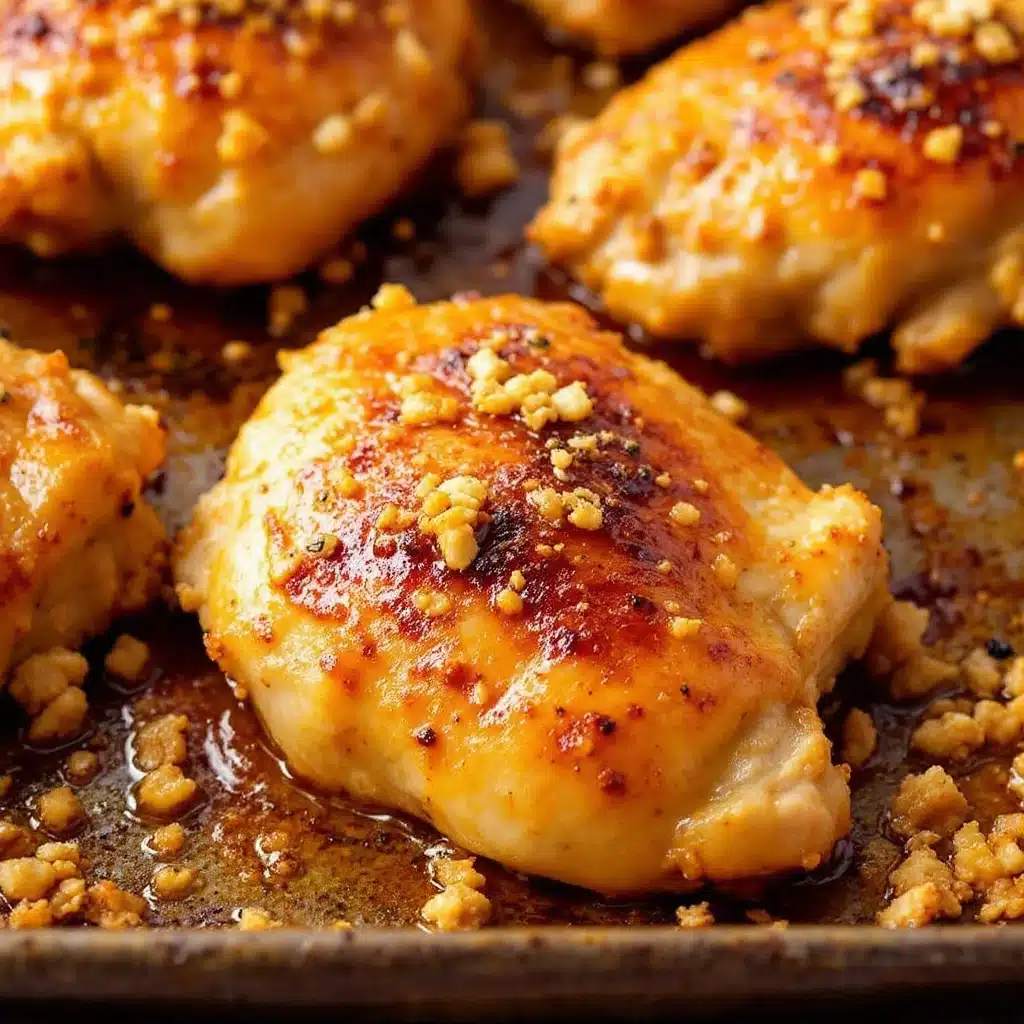
I figured the secret to truly sticky, restaurant-quality chicken thighs at home involved some complicated technique—maybe a double-glaze, a special pan, or a trip to the Asian market for a hard-to-find ingredient. It took about twenty minutes of staring at my pantry, feeling stubborn, for that assumption to fall apart completely. I had a bottle of honey, a head of garlic, some soy sauce, and a pack of bone-in, skin-on chicken thighs. That was it. The first time I made this, the kitchen filled with this crazy, sweet-savory smell that clung to everything—my hair, my sweater, even the dog who wandered in to investigate. The skin came out crackling, the meat was so tender it practically fell off the bone, and the glaze? It was that perfect, sticky, almost-caramelized coating you dream about. Honestly, I felt a little silly for overcomplicating it for so long. This recipe for sticky honey garlic baked chicken thighs taught me that the best weeknight dinners don’t need a shopping list. They just need a little faith in simple things.
Why You’ll Love This Recipe
Let’s be real—we all want dinner to be impressive without making us want to pull our hair out. These sticky honey garlic baked chicken thighs deliver exactly that. I’ve tested this more times than I care to admit, tweaking the glaze ratio and the baking time until it was just right. Here’s why this one sticks (pun intended).
- Simple Ingredients: You probably have everything for the glaze in your fridge and pantry right now. No fancy shopping trips required.
- Minimal Hands-On Time: The oven does all the heavy lifting. You mix a quick glaze, pour it over the chicken, and let it bake until it’s sticky and perfect.
- Perfect for a Crowd: This recipe scales up beautifully. Whether it’s a Tuesday night or a casual Friendsgiving, everyone goes back for seconds.
- Unbelievably Delicious: The combination of sweet honey, savory soy sauce, and pungent garlic creates a glaze that’s complex, deeply flavorful, and just the right amount of sticky.
What makes this different from other versions is the technique. We’re not just coating the chicken; we’re letting it bake in the glaze, allowing the sauce to reduce and caramelize around the meat. This creates that signature sticky texture on the outside while keeping the inside impossibly juicy. It’s comfort food that feels a little bit special, even on a busy weeknight. The kind of meal that makes you close your eyes after the first bite and just… enjoy it.
What Ingredients You Will Need
This recipe uses simple, pantry-friendly ingredients to create a surprisingly complex flavor. The magic is in the balance of sweet, savory, and aromatic elements.
- Bone-in, skin-on chicken thighs (about 2 lbs / 900g): This is non-negotiable for the best results. The bone keeps the meat moist during the long bake, and the skin gets gloriously crispy under the sticky glaze. I prefer this cut for its superior flavor and texture. If you only have boneless, skinless thighs, reduce the cooking time significantly (check at 25 minutes).
- Honey (1/3 cup / 115g): The star of the show. It provides the sweetness that caramelizes into that perfect sticky glaze. Use a good-quality, runny honey. Local honey is always a nice touch if you have it.
- Soy sauce (1/4 cup / 60ml): This adds the essential savory, umami backbone that balances the sweetness. I use low-sodium soy sauce to control the salt level. You can substitute with tamari or coconut aminos for a gluten-free option.
- Garlic (6 cloves, minced): Fresh garlic is a must here. Pre-minced garlic from a jar won’t give you the same punchy, aromatic flavor that infuses the glaze. Don’t be shy with it!
- Rice vinegar (2 tablespoons / 30ml): A touch of acidity brightens the whole dish and cuts through the richness of the honey and chicken. Apple cider vinegar or white wine vinegar can work in a pinch.
- Toasted sesame oil (1 tablespoon / 15ml): This adds a wonderful nutty aroma that makes the dish taste more complex. A little goes a long way, so don’t skip it.
- Fresh ginger (1 tablespoon, grated): Adds a warm, slightly spicy kick that pairs perfectly with the garlic and honey. I recommend using a microplane to grate it finely.
- Cornstarch (1 teaspoon): This is my little secret for the ultimate sticky texture. It helps the glaze thicken and cling to the chicken without being goopy.
Equipment Needed
You don’t need a lot of fancy gear for this one, which is part of the beauty. Here’s what you’ll need:
- 9×13-inch baking dish: This size is perfect for arranging the thighs in a single layer without overcrowding. A glass or ceramic dish works best for even heat distribution.
- Small mixing bowl: For whisking together the glaze ingredients.
- Whisk: To make sure the honey and soy sauce are fully combined.
- Chef’s knife and cutting board: For mincing the garlic and grating the ginger.
- Microplane or fine grater: Makes grating ginger a breeze and ensures it melts into the sauce.
- Tongs: For flipping the chicken halfway through baking without tearing the skin.
That’s it! No special pans or gadgets required. If you don’t have a 9×13, you can use a large cast-iron skillet or a rimmed baking sheet, just keep an eye on the glaze so it doesn’t burn.
Preparation Method
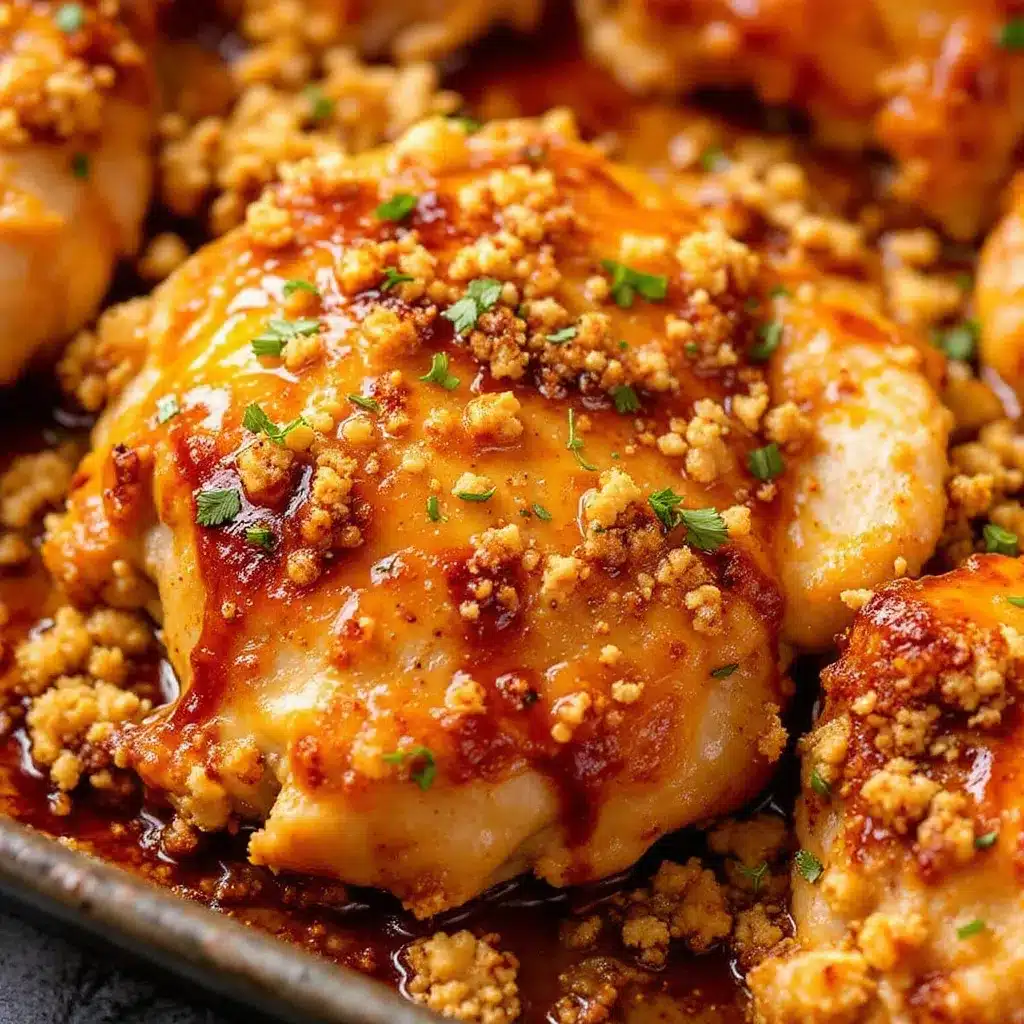
This recipe is more about letting the oven work its magic than slaving over a hot stove. Follow these steps for perfect sticky honey garlic baked chicken thighs every time.
- Preheat and Prep: Preheat your oven to 400°F (200°C). Pat the chicken thighs dry with paper towels. This is a crucial step—dry skin equals crispy skin. Season them generously on both sides with salt and pepper.
- Make the Glaze: In your small mixing bowl, whisk together the honey, soy sauce, minced garlic, rice vinegar, toasted sesame oil, grated ginger, and cornstarch. Whisk until the cornstarch is completely dissolved and the mixture is smooth. The smell at this point is already amazing.
- Arrange and Pour: Place the seasoned chicken thighs skin-side down in your baking dish. Pour the glaze evenly over the chicken, making sure it gets into all the nooks and crannies. Don’t worry if the chicken isn’t fully submerged—it will cook down and create a beautiful sauce.
- First Bake: Bake uncovered for 25 minutes. The kitchen will start to smell incredible. The glaze will be bubbling and the chicken will be partially cooked.
- Flip and Baste: Using your tongs, carefully flip each chicken thigh over so the skin is now facing up. Spoon some of the bubbling glaze from the bottom of the dish over the tops of the chicken. This is where the sticky magic begins.
- Second Bake: Return the dish to the oven and bake for another 20-25 minutes. The skin should be a deep golden brown and look caramelized. The internal temperature of the thickest part of a thigh should reach 165°F (74°C).
- Rest and Serve: Remove the baking dish from the oven and let the chicken rest for 5-10 minutes. This allows the juices to redistribute and the glaze to set up into that perfect sticky coating. Spoon the extra glaze from the pan over the chicken before serving.
Pro Tip: If the glaze starts to look too dark or is burning on the bottom of the pan during the last 10 minutes, tent the dish loosely with foil. Every oven runs a little differently, so just keep an eye on it.
Cooking Tips & Techniques
I’ve made this recipe dozens of times, and I’ve learned a few things the hard way. Here are my best tips for getting it perfect every time.
Don’t skip the pat-dry step. I know it seems fussy, but moisture is the enemy of crispy skin. If the chicken is wet, it will steam instead of roast, and you’ll end up with flabby skin instead of that beautiful crackling top. Trust me on this one—I learned this lesson after a few sad, soggy attempts.
Use a meat thermometer. Chicken thighs are forgiving, but for the best texture, you want them to hit exactly 165°F (74°C). Overcooking can make even the juiciest cut a little dry. An instant-read thermometer is your best friend here.
Watch the glaze. Honey burns faster than you think. If you notice the edges of the pan getting dark or the glaze smoking, turn the oven down to 375°F (190°C) for the last 10 minutes. Also, don’t be tempted to add extra honey—the balance is key, and too much sugar will burn before the chicken is cooked through.
Let it rest. I know it’s hard to wait when the kitchen smells this good, but resting is non-negotiable. If you cut into the chicken right away, all those delicious juices will run out onto the cutting board instead of staying in the meat. That five-minute wait is worth it.
Variations & Adaptations
This recipe is a fantastic base that you can tweak to suit your mood or what you have on hand. Here are a few of my favorite variations.
Spicy Honey Garlic: Add 1-2 teaspoons of sriracha or chili garlic sauce to the glaze for a kick of heat. The sweetness of the honey balances the spice beautifully. I love this version when I’m craving something with a little more punch.
Lemon Herb Twist: Add the zest of one lemon and a tablespoon of fresh thyme leaves to the glaze. This brightens up the dish and makes it feel a bit more spring-like. It’s a lovely alternative when you want something less heavy.
Dairy-Free & Gluten-Free: This recipe is naturally dairy-free. To make it gluten-free, simply swap the soy sauce for tamari or coconut aminos. That’s it—no other changes needed. It’s a great option for serving at gatherings where guests have dietary restrictions.
Switch the Protein: This glaze is incredible on chicken drumsticks or wings (just adjust the cooking time accordingly). It also works beautifully on pork chops or even a whole roasted salmon fillet. It’s a versatile sauce that you’ll find yourself making over and over.
Serving & Storage Suggestions
These sticky honey garlic baked chicken thighs are a meal in themselves, but they pair beautifully with a few simple sides.
Serving Suggestions: Serve the chicken hot, straight from the oven, with extra glaze spooned over the top. I love it over a bed of steamed jasmine rice or fluffy coconut rice to soak up all that sticky sauce. A simple steamed green vegetable like broccoli or green beans, or a crisp autumn harvest salad with a maple vinaigrette, provides a nice contrast to the richness of the chicken.
Storage: Store leftover chicken in an airtight container in the refrigerator for up to 4 days. The glaze will firm up a bit when cold, which is totally normal.
Reheating: The best way to reheat is in the oven at 350°F (175°C) for about 10 minutes, or until the chicken is heated through and the skin crisps back up. You can also reheat in a skillet over medium heat with a splash of water to loosen the glaze. The microwave works in a pinch, but the skin will lose its crispiness.
Make-Ahead Tip: You can assemble the chicken and glaze in the baking dish, cover it, and refrigerate for up to 24 hours before baking. This makes it a fantastic option for entertaining. Just add about 10 minutes to the baking time if starting from cold.
Nutritional Information & Benefits
While this is a treat-yo-self kind of meal, it does have some redeeming qualities. Here’s a rough estimate per serving (based on 4 servings).
| Nutrient | Amount per Serving |
|---|---|
| Calories | ~450 |
| Protein | 35g |
| Fat | 25g |
| Carbohydrates | 20g |
| Sugar | 18g |
Chicken thighs are a great source of protein and iron. Garlic and ginger are known for their anti-inflammatory properties. The honey provides a natural source of energy. Of course, this is a sticky, indulgent dish, so enjoy it as part of a balanced diet. For a lighter meal, pair it with a big green salad or some roasted vegetables.
Conclusion
These sticky honey garlic baked chicken thighs are my go-to when I want a dinner that feels like a hug. It’s simple enough for a random Tuesday but impressive enough for company. The combination of sweet, savory, and sticky is just irresistible. I hope you give this recipe a try and make it your own. Maybe add a little extra garlic, or a pinch of red pepper flakes—whatever makes your heart happy.
I’d love to hear how it turns out for you! Leave a comment below and let me know if you tried any fun variations. And if you loved it, don’t forget to share this post with a friend who needs a great weeknight dinner in their life. Happy cooking!
Frequently Asked Questions
Can I use boneless, skinless chicken thighs?
Yes, you can, but the cooking time will be much shorter. Check for doneness at around 25-30 minutes total. The skinless version won’t get crispy, but the glaze will still be delicious.
My glaze is too thin. What did I do wrong?
This usually happens if the glaze didn’t reduce enough. Make sure you’re using a dish that’s not too large, and don’t be afraid to let it bubble and thicken in the oven. The cornstarch also helps, so double-check you added it.
Can I make this in an air fryer?
Absolutely! Cook at 375°F (190°C) for about 20-25 minutes, flipping halfway through. Keep an eye on the glaze as it can burn faster in an air fryer.
How do I prevent the honey from burning?
Don’t use too high a heat. Baking at 400°F is the sweet spot. If you see the edges getting too dark, tent the dish with foil for the last 10 minutes. Using a light-colored baking dish also helps.
Can I double this recipe?
Yes! Just use a larger baking dish or two separate dishes to ensure the chicken is in a single layer. The cooking time may need to be increased by 5-10 minutes. Always check the internal temperature to be sure.
Pin This Recipe!
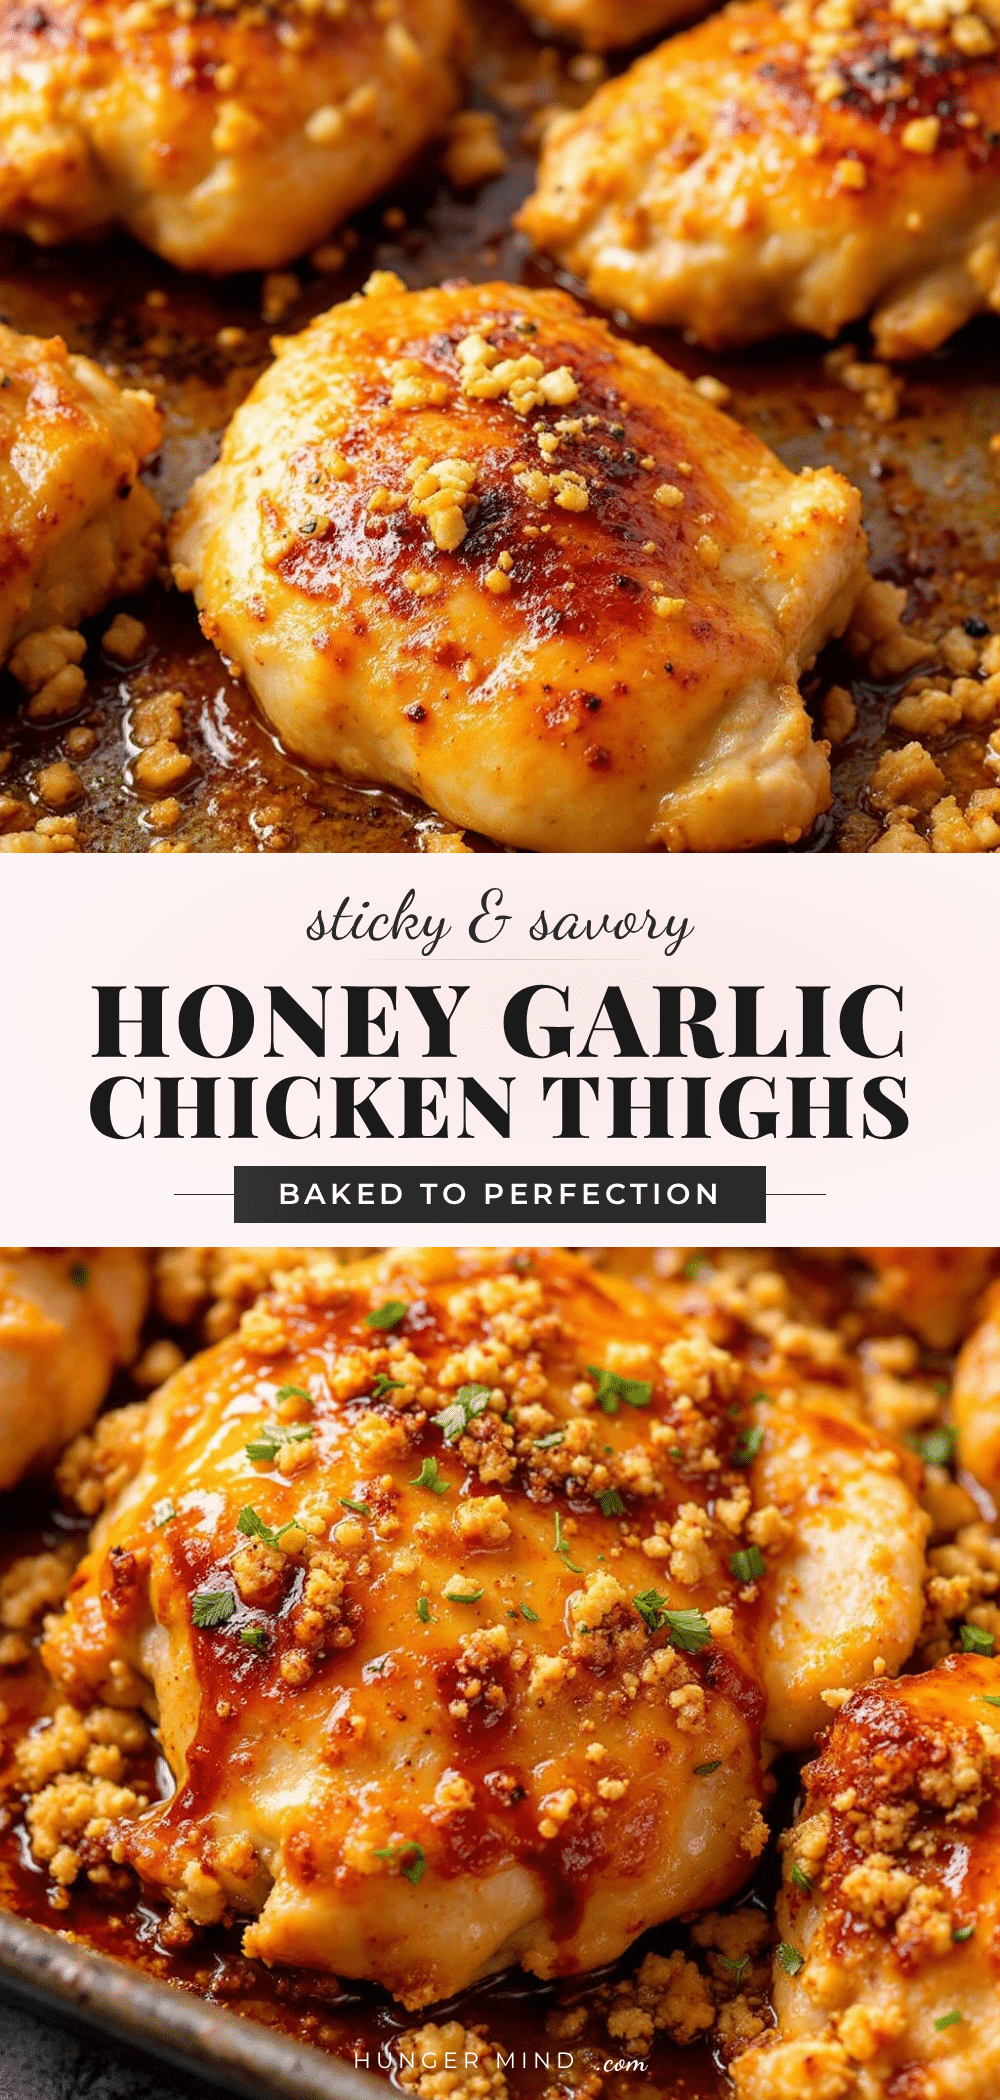
Best Sticky Honey Garlic Baked Chicken Thighs

These sticky honey garlic baked chicken thighs are a simple yet impressive weeknight dinner. The sweet and savory glaze caramelizes perfectly in the oven, creating a restaurant-quality dish with minimal effort.
- Prep Time: 15 minutes
- Cook Time: 45 minutes
- Total Time: 1 hour
- Yield: 4 servings 1x
- Category: Main Course
- Cuisine: Asian-inspired
Ingredients
- 2 lbs (900g) bone-in, skin-on chicken thighs
- 1/3 cup (115g) honey
- 1/4 cup (60ml) low-sodium soy sauce
- 6 cloves garlic, minced
- 2 tablespoons (30ml) rice vinegar
- 1 tablespoon (15ml) toasted sesame oil
- 1 tablespoon fresh ginger, grated
- 1 teaspoon cornstarch
- Salt and pepper to taste
Instructions
- Preheat your oven to 400°F (200°C). Pat the chicken thighs dry with paper towels and season generously on both sides with salt and pepper.
- In a small mixing bowl, whisk together the honey, soy sauce, minced garlic, rice vinegar, toasted sesame oil, grated ginger, and cornstarch until smooth.
- Place the seasoned chicken thighs skin-side down in a 9×13-inch baking dish. Pour the glaze evenly over the chicken.
- Bake uncovered for 25 minutes.
- Using tongs, carefully flip each chicken thigh so the skin is facing up. Spoon some of the bubbling glaze from the bottom of the dish over the tops of the chicken.
- Return the dish to the oven and bake for another 20-25 minutes, until the skin is deep golden brown and caramelized, and the internal temperature reaches 165°F (74°C).
- Remove from the oven and let the chicken rest for 5-10 minutes. Spoon extra glaze from the pan over the chicken before serving.
Notes
For extra crispy skin, ensure the chicken is patted very dry before seasoning. If the glaze starts to darken too much during the last 10 minutes, tent the dish loosely with foil. Letting the chicken rest after baking is essential for the glaze to set and the juices to redistribute.
Nutrition
- Serving Size: 1 serving (about 2 t
- Calories: 450
- Sugar: 18
- Sodium: 800
- Fat: 25
- Saturated Fat: 7
- Carbohydrates: 20
- Protein: 35
Keywords: sticky honey garlic chicken, baked chicken thighs, honey garlic glaze, easy weeknight dinner, chicken thighs recipe