That first whiff of smoke and charred sugar hitting the air before I even round the corner of my dad’s backyard—it still stops me cold every single time. It’s the smell of a three-day weekend, of ice chests packed with soda, of paper plates bending under the weight of something glorious. For me, that smell is the unofficial start of Labor Day, and honestly, it’s the whole reason I spent years obsessively testing every method to make the Best Grilled BBQ Baby Back Ribs for Labor Day at my own house. I wanted to bottle that specific feeling of lazy afternoons and sticky fingers.
My first attempt was a disaster, if I’m being totally honest. I boiled them (don’t ask), slathered on a sauce that was way too sweet, and basically ended up with pork-flavored glue. It was a low point. But I’m stubborn, especially when it comes to food that reminds me of good times. So I went back to the drawing board, ditched the shortcuts, and focused on what actually makes a rib transcendent: a dry brine for tenderness, a low-and-slow indirect heat, and a sauce that caramelizes without burning. It took a few more tries (and a few smoky shirts), but I finally cracked the code. These ribs are the result of all that trial and error.
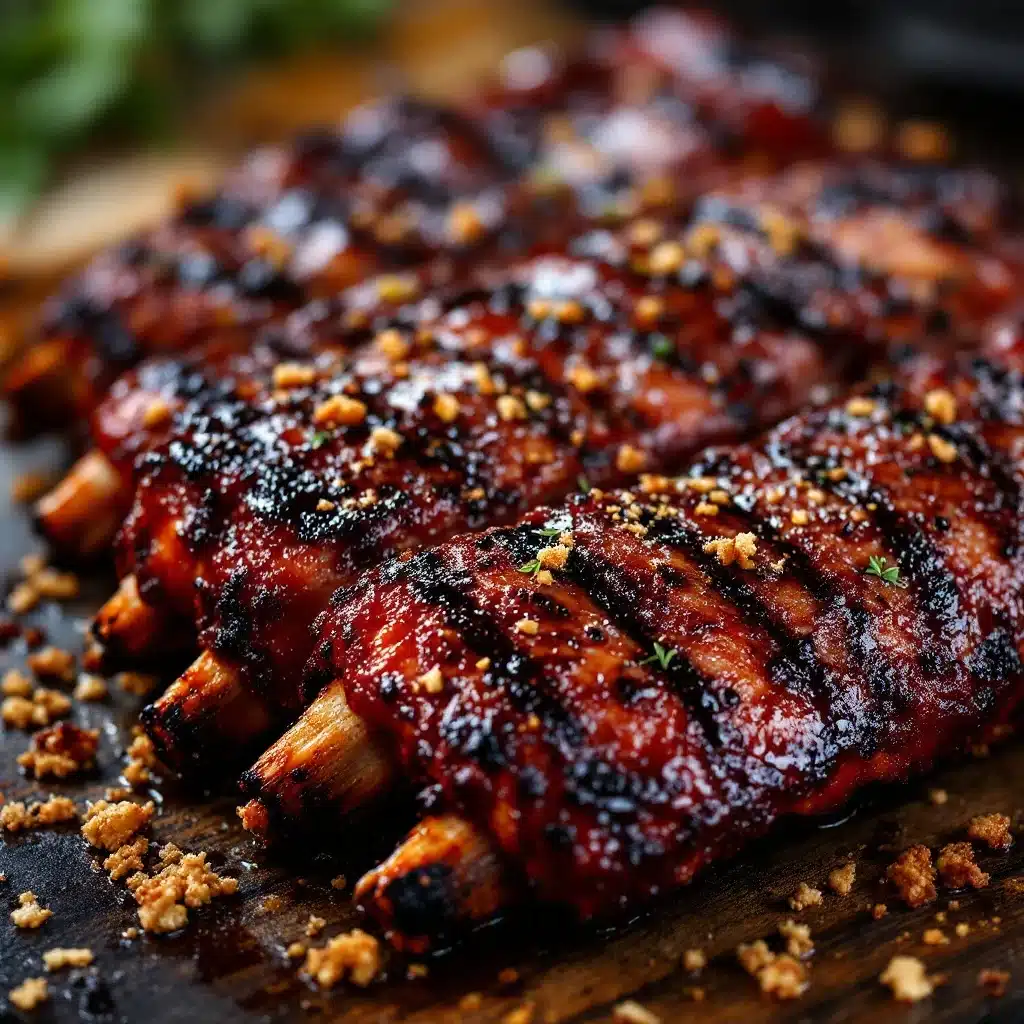
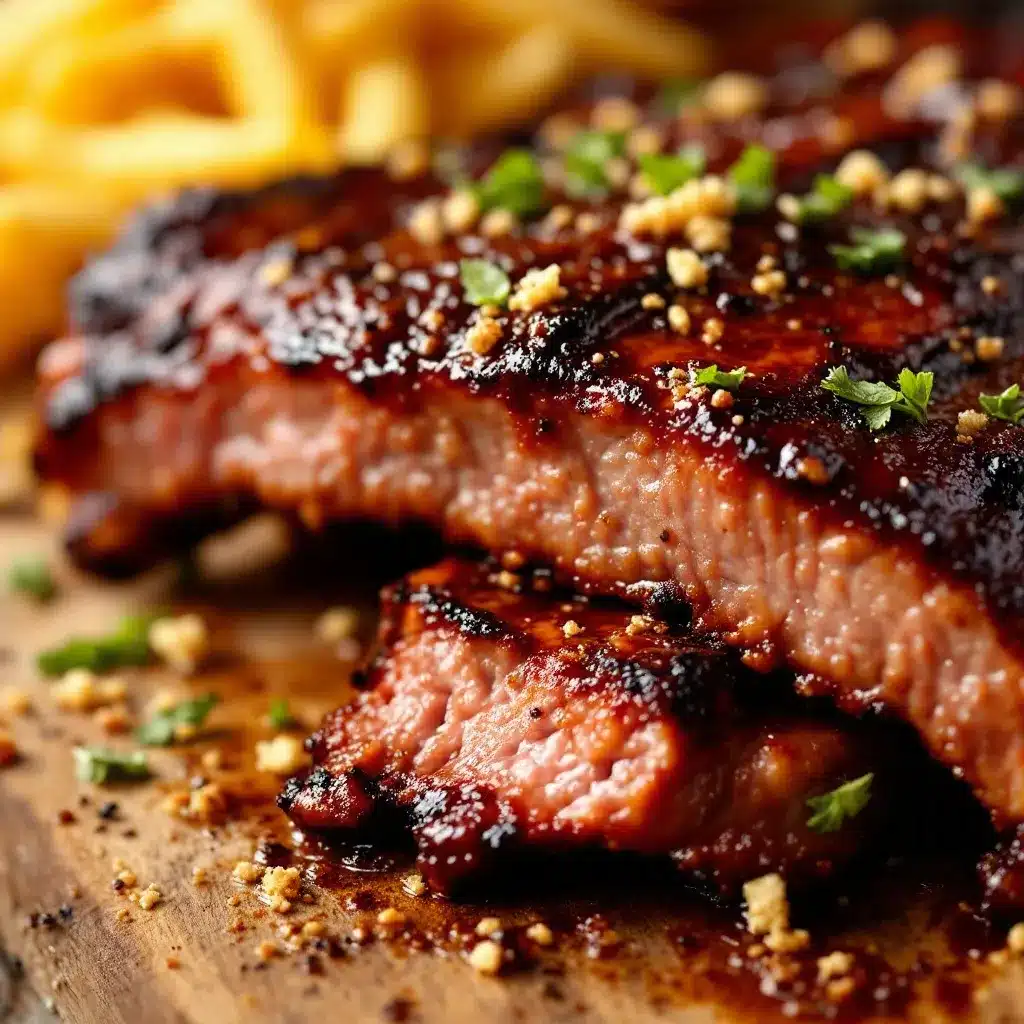
These ribs are the ones I now bring to every cookout. They’re the ones people stand around the grill talking about, the ones that disappear before the burgers even hit the table. The bark has that perfect peppery bite, the meat pulls cleanly off the bone with just the right amount of tug, and the sauce—a tangy, slightly sweet Kansas City-style number—sets up into a glossy, sticky finish. There’s no mystery, no fancy equipment required, just a little patience and a good grill. Trust me, if I can go from glue-ribs to these, you can absolutely nail this for your Labor Day spread.
Why You’ll Love This Recipe
Let’s be real—there are a million rib recipes out there. But this one is different because it was built from the ground up for the home cook who wants incredible results without a professional smoker or a culinary degree. I’ve tested the timing, the heat zones, and the sauce ratios so you don’t have to. Here’s why it works:
- No Boiling, No Steaming: We use a dry brine and indirect grilling for deep, smoky flavor and that perfect bite. No mushy meat here.
- Perfect for a Crowd: This recipe scales beautifully. Cooking for ten or twenty? Just double the rub and sauce. The method stays the same.
- That “WOW” Factor: When you pull these off the grill, shiny and caramelized, people will think you spent all day fussing. You won’t have to tell them it was mostly hands-off time.
- Foolproof Timing: The 3-2-1 method (smoke, wrap, finish) gives you a massive window of forgiveness. You can’t really overcook these, which is a lifesaver when you’ve got a house full of hungry guests.
- Real, Deep Flavor: We’re building layers here—a savory, peppery dry rub, a tangy sauce, and that kiss of hardwood smoke. It’s not just sweet and sticky; it’s complex.
This isn’t just another recipe you’ll forget about. It’s the kind that makes you close your eyes after the first bite. It’s comfort food reimagined—a little smoky, a little sweet, and completely satisfying. Perfect for impressing your Labor Day crowd without the stress, or turning a simple backyard cookout into something truly memorable.
What Ingredients You Will Need
This recipe uses simple, honest ingredients to build big, layered flavor. You probably have most of the pantry staples already, and the rest are easy to find at any grocery store. Let’s break down each one so you know exactly what you’re working with.
For the Dry Rub
- 3 tablespoons brown sugar, packed (light or dark works; dark gives a deeper molasses flavor)
- 1 tablespoon smoked paprika (this is non-negotiable for that smoky color and depth)
- 1 teaspoon garlic powder
- 1 teaspoon onion powder
- 1 teaspoon kosher salt (I use Diamond Crystal; if using table salt, reduce to ¾ teaspoon)
- 1 teaspoon black pepper, freshly ground
- ½ teaspoon cayenne pepper (optional, for a little heat—I always add it)
- ½ teaspoon dry mustard powder (adds a tangy background note)
For the BBQ Sauce
- 1 cup ketchup (I prefer Heinz for its balanced sweetness and acidity)
- ⅓ cup apple cider vinegar (for tang and to cut through the fat)
- ¼ cup brown sugar, packed
- 2 tablespoons Worcestershire sauce (adds umami depth)
- 1 tablespoon molasses (not blackstrap, just regular—it adds a rich, dark sweetness)
- 1 teaspoon smoked paprika
- ½ teaspoon garlic powder
- ½ teaspoon onion powder
- ½ teaspoon black pepper
- ¼ teaspoon cayenne pepper (optional)
For the Ribs
- 2 racks baby back ribs (about 4-5 pounds total; look for racks that are meaty and have a good fat cap)
- ¼ cup apple juice (for the wrapping step—you can also use apple cider)
- 2 tablespoons unsalted butter, cut into small pieces (for wrapping, adds richness)
- Your favorite wood chips for smoking (I recommend apple, cherry, or hickory; soak them in water for 30 minutes before using)
Ingredient Tips: For the best texture, look for baby back ribs that have a good amount of meat between the bones. They should feel flexible, not stiff. If you can find St. Louis-style spare ribs, they work beautifully too—just add about 30-45 minutes to the cooking time. For the wood chips, I personally love a mix of apple and hickory. The apple adds a subtle fruitiness that pairs perfectly with pork, while the hickory gives that classic BBQ smoke punch. Avoid mesquite here—it can be overpowering for a longer cook.
Substitution Guidance: No apple juice? Use apple cider or even plain water with a splash of vinegar. No Worcestershire for the sauce? A splash of soy sauce and a little extra vinegar will get you close. For a sugar-free version, use a brown sugar substitute like Swerve in both the rub and sauce—just know the caramelization will be slightly less intense.
Equipment Needed
You don’t need a fancy setup, but the right tools make the job a whole lot easier. Here’s what you’ll need:
- Gas or charcoal grill (I use a Weber kettle for charcoal, but a gas grill with a lid works perfectly too)
- Aluminum foil (heavy-duty is best for the wrapping step)
- Smoker box or foil packet for wood chips (if using a gas grill; for charcoal, just toss soaked chips directly on the coals)
- Instant-read thermometer (optional but highly recommended—the ribs are done when they hit about 200-205°F internal)
- Spray bottle (for apple juice spritzes)
- Tongs (long ones to keep your hands safe from the heat)
- Cutting board and sharp knife (for trimming the ribs and slicing them after cooking)
- Pastry brush (for applying the sauce in the final stage)
Budget-Friendly Tips: If you don’t have a smoker box for a gas grill, just make a foil packet. Take a large sheet of heavy-duty foil, put your soaked wood chips in the center, fold it up into a pouch, and poke a few holes in the top. Place it directly over a burner on low heat. It works like a charm and costs nothing extra. Also, skip the fancy rib racks—just lay the ribs flat on the grill grates. They’ll cook just fine.
Preparation Method
Alright, let’s get to the good part. This method is broken down into three easy stages: prep, smoke, and finish. Take your time with the first step—it makes all the difference.
Step 1: Prep the Ribs (Do This the Night Before)
- Start by removing the membrane from the back of each rack. Slide a butter knife under the membrane at one end, grab it with a paper towel (for grip), and pull it off in one piece. It’s oddly satisfying. Don’t skip this—the membrane will turn chewy and prevent the smoke from penetrating.
- Trim any excess fat or loose flaps of meat. You want a clean, uniform rack.
- In a small bowl, mix together all the dry rub ingredients. Pat the ribs dry with paper towels, then rub the mixture all over both sides. Don’t be shy—use it all. Wrap the ribs in plastic wrap and refrigerate overnight. If you’re short on time, let them sit for at least 2 hours at room temperature.
Step 2: Make the BBQ Sauce
- While the ribs are resting, combine all the sauce ingredients in a small saucepan over medium heat. Whisk until the sugar dissolves and the sauce comes to a gentle simmer.
- Reduce the heat to low and let it cook for 15-20 minutes, stirring occasionally, until it thickens slightly. You want it to coat the back of a spoon but still be pourable.
- Taste and adjust—more vinegar for tang, more brown sugar for sweetness, more cayenne for heat. Set aside to cool. You can make this up to a week in advance and store it in the fridge.
Step 3: Set Up the Grill for Indirect Heat
- About 45 minutes before you’re ready to cook, fire up your grill. For charcoal, light a full chimney of coals and bank them on one side of the grill. For gas, turn on only one side to medium-low heat (about 250-275°F). You want the other side completely off.
- If using a gas grill, place your foil packet of soaked wood chips directly over the lit burner. For charcoal, toss a handful of soaked chips onto the hot coals just before putting the ribs on.
- Place a disposable aluminum pan filled with water on the cool side of the grill. This helps regulate temperature and adds moisture to the cooking environment.
Step 4: Smoke the Ribs (The 3-Hour Stage)
- Take the ribs out of the fridge and let them sit at room temperature for 20 minutes. Place them bone-side down on the cool side of the grill, away from the direct heat. Cover the grill.
- Maintain a steady temperature of 250-275°F. For charcoal, you’ll need to add a few fresh coals every 45 minutes or so. For gas, just keep an eye on the thermometer.
- After 1.5 hours, spritz the ribs lightly with apple juice. This keeps them moist and adds a subtle sweetness. Repeat this spritz at the 2.5-hour mark.
- After 3 hours total, the ribs should have a nice mahogany color and the meat will have pulled back from the bones slightly. They’re ready for the wrap.
Step 5: Wrap and Continue (The 2-Hour Stage)
- Lay out two large sheets of heavy-duty aluminum foil (long enough to wrap each rack completely). Place a few pieces of butter in the center of each sheet.
- Carefully transfer each rib rack onto the foil, bone-side up. Pour 2 tablespoons of apple juice over each rack. Wrap the foil tightly, crimping the edges to create a sealed packet.
- Return the wrapped packets to the cool side of the grill. Cover and cook for another 2 hours at 250-275°F. This is the “tenderizing” stage—the steam and butter work together to make the meat incredibly tender.
Step 6: Sauce and Finish (The 1-Hour Stage)
- After 2 hours in the foil, carefully unwrap the ribs. The meat should be very tender—it should bend easily when you pick up the rack with tongs. If it feels stiff, wrap them back up and give them another 30 minutes.
- Place the unwrapped ribs back on the cool side of the grill, bone-side down. Brush a generous layer of your BBQ sauce over the top and sides.
- Cook for another 30-60 minutes, uncovered, brushing with more sauce every 15 minutes. This sets the glaze and creates that beautiful, sticky finish. Keep an eye on them—you don’t want the sugar in the sauce to burn.
Step 7: Rest and Serve
- Remove the ribs from the grill and let them rest on a cutting board for 10 minutes. This allows the juices to redistribute.
- Slice between the bones, serve with extra sauce on the side, and watch them disappear.
Cooking Tips & Techniques
I’ve made every mistake in the book with ribs, so you don’t have to. Here are the lessons I learned the hard way:
Don’t Skip the Dry Brine: That overnight rest in the rub isn’t just for flavor—it actually helps the meat retain moisture during the long cook. I once tried to rush this step and ended up with dry, sad ribs. Never again.
Watch Your Temperature: The biggest killer of good ribs is heat that’s too high. If your grill creeps above 300°F, the sugar in the rub will burn and the meat will toughen up. Keep it steady at 250-275°F. If your gas grill runs hot, crack the lid slightly to let heat escape.
The Bend Test: Forget the thermometer for a second. Pick up the rack with tongs from the middle. If it bends easily and the meat starts to crack on the surface, they’re done. If it’s stiff, they need more time. This is more reliable than any temperature reading.
Spritzing Matters: I used to think spritzing was optional. It’s not. The apple juice creates a thin, sweet bark and keeps the surface from drying out. Don’t overdo it though—a light mist every hour is plenty.
Multitasking Strategy: While the ribs are smoking, make your sides. I like to do a batch of Mexican rice or a crispy broccoli salad to balance the richness. That way, everything comes together at the same time.
Variations & Adaptations
This recipe is a great base, but don’t be afraid to make it your own. Here are a few ways I’ve played with it:
- Spicy Honey Glaze: Swap the brown sugar in the sauce for honey and add an extra teaspoon of cayenne. Brush it on in the last 15 minutes for a sweet-heat finish that’s addictive.
- Asian-Inspired Ribs: Replace the dry rub with a mix of five-spice powder, ginger, and garlic. For the sauce, use hoisin, soy sauce, rice vinegar, and a touch of sesame oil. Skip the apple juice and spritz with a mix of water and rice vinegar.
- Smokeless Oven Method: No grill? No problem. After the dry brine, wrap the ribs in foil with a little liquid smoke and butter, and bake at 275°F for 2.5 hours. Unwrap, brush with sauce, and broil for 5 minutes to caramelize. It’s not the same as grilled, but it’s surprisingly good.
- Pork Shoulder Alternative: If you want to feed a bigger crowd, use a bone-in pork shoulder instead. Follow the same dry brine and smoking method, but plan for 6-8 hours of cook time. It makes incredible pulled pork for sandwiches.
I once tried a variation with a zaatar and pomegranate glaze on a whim. It was… interesting. Not bad, but definitely not traditional. Stick with the classic for your first time, then get creative once you’ve mastered the technique.
Serving & Storage Suggestions
These ribs are best served hot off the grill, but they’re also fantastic at room temperature—perfect for a buffet-style Labor Day spread.
Serving: Slice the racks into individual bones and arrange them on a large platter. Drizzle a little extra sauce over the top and garnish with chopped fresh parsley or green onions for color. They pair beautifully with skillet cornbread and a tangy coleslaw. For drinks, a cold beer or a sweet iced tea is the way to go.
Storage: Leftover ribs keep well in the fridge for up to 4 days. Store them in an airtight container, and don’t stack them too high or the sauce will get messy. The flavors actually deepen overnight, so leftovers might be even better the next day.
Reheating: The key to reheating ribs is to avoid drying them out. Wrap them in foil with a splash of apple juice or water and reheat in a 300°F oven for 15-20 minutes. You can also use the microwave in a pinch, but the texture won’t be as good. For the best results, finish them under the broiler for 2-3 minutes to re-crisp the glaze.
Freezing: These ribs freeze beautifully. Wrap each rack tightly in foil, then place them in a freezer bag. They’ll keep for up to 3 months. To thaw, move them to the fridge overnight, then reheat using the oven method above.
Nutritional Information & Benefits
Let’s be honest—ribs aren’t health food, but they’re not as bad as you might think. Here’s a rough estimate per serving (about 3-4 bones):
- Calories: 450-550
- Protein: 35-40g
- Fat: 30-35g
- Carbohydrates: 15-20g (mostly from the sauce)
- Fiber: 0-1g
- Sugar: 12-15g
Health Highlights: Pork ribs are a good source of high-quality protein, B vitamins (especially B12 and niacin), and minerals like zinc and selenium. The dry rub adds antioxidants from the paprika and cayenne. If you’re watching your sugar intake, you can reduce the brown sugar in the rub and sauce by half—the flavor will still be great.
Dietary Considerations: This recipe is naturally gluten-free (check your Worcestershire sauce for wheat-based ingredients; some brands add it). It’s also low-carb if you skip the sauce or use a sugar-free version. If you’re on a keto diet, these ribs are a fantastic option—just be mindful of the sauce.
Personal Perspective: I don’t stress about the numbers on days like Labor Day. Food is about connection, not perfection. But it’s nice to know that a plate of these ribs gives you a solid dose of protein and a whole lot of satisfaction. Balance is everything.
Conclusion
These Best Grilled BBQ Baby Back Ribs for Labor Day are more than just a recipe—they’re a tradition waiting to happen. They’re the kind of dish that brings people together, that makes the long weekend feel like it lasts just a little bit longer. The smoky aroma, the sticky fingers, the happy silence of everyone eating—that’s what this is all about.
I’ve tweaked and tested this method until it’s foolproof, but don’t be afraid to make it your own. Add more heat, swap the wood chips, or serve them with your favorite sides. The beauty of BBQ is that it’s always a little different every time. If you try this recipe, I’d love to hear about it. Drop a comment below and tell me how it went—or share a photo of your ribs on social media. Nothing makes me happier than seeing someone else nail that perfect bite.
Now go fire up that grill. Your Labor Day spread is about to get a whole lot better.
Frequently Asked Questions
Can I make these ribs in the oven instead of on the grill?
Absolutely. Follow the same dry brine and smoking method using liquid smoke in the foil wrap. Bake at 275°F for 2.5 hours in foil, then unwrap, brush with sauce, and broil for 5 minutes. It won’t have the same smoky depth, but it’s a solid backup plan.
How do I know when the ribs are done without a thermometer?
Use the bend test. Pick up the rack with tongs from the middle. If it bends easily and the meat starts to crack on the surface, they’re done. The meat should also pull cleanly from the bone with a gentle tug.
Can I use spare ribs instead of baby back ribs?
Yes, and they’ll be delicious. Just add about 30-45 minutes to the total cook time. Spare ribs have more fat and connective tissue, so they benefit from the extra time in the foil wrap.
Why is my BBQ sauce burning on the grill?
This usually happens if the heat is too high or if you apply the sauce too early. Wait until the last 30-45 minutes of cooking, and keep the grill temperature at 250-275°F. Brush on thin layers and watch closely.
Can I prep the ribs a day ahead?
Definitely. Apply the dry rub the night before and refrigerate. You can also make the BBQ sauce up to a week in advance. On the day of, just take the ribs out 20 minutes before grilling and you’re good to go.
Pin This Recipe!
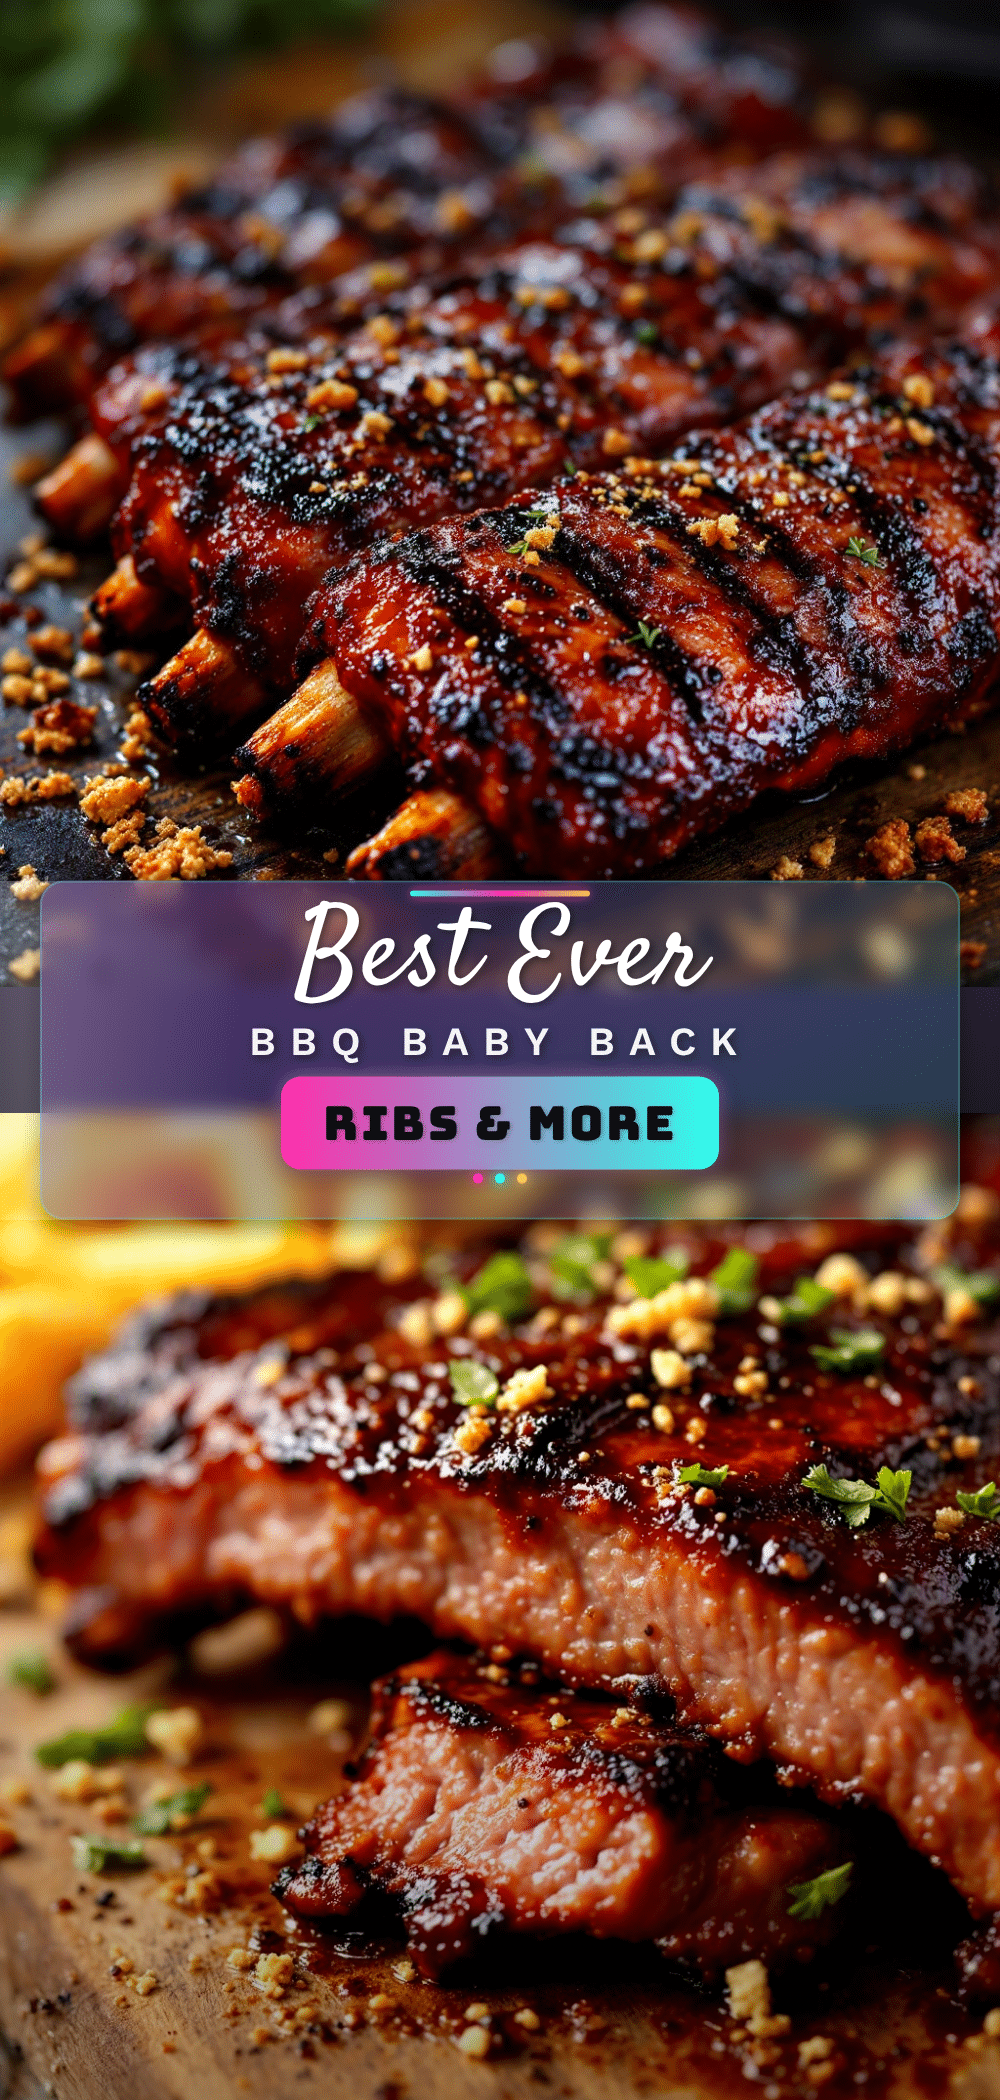
Best Grilled BBQ Baby Back Ribs for Labor Day

These tender, smoky baby back ribs are dry-brined, slow-grilled over indirect heat, and finished with a tangy Kansas City-style BBQ sauce. Perfect for your Labor Day cookout, they deliver that classic sticky, caramelized finish without any fuss.
- Prep Time: 20 minutes
- Cook Time: 5 hours 30 minutes
- Total Time: 5 hours 50 minutes (plus overnight marinating)
- Yield: 4 servings 1x
- Category: Main Course
- Cuisine: American
Ingredients
- 3 tablespoons brown sugar, packed
- 1 tablespoon smoked paprika
- 1 teaspoon garlic powder
- 1 teaspoon onion powder
- 1 teaspoon kosher salt
- 1 teaspoon black pepper, freshly ground
- ½ teaspoon cayenne pepper (optional)
- ½ teaspoon dry mustard powder
- 1 cup ketchup
- ⅓ cup apple cider vinegar
- ¼ cup brown sugar, packed
- 2 tablespoons Worcestershire sauce
- 1 tablespoon molasses
- 1 teaspoon smoked paprika
- ½ teaspoon garlic powder
- ½ teaspoon onion powder
- ½ teaspoon black pepper
- ¼ teaspoon cayenne pepper (optional)
- 2 racks baby back ribs (about 4–5 pounds total)
- ¼ cup apple juice
- 2 tablespoons unsalted butter, cut into small pieces
- Your favorite wood chips for smoking (apple, cherry, or hickory)
Instructions
- Remove the membrane from the back of each rack. Slide a butter knife under the membrane at one end, grab it with a paper towel, and pull it off in one piece. Trim any excess fat or loose flaps of meat.
- In a small bowl, mix together all the dry rub ingredients. Pat the ribs dry with paper towels, then rub the mixture all over both sides. Wrap the ribs in plastic wrap and refrigerate overnight (or at least 2 hours at room temperature).
- Combine all the sauce ingredients in a small saucepan over medium heat. Whisk until the sugar dissolves and the sauce comes to a gentle simmer. Reduce heat to low and cook for 15-20 minutes, stirring occasionally, until thickened. Set aside to cool.
- About 45 minutes before cooking, set up your grill for indirect heat at 250-275°F. For charcoal, bank lit coals on one side. For gas, turn on only one side to medium-low. Place a disposable aluminum pan filled with water on the cool side.
- If using a gas grill, place a foil packet of soaked wood chips over the lit burner. For charcoal, toss soaked chips onto the hot coals just before putting the ribs on.
- Take the ribs out of the fridge and let them sit at room temperature for 20 minutes. Place them bone-side down on the cool side of the grill. Cover and maintain 250-275°F.
- After 1.5 hours, spritz the ribs lightly with apple juice. Repeat at the 2.5-hour mark. After 3 hours total, the ribs should have a nice mahogany color.
- Lay out two large sheets of heavy-duty aluminum foil. Place a few pieces of butter in the center of each sheet. Transfer each rib rack onto the foil, bone-side up. Pour 2 tablespoons of apple juice over each rack. Wrap tightly.
- Return the wrapped packets to the cool side of the grill. Cover and cook for another 2 hours at 250-275°F.
- After 2 hours, carefully unwrap the ribs. The meat should be very tender. Place the unwrapped ribs back on the cool side of the grill, bone-side down. Brush a generous layer of BBQ sauce over the top and sides.
- Cook for another 30-60 minutes, uncovered, brushing with more sauce every 15 minutes, until the glaze is set and sticky.
- Remove the ribs from the grill and let them rest on a cutting board for 10 minutes. Slice between the bones and serve with extra sauce on the side.
Notes
For best results, dry brine the ribs overnight. Maintain a steady grill temperature of 250-275°F to avoid burning the sugar in the rub. Use the bend test to check doneness: pick up the rack with tongs from the middle; if it bends easily and the meat cracks on the surface, they’re done. Leftover ribs keep in the fridge for up to 4 days or freeze for up to 3 months.
Nutrition
- Serving Size: 3-4 bones
- Calories: 500
- Sugar: 14
- Sodium: 800
- Fat: 32
- Saturated Fat: 12
- Carbohydrates: 18
- Protein: 38
Keywords: baby back ribs, grilled ribs, BBQ ribs, Labor Day ribs, Kansas City BBQ, smoked ribs, 3-2-1 ribs