The shatter. That’s what I was after. Not a crumbly, sad little chip that disintegrates into dust on your lap, but a real, honest-to-goodness shatter when you bite down. The kind that echoes in your ears a little and sends a tiny shower of parmesan and toasted garlic across your plate. I spent a whole Sunday afternoon chasing that sound, batch after batch of these Crispy Garlic Parmesan Zucchini Chips coming out of the oven, some too soggy, some barely browned, until finally—there it was. That perfect, resonant crunch.
Let’s be real, getting a vegetable to be crispy in the oven is a bit of a kitchen miracle. It feels like a magic trick, honestly. You’re taking a thing that is, by nature, mostly water, and you’re coaxing it into becoming something that snaps. It’s not about hiding the zucchini, either. It’s about celebrating it—turning that humble summer squash into the absolute star of the snack board. I wanted a chip that was so good, you’d reach for it before the potato chips. A chip that makes you feel a little bit smug about eating your vegetables, and I’m not sorry about that.
This recipe came from a place of pure stubbornness. After one too many sad, limp “baked zucchini chip” attempts, I knew there had to be a better way. The secret, I found, wasn’t in a fancy dehydrator or a deep fryer. It was in a simple, almost annoying step that I tried to skip about ten times before I finally gave in. And once I did? Game over. These chips are everything I wanted—crispy, cheesy, garlicky, and so, so snackable. They’re the kind of thing you make for a party and watch disappear in minutes, with people asking, “Wait, these are zucchini?”
Why You’ll Love This Recipe
I’ve tested this recipe more times than I care to admit. I’ve tried them with different types of zucchini, different grates of parmesan, and different oven temperatures. I’ve even tried to microwave them (don’t). So trust me when I say, this version is the gold standard. It’s the one I bring to every potluck and the one my family requests for movie nights. Here’s why it works so well.
- Seriously Crispy, Not Soggy: The secret step of salting and pressing the zucchini removes excess moisture, guaranteeing a chip that stays crunchy for hours, not minutes. No more sad, limp chips!
- Baked, Not Fried: You get all the satisfying crunch without the heavy oil and deep-frying mess. It’s a lighter snack that doesn’t feel like a compromise.
- Simple, Everyday Ingredients: You probably have everything in your kitchen right now. Zucchini, parmesan, garlic, breadcrumbs, and a few pantry staples. No fancy trips to the store required.
- Incredibly Flavorful: The combination of nutty parmesan, aromatic garlic powder, and a touch of Italian seasoning creates a savory crust that’s absolutely addictive. It’s a flavor bomb in every bite.
- Perfect for Any Occasion: Game day snack, healthy side dish, party appetizer, or a fun way to get kids to eat their veggies. These chips fit every bill and are always the first thing to go.
What really sets this recipe apart is that moisture-removal step. Most recipes skip it, and you end up with steamed zucchini slices. By taking the extra ten minutes to draw out the water, you’re guaranteeing a texture that’s genuinely crunchy. It’s the difference between a good recipe and a great one. And honestly, once you hear that first crunch, you’ll never go back. This isn’t just another healthy snack—it’s the kind of recipe that makes you feel like a kitchen genius, all while using a vegetable that’s probably sitting in your crisper drawer right now.
What Ingredients You Will Need
This recipe uses simple, wholesome ingredients to build layers of flavor and that perfect, shatteringly crisp texture. Each component plays a specific role, and I’ve tested a few variations, so I’ll share my best tips for choosing the right stuff.
- Zucchini (2 medium, about 1 lb total): Look for firm, medium-sized zucchini. Avoid the giant ones you sometimes find in the garden—they’re watery and have tougher seeds. I prefer standard green zucchini, but yellow summer squash works beautifully too. No need to peel them; the skin adds color and a bit of structure.
- Kosher Salt (1 teaspoon, plus more for salting): This isn’t just for seasoning. The initial salt draw is crucial for pulling out the excess moisture from the zucchini. I use Diamond Crystal kosher salt for its clean flavor and easy pinchability. Don’t skip this step.
- Grated Parmesan Cheese (1/2 cup, finely grated): This is the heart of the flavor. Please, please buy a block of real Parmigiano-Reggiano and grate it yourself on the small holes of a box grater. The pre-shredded stuff in the green can is coated in anti-caking agents that prevent it from melting and crisping properly. It makes a huge difference.
- Panko Breadcrumbs (1/2 cup): Panko is the key to extra crunch. They’re larger and flakier than standard breadcrumbs, creating a lighter, airier crust. I use plain panko, but whole wheat panko works well too. For a gluten-free option, use a certified gluten-free panko.
- Garlic Powder (1 teaspoon): We’re using powder, not fresh garlic. Fresh garlic has too much moisture and can burn in the oven, turning bitter. Garlic powder provides a consistent, mellow garlic flavor that infuses the entire crust. I recommend the Spice Islands or Simply Organic brands for good flavor.
- Italian Seasoning (1 teaspoon): A good dried Italian herb blend adds a lovely aromatic depth. If you don’t have it, mix dried oregano, basil, and a pinch of thyme. You can also get creative here.
- Salt and Black Pepper (to taste): After the initial salt draw, you’ll need to season the breading mixture. Go easy on the salt because the parmesan is already salty. Freshly cracked black pepper is always best.
- Olive Oil Cooking Spray (or 2 tablespoons olive oil): A light spray of oil on the zucchini slices before breading helps the coating stick and promotes even browning. An olive oil spray from a can (like Chosen Foods or Bertolli) gives the most even, light coating. You can also use a mister with your own olive oil.
The beauty of this ingredient list is its simplicity. It’s a testament to the fact that you don’t need a long, complicated list to create something truly special. The magic is all in the technique and the quality of a few key players.
Equipment Needed
You don’t need a lot of fancy gear to make these chips, which is part of their charm. Here’s what I use every single time.
- Sharp Knife or Mandoline: A sharp chef’s knife works perfectly for slicing the zucchini into even 1/4-inch rounds. But if you have a mandoline slicer, it’s a game-changer for getting uniformly thin slices. Just watch your fingers!
- Large Bowl and Colander: You’ll need a large bowl for salting the zucchini and a colander (or a strainer) to drain the water that gets pulled out. A clean kitchen towel or several layers of paper towels are also essential for pressing out the moisture.
- Baking Sheets (2): Two large, rimmed baking sheets are ideal. You don’t want to overcrowd the chips. If they’re too close together, they’ll steam instead of crisp. I love my Nordic Ware half-sheet pans for even heat distribution.
- Parchment Paper or Silicone Baking Mats: This is non-negotiable for easy cleanup and preventing sticking. Parchment paper is great, but silicone mats (like Silpat) are my favorite because they promote even more browning on the bottom of the chips.
- Three Shallow Bowls: For the breading station. One for the olive oil spray (or a small bowl of oil), one for the parmesan-panko mixture, and one for… well, the finished, breaded chips before they go on the sheet. A plate works too.
- Wire Rack (Optional but Recommended): Cooling the chips on a wire rack after baking is the best way to keep them crispy. If you leave them on the hot baking sheet, the steam can make them soggy. A simple cooling rack is a worthwhile investment.
Don’t stress if you don’t have a mandoline. A steady hand with a sharp knife will get you there. The most important piece of equipment is your patience for that first moisture-drawing step. Everything else is just a tool to get you to that perfect crunch.
Preparation Method
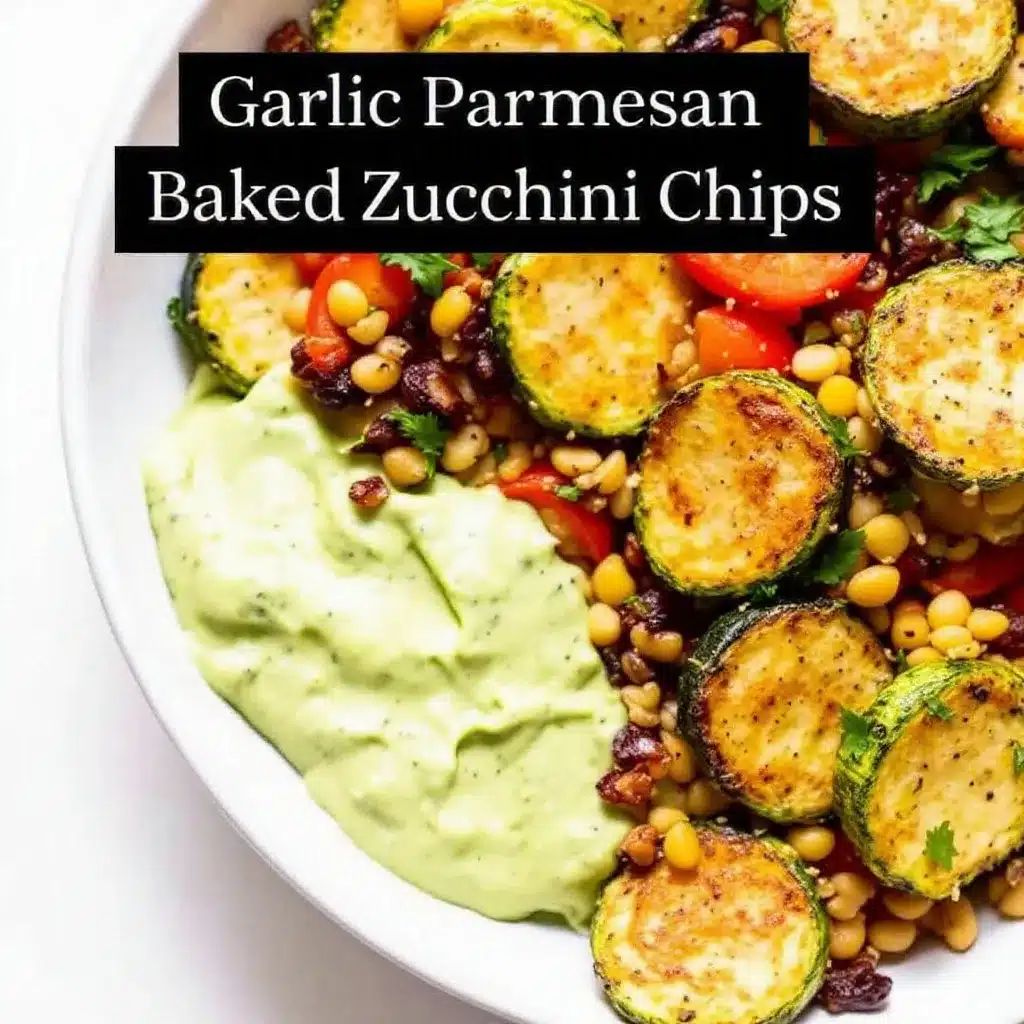
Alright, let’s get to it. This is where the magic happens. Follow these steps, and you will be rewarded with the crispiest, most delicious zucchini chips of your life. I promise.
- Prep the Zucchini (10 minutes + 20 minutes rest): Wash your zucchini and trim off the ends. Using a sharp knife or mandoline, slice them into even 1/4-inch (6mm) thick rounds. Don’t go thinner than 1/8-inch, or they’ll burn. Don’t go thicker, or they won’t get crispy. Place the slices in a large bowl and toss them with 1 teaspoon of kosher salt. Let them sit for 20 minutes. You’ll see little beads of water forming on the surface. This is good.
- Press Out the Moisture (5 minutes): After 20 minutes, you’ll notice a pool of water at the bottom of the bowl. Dump the zucchini slices into a colander and rinse them quickly with cold water to remove the excess salt. Then, lay them out in a single layer on a clean kitchen towel or a triple layer of paper towels. Place another towel on top and press down firmly, absorbing as much water as you can. You want them to feel dry to the touch. This step is the non-negotiable secret to crunch.
- Preheat and Prep (10 minutes): Preheat your oven to 425°F (220°C). Line two large baking sheets with parchment paper or silicone baking mats. In a shallow bowl, combine the finely grated parmesan cheese, panko breadcrumbs, garlic powder, Italian seasoning, and a pinch of black pepper. Mix well with a fork.
- Set Up Your Breading Station (2 minutes): Have your three bowls ready. In the first bowl, place your dry zucchini slices. In the second, give them a light, even spritz with olive oil cooking spray. (If using oil, lightly brush or toss them with the 2 tablespoons of oil). In the third bowl, you have your parmesan-panko mixture.
- Bread the Zucchini (10 minutes): Working in batches, take a zucchini slice from the oil bowl, letting any excess drip off, and press it firmly into the parmesan mixture, coating both sides evenly. Place the breaded slice on the prepared baking sheet. Repeat, leaving a little space between each chip so they don’t touch. Crowding is the enemy of crispiness.
- Bake to Golden Perfection (20-25 minutes): Bake for 10 minutes, then carefully flip each chip with a thin spatula. Bake for another 10-15 minutes, keeping a close eye on them. You want them to be a deep golden brown and feel firm to the touch. The edges should be slightly darker and lacy. My first batch, I didn’t flip them, and the bottoms got soggy. Don’t skip the flip.
- Cool and Crisp (5 minutes): This is the most important step you’ll be tempted to skip. Transfer the baked chips immediately to a wire cooling rack. Leave them in a single layer. Do not stack them. Let them cool completely for at least 5 minutes. As they cool, they will continue to crisp up. If you eat them straight off the pan, they’ll be good, but if you wait, they’ll be extraordinary.
Cooking Tips & Techniques
I’ve burned, soggified, and under-seasoned my fair share of zucchini chips so you don’t have to. Here are the hard-earned lessons I’ve learned along the way.
The Salting Step is Sacred. I know, it feels like an extra chore. You’re hungry, you want chips now. But trust me, this is the single most important step for achieving crunch. Zucchini is mostly water. If you don’t draw that water out, it will steam in the oven and you’ll end up with limp, sad discs. Think of it as a non-negotiable ritual. I once tried to skip it on a busy weeknight, and I regretted it for the rest of the evening. Don’t be like me.
Don’t Crowd the Pan. This is another big one. If your zucchini slices are touching or overlapping, they’ll steam each other. You need hot air to circulate around each chip to get it brown and crispy. Use two baking sheets and give them some breathing room. If you have to, bake them in two batches. Your patience will be rewarded.
Grate Your Own Parmesan. I cannot stress this enough. The pre-shredded stuff in a can or bag is coated with cellulose and other anti-caking agents. This coating prevents it from melting properly and creates a greasy, not-crispy crust. A block of real Parmigiano-Reggiano, grated on the small holes of a box grater, will melt into a lacy, golden, unbelievably crispy shell. It’s a world of difference.
The Cooling Rack is Your Best Friend. I learned this the hard way after a beautiful batch of chips turned soggy on the hot baking sheet within minutes. The trapped steam from the hot pan is the enemy of crunch. Transferring them to a wire rack allows air to circulate all around, keeping them perfectly crisp for hours. If you’re serving them later, you can even re-crisp them in a 300°F oven for a few minutes.
Multitask Like a Pro. While your zucchini is resting in salt (step 1), you can prep your breading station and line your baking sheets. While the first batch is baking, you can bread the second batch. This way, you’re not standing around waiting. It makes the whole process feel much faster and more efficient.
Variations & Adaptations
This recipe is a fantastic base, and it’s so much fun to play with. Here are a few of my favorite twists.
- Spicy Chipotle Version: Add 1/2 teaspoon of chipotle powder and a pinch of cayenne pepper to the parmesan-panko mixture. The smoky heat pairs beautifully with the cool zucchini and salty parmesan. I made this for a game day party, and it was gone in ten minutes.
- Herby Lemon Zest: Add the zest of one lemon and 2 tablespoons of finely chopped fresh parsley or chives to the breading mixture. The bright, citrusy notes cut through the richness of the cheese and make the chips taste incredibly fresh and vibrant. Perfect for a summer picnic.
- Everything Bagel Seasoning: Swap the Italian seasoning for 1.5 tablespoons of everything bagel seasoning. The combination of sesame seeds, poppy seeds, garlic, onion, and salt is absolutely addictive on these chips. It’s a flavor explosion in every bite.
- Gluten-Free Adaptation: This is an easy swap. Simply use certified gluten-free panko breadcrumbs. The rest of the ingredients are naturally gluten-free. I’ve tested this with several brands, and Ian’s and Aleia’s work wonderfully. The texture is just as crunchy.
- Air Fryer Method: If you have an air fryer, this recipe is a dream. Preheat it to 400°F (200°C). Place the breaded zucchini chips in a single layer in the basket (you may need to work in batches). Spray them lightly with oil. Air fry for 8-10 minutes, flipping halfway through, until golden and crispy. They cook even faster and get incredibly crunchy.
Don’t be afraid to experiment. The basic formula of “dry zucchini + cheesy, crispy coating” is incredibly forgiving. Think of it as a canvas for your favorite flavors. I’ve even tried a version with nutritional yeast instead of parmesan for a dairy-free option, and while it wasn’t quite as crispy, it was still deliciously savory.
Serving & Storage Suggestions
These chips are best enjoyed fresh, but with a few tricks, you can make them ahead or enjoy leftovers without sacrificing the crunch.
Serving: Serve these chips warm or at room temperature. They’re fantastic on their own as a snack, but they also shine as a side dish alongside a juicy burger or a simple grilled chicken breast. For a fun appetizer, arrange them on a platter with a bowl of warm marinara sauce for dipping. They also pair beautifully with a cool, creamy dip like a tangy buttermilk ranch or a garlic aioli. The contrast of hot, crispy chips with a cold, creamy dip is pure perfection.
Storage: If you have any leftovers (a rare occurrence in my house), let them cool completely. Store them in an airtight container at room temperature for up to 2 days. Do not refrigerate them. The refrigerator’s humidity will make them soft. If they lose their crispness, you can revive them easily.
Reheating: The best way to bring back the crunch is to reheat them in the oven or air fryer. Preheat your oven to 350°F (175°C). Spread the chips on a baking sheet in a single layer and bake for 5-7 minutes, until they’re hot and crispy again. In an air fryer, reheat at 350°F for 2-3 minutes. Don’t use the microwave—it will turn them into sad, rubbery discs.
Flavor Development: Honestly, these chips are at their absolute peak within the first hour of baking. That’s when the crust is at its most shatteringly crisp. While they’re still delicious the next day (especially after a quick re-crisp), the texture is never quite the same as fresh from the oven. So make a batch, invite some friends over, and enjoy them while they’re hot.
Nutritional Information & Benefits
Let’s be real—these chips are a snack you can feel good about. They’re baked, not fried, and they’re packed with vegetables.
Estimated Nutritional Values (per serving, about 1/4 of the recipe):
- Calories: ~180
- Fat: 10g
- Carbohydrates: 12g
- Fiber: 2g
- Protein: 10g
Health Benefits: Zucchini is a fantastic source of vitamin C, vitamin A, and potassium. It’s also incredibly hydrating and low in calories, making it a great choice for volume eating. The parmesan cheese adds a good dose of calcium and protein, while the olive oil provides healthy monounsaturated fats. By baking instead of frying, you’re significantly reducing the fat and calorie content without sacrificing any of the satisfying crunch.
Dietary Considerations: This recipe is naturally low-carb and keto-friendly (especially if you use almond flour instead of panko). It’s also vegetarian. For a gluten-free version, simply use gluten-free panko. The main allergen to be aware of is dairy from the parmesan cheese, but as I mentioned, a dairy-free version with nutritional yeast is a tasty alternative.
I love that I can serve these at a party and know that my friends are getting a real vegetable, not just empty calories. It’s the kind of snack that satisfies that craving for something crunchy and savory without the post-snack guilt. It’s comfort food, but smarter.
Conclusion
So there you have it. My tried-and-true, never-fail recipe for Crispy Garlic Parmesan Zucchini Chips. It’s more than just a snack; it’s a little kitchen victory. It’s the recipe that proves you can have something incredibly satisfying, crunchy, and delicious that also happens to be good for you. It’s the kind of thing that makes you look at a humble zucchini and see endless possibilities.
I really hope you give these a try. Don’t be intimidated by the salting step—it’s the secret to your success, and once you hear that first crunch, you’ll know it was worth it. Play with the seasonings, make them your own, and serve them to everyone you love. They’re perfect for a quiet night in or a big, noisy gathering. And if you’re looking for another crispy, baked vegetable side dish, you might also love my Crispy Za’atar Roasted Cauliflower for a completely different flavor profile.
If you make them, I’d love to hear about it. Leave a comment below and tell me how they turned out. Did you try a fun variation? Did the kids gobble them up? Your stories and questions are what make this community so special. Until next time, happy cooking, and may your chips always be perfectly crunchy.
Frequently Asked Questions
Can I use frozen zucchini for this recipe?
I wouldn’t recommend it. Frozen zucchini has a much higher water content and a completely different texture. It will fall apart and become mushy when you try to bread and bake it. Stick with fresh zucchini for the best results.
Why did my zucchini chips turn out soggy?
This is the most common problem, and it’s almost always due to one of two things: either you didn’t salt and press out enough moisture, or you overcrowded the baking sheet. Make sure your zucchini slices are dry to the touch after pressing, and give them plenty of space on the pan.
Can I make these chips ahead of time for a party?
You can, but they’re best within a few hours of baking. To make ahead, bake them completely, let them cool on a wire rack, and store them in an airtight container at room temperature. About 10 minutes before serving, spread them on a baking sheet and re-crisp them in a 350°F oven for 5-7 minutes.
Can I use a different type of cheese?
Absolutely! While parmesan is classic, you can experiment with other hard, dry cheeses. Pecorino Romano is a fantastic choice for a saltier, more pungent flavor. You could also try aged Asiago or even a finely grated sharp cheddar, though the texture might be slightly different.
My breading isn’t sticking to the zucchini. What am I doing wrong?
This usually happens if the zucchini is too wet. Make sure you’ve pressed out as much moisture as possible. Also, the light coating of oil is crucial—it acts as the glue for the breading. Don’t skip it, and make sure it’s evenly applied.
Pin This Recipe!
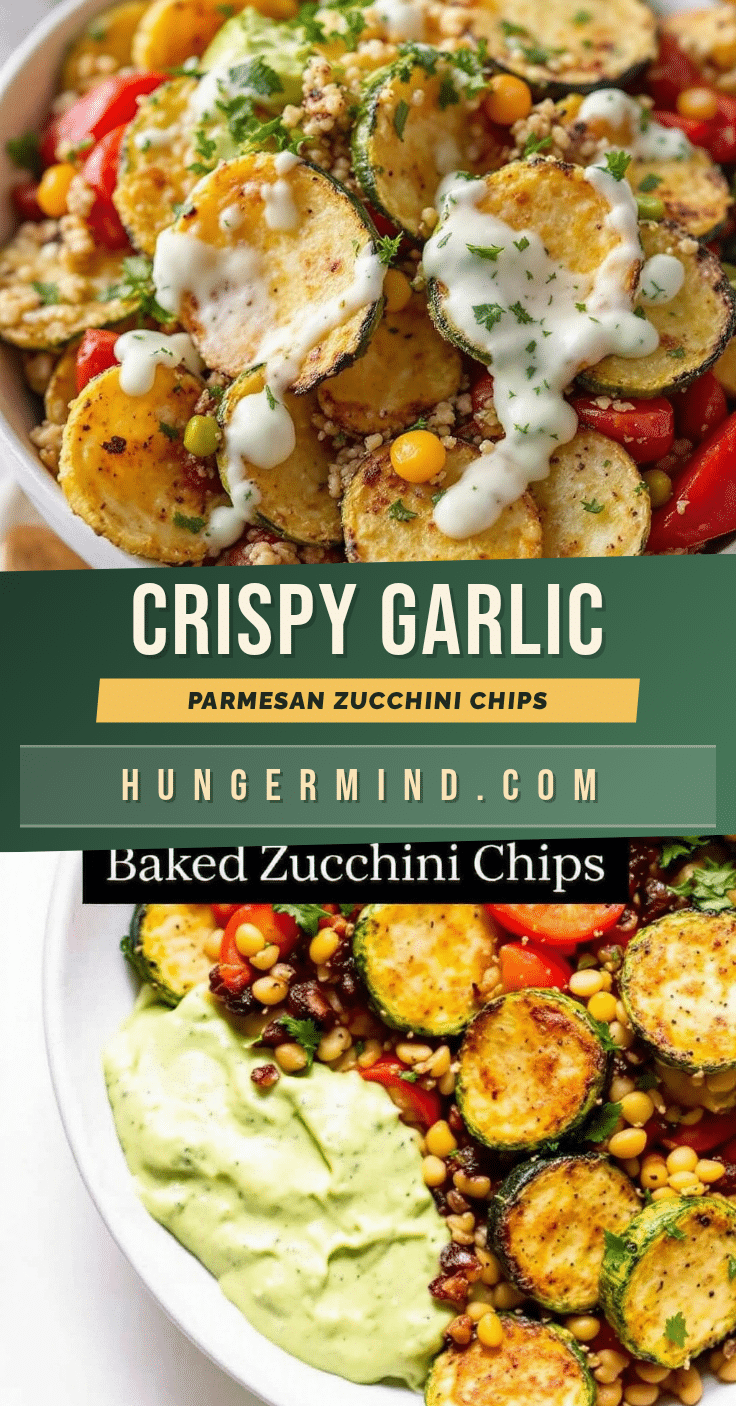
Crispy Garlic Parmesan Zucchini Chips: Easy Baked Recipe

These crispy, baked zucchini chips are coated in a savory garlic parmesan crust and baked to golden perfection. A healthy, addictive snack that’s perfect for any occasion.
- Prep Time: 30 minutes
- Cook Time: 25 minutes
- Total Time: 55 minutes
- Yield: 4 servings 1x
- Category: Appetizer
- Cuisine: American
Ingredients
- 2 medium zucchini (about 1 lb total)
- 1 teaspoon kosher salt, plus more for salting
- 1/2 cup finely grated Parmesan cheese
- 1/2 cup panko breadcrumbs
- 1 teaspoon garlic powder
- 1 teaspoon Italian seasoning
- Salt and black pepper to taste
- Olive oil cooking spray (or 2 tablespoons olive oil)
Instructions
- Wash zucchini, trim ends, and slice into 1/4-inch thick rounds. Toss with 1 teaspoon kosher salt and let rest for 20 minutes.
- Rinse zucchini slices with cold water, then press dry between clean kitchen towels or paper towels.
- Preheat oven to 425°F (220°C). Line two baking sheets with parchment paper or silicone mats.
- In a shallow bowl, combine Parmesan, panko, garlic powder, Italian seasoning, and a pinch of black pepper.
- Set up breading station: one bowl for dry zucchini, one for oil spray (or toss with 2 tablespoons oil), and one for the Parmesan mixture.
- Working in batches, coat each zucchini slice with oil, then press into Parmesan mixture, coating both sides. Place on prepared baking sheets, leaving space between chips.
- Bake for 10 minutes, flip chips, then bake another 10-15 minutes until deep golden brown and firm.
- Transfer chips immediately to a wire rack to cool for at least 5 minutes before serving.
Notes
The salting step is crucial for removing moisture and achieving crispiness. Do not skip it. Grate your own Parmesan for best results. Do not overcrowd the baking sheet. Cool chips on a wire rack to maintain crunch.
Nutrition
- Serving Size: 1/4 of recipe
- Calories: 180
- Sugar: 3
- Sodium: 450
- Fat: 10
- Saturated Fat: 3
- Carbohydrates: 12
- Fiber: 2
- Protein: 10
Keywords: zucchini chips, baked zucchini chips, garlic parmesan zucchini chips, healthy snack, crispy zucchini chips