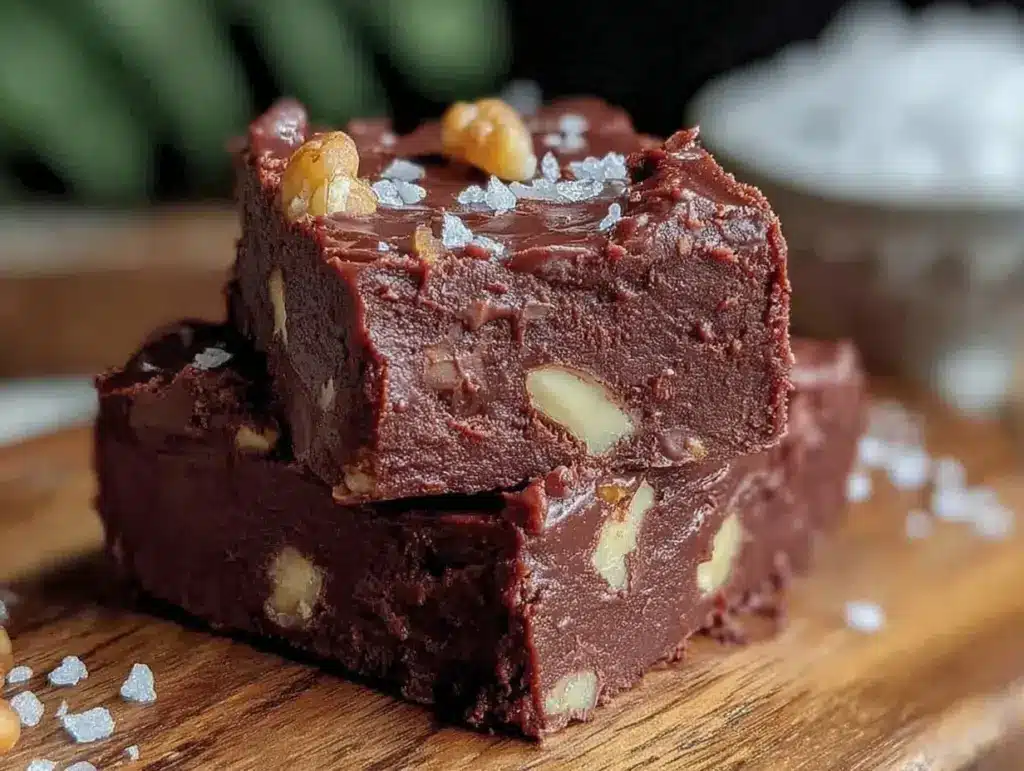
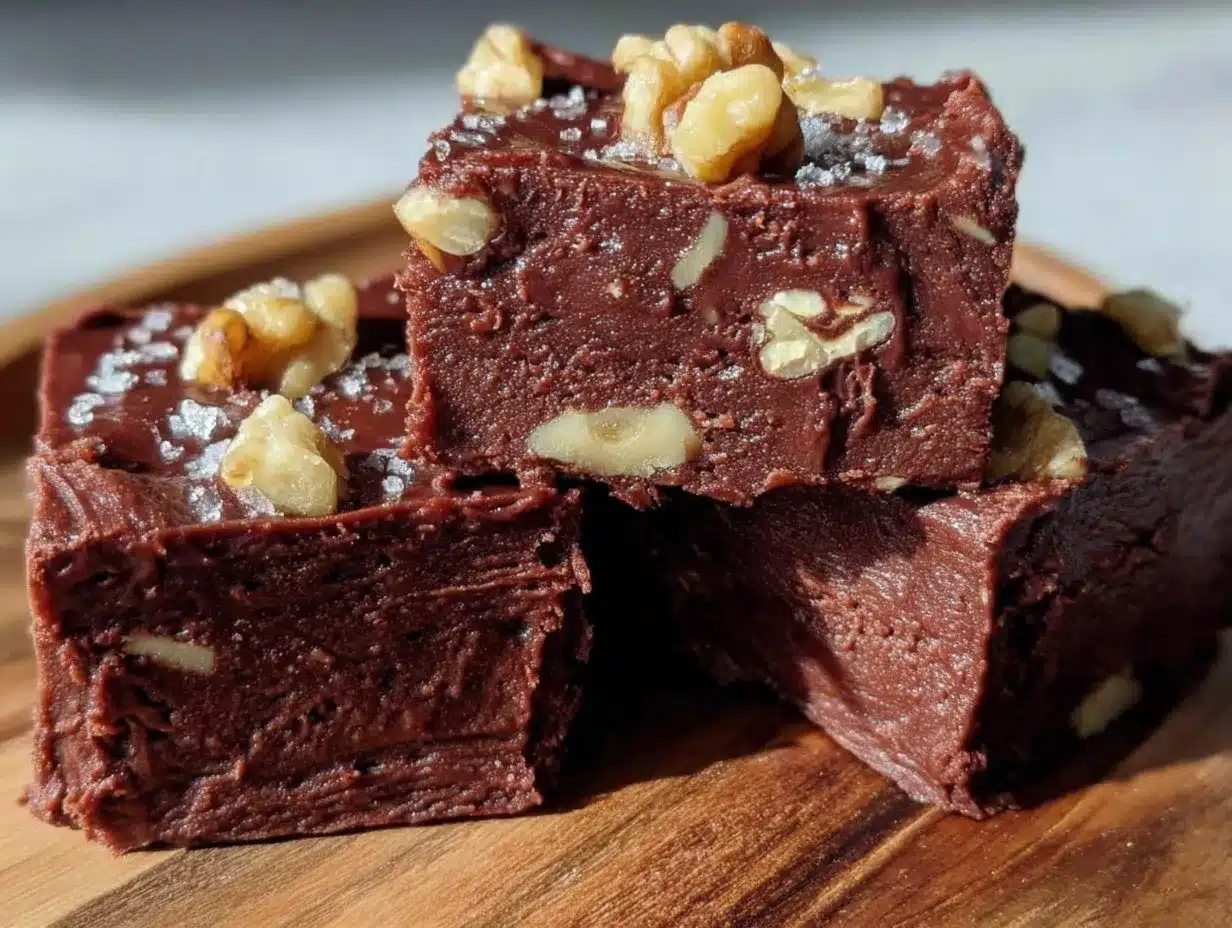
“You don’t just make old-fashioned chocolate fudge—you live it,” my grandmother used to say, as she stirred a pot of thick, glossy chocolate on a chilly afternoon. I remember the way the sweet, nutty scent of walnuts and vanilla would fill the kitchen, wrapping around us like a warm blanket. This rich old-fashioned chocolate fudge with walnuts and vanilla isn’t just candy; it’s a small ritual, a slow moment in a world that often rushes by.
One evening, after a particularly long day juggling work and family chaos, I found myself craving something that felt like a hug in edible form. The pantry was modest, but I spotted a forgotten bag of walnuts and a jar of vanilla extract. Skeptical but hopeful, I decided to recreate that humble fudge recipe I’d watched my grandmother make so many times. Honestly, I wasn’t sure if I’d get the texture right—fudge can be tricky for sure—but the first bite quieted all doubts.
That simple batch of fudge quickly became a weekly treat. It’s not flashy or complicated, but the deep chocolate richness paired with crunchy walnuts and the soft floral hint of vanilla makes it unforgettable. And, you know, it’s the kind of recipe that invites you to slow down, savor, and maybe share a piece with someone you love. That’s why this recipe stuck with me—and why I think it’ll find a spot in your kitchen, too.
Why You’ll Love This Recipe
Having made this rich old-fashioned chocolate fudge with walnuts and vanilla countless times, I can say it’s a real keeper. Here’s why it stands out:
- Quick & Easy: You can whip it up in about 20 minutes, perfect for those evenings when you want homemade sweetness without hours in the kitchen.
- Simple Ingredients: No need for fancy chocolates or hard-to-find items—just the basics you probably have on hand already.
- Perfect for Gifting: This fudge is a classic treat that’s great for holiday baskets, potlucks, or even a sweet surprise for neighbors.
- Crowd-Pleaser: The combination of creamy chocolate and crunchy walnuts always gets rave reviews from both kids and adults alike.
- Unbelievably Delicious: The velvety texture blends with the warm vanilla and nutty crunch for a comfort-food experience that feels homemade and special.
This recipe is a little different from other fudge recipes because it brings that old-fashioned charm with a modern twist—using real vanilla extract and toasted walnuts to deepen the flavor. No weird additives or overly sweeteners here, just honest ingredients and well-tested technique.
Honestly, this fudge is the kind of treat that makes you pause and close your eyes with every bite, savoring that perfect balance of sweetness and texture. Whether you’re impressing guests or indulging in a quiet moment alone, it’s got the soul-soothing satisfaction you want from a homemade dessert.
What Ingredients You Will Need
This recipe uses simple, wholesome ingredients to deliver bold flavor and satisfying texture without the fuss. Most of these are pantry staples, and if you’re missing something, I’ve got easy swap suggestions that work well.
- Granulated Sugar – 4 cups (800g), the backbone for that classic fudge sweetness.
- Unsweetened Cocoa Powder – 3/4 cup (65g), choose a good-quality brand like Hershey’s or Valrhona for a rich chocolate flavor.
- Whole Milk – 1 cup (240ml), for creaminess (you can use evaporated milk for a thicker texture).
- Unsalted Butter – 1/2 cup (115g), softened (adds richness and smoothness).
- Vanilla Extract – 2 teaspoons, pure vanilla is best here for that warm, floral note.
- Chopped Walnuts – 1 cup (120g), toasted lightly to bring out the flavor (pecans or almonds work as alternatives).
- Salt – 1/4 teaspoon, to balance and brighten the sweetness.
If you’re looking for a dairy-free version, swap butter with coconut oil and use almond milk instead of whole milk. For a gluten-free treat, this recipe is naturally safe since it has no flour or gluten ingredients.
When selecting walnuts, I like to buy fresh ones from a trusted brand or local source, then toast them myself to get that deep nutty aroma just right. It makes a noticeable difference in the final flavor.
Equipment Needed
- Heavy-Bottomed Saucepan: A sturdy one prevents burning and helps the sugar cook evenly.
- Candy Thermometer: While not absolutely required, it’s super helpful to hit the perfect fudge temperature (234–240°F / 112–115°C).
- Wooden Spoon or Heatproof Silicone Spatula: For stirring the thickening fudge mixture.
- 8×8-inch Baking Pan: Line it with parchment paper or lightly buttered foil for easy removal.
- Measuring Cups and Spoons: Accurate measurements keep the fudge texture spot on.
If you don’t have a candy thermometer, no worries—I’ve got tips on how to tell by eye when the fudge is ready in the preparation steps. For budget-friendly options, a heavy saucepan from any kitchen store works fine; just avoid thin pans that heat unevenly.
Personally, I like to use a wooden spoon for stirring fudge because it feels sturdy and doesn’t melt or scratch my pans. Silicone spatulas work well for scraping down the sides too.
Preparation Method
- Prepare your pan: Line an 8×8-inch baking pan with parchment paper or lightly buttered foil. Set aside.
- Toast the walnuts: Preheat your oven to 350°F (175°C). Spread the walnuts on a baking sheet and toast for about 8–10 minutes, stirring halfway. The nuts should smell warm and nutty but not browned. Remove and let cool.
- Mix the dry ingredients: In your heavy-bottomed saucepan, combine 4 cups (800g) granulated sugar, 3/4 cup (65g) unsweetened cocoa powder, and 1/4 teaspoon salt. Stir to blend evenly.
- Add the milk and butter: Pour in 1 cup (240ml) whole milk and add 1/2 cup (115g) softened unsalted butter to the dry mix. Place the pan over medium heat.
- Cook the fudge base: Stir constantly as the sugar dissolves and the mixture heats. Bring to a full rolling boil, stirring occasionally to prevent scorching. If using a candy thermometer, clip it to the pan and let the mixture cook until it reaches 234–240°F (112–115°C), also known as the soft-ball stage. This usually takes about 8–10 minutes.
- Test for readiness without a thermometer: Drop a small spoonful of the mixture into cold water. If it forms a soft, pliable ball that flattens when removed, the fudge is ready.
- Cool the mixture: Remove the pan from heat and let it cool without stirring for about 10 minutes. It should be warm to the touch but not hot.
- Add vanilla and nuts: Stir in 2 teaspoons pure vanilla extract. Then fold in the toasted walnuts gently but thoroughly.
- Beat the fudge: Using a wooden spoon or a hand mixer on low, beat the mixture until it thickens and loses its glossy sheen. This step is key for that creamy, crumbly texture classic to old-fashioned fudge. It usually takes about 5–7 minutes.
- Pour and set: Quickly pour the fudge into the prepared pan and smooth the top with a spatula. Let it cool completely at room temperature until firm, about 2 hours.
- Cut and serve: Once set, lift the fudge from the pan using the parchment paper edges. Cut into 1-inch (2.5 cm) squares and enjoy.
Remember, stirring too early or too vigorously when hot can cause the fudge to crystallize and become grainy. Patience is your friend here!
Cooking Tips & Techniques
Making fudge can be intimidating, but a few tricks make it much easier. Here’s what I’ve learned over many batches:
- Use a heavy-bottomed pan: This prevents hot spots that cause burning or uneven cooking.
- Don’t rush the cooling stage: Letting the mixture cool slightly before beating helps develop the right texture without crystallization.
- Stir gently after boiling: Vigorous stirring while the sugar is hot can cause grainy fudge. Wait until it cools a bit.
- Test the temperature: If you don’t have a candy thermometer, the cold water test is a reliable guide.
- Toast your nuts: It makes a world of difference in flavor, trust me. Raw walnuts can taste bitter and dull.
- Beat until thick: The frosting-like stage means you’ve hit the right consistency. Don’t skip it!
Once, I accidentally boiled the mixture too long and ended up with fudge that was too hard. I had to reheat and add extra milk to soften it. Lesson learned: timing is everything. Also, multitasking in the kitchen is tempting, but fudge demands your full attention during the boiling phase.
Variations & Adaptations
- Nut-Free Version: Simply omit walnuts or swap in toasted pumpkin seeds or crispy rice cereal for crunch.
- Spiced Fudge: Add a pinch of cinnamon and cayenne for a warm, spicy kick that pairs beautifully with the chocolate and vanilla.
- Peanut Butter Swirl: Gently fold in 1/2 cup (120g) creamy peanut butter after boiling for a rich, nutty swirl.
For different cooking methods, you can try making this fudge in a slow cooker on low heat, stirring occasionally, though it takes longer and requires patience. I once swapped walnuts for pecans and added a splash of bourbon for a grown-up twist that disappeared fast at my holiday party.
If you want a dairy-free fudge, replace butter with coconut oil and milk with almond or oat milk. The texture changes slightly but remains delicious.
Serving & Storage Suggestions
This rich old-fashioned chocolate fudge with walnuts and vanilla is best served at room temperature, allowing the flavors and texture to shine. Cut into bite-sized squares and arrange on a pretty platter for guests or gift boxes.
Pair it with a cup of strong coffee or a glass of cold milk for a classic combo. If you’re planning a full spread, this fudge makes a lovely sweet finish alongside lighter treats like the fresh autumn harvest salad with maple vinaigrette or a warm batch of creamy Japanese sesame spinach Goma-ae.
Store fudge in an airtight container at room temperature for up to a week. For longer storage, refrigerate for up to 3 weeks or freeze for up to 3 months. To thaw frozen fudge, leave it at room temperature for a few hours—avoid microwaving, which can change texture.
Flavors tend to deepen after a day or two, so if you can wait, it’s worth the patience. Just be sure to keep it sealed tight to prevent drying out.
Nutritional Information & Benefits
A 1-inch (2.5 cm) square of this fudge has roughly 150–180 calories, with about 8–10 grams of fat, most from the butter and walnuts. The cocoa powder adds antioxidants, and walnuts provide heart-healthy omega-3 fatty acids and protein.
This recipe is naturally gluten-free and can be adapted for dairy-free diets as noted earlier. The moderate portion size keeps it a reasonable indulgence, perfect for a treat without going overboard.
From a wellness perspective, making your own fudge lets you control the ingredients and avoid preservatives or artificial flavors found in store-bought versions. Plus, the walnuts add a satisfying crunch and nutritional boost that’s hard to beat.
Conclusion
This rich old-fashioned chocolate fudge with walnuts and vanilla is more than just a dessert; it’s a comforting ritual, a sweet moment of calm you can create in your own kitchen. The combination of deep chocolate, toasty nuts, and gentle vanilla makes it a memorable treat that’s easy to make and share.
Feel free to tweak the recipe to fit your taste—add spices, swap nuts, or experiment with dairy-free versions. I love how this fudge brings a little joy and warmth to both busy days and special occasions.
If you try it, I’d love to hear how it turns out for you or any unique twists you add. Sharing recipes is like passing along a little piece of happiness, and this fudge definitely deserves a spot in your sweet collection.
Enjoy every rich, nutty bite!
FAQs
- Can I use milk chocolate instead of cocoa powder?
Using milk chocolate will change the texture and sweetness, often making fudge softer and sweeter. For this recipe, unsweetened cocoa powder keeps the classic rich flavor. - How do I know when the fudge is cooked enough without a thermometer?
Use the cold water test: drop a spoonful of the hot syrup into cold water. If it forms a soft ball that flattens when removed, it’s ready. - Can I substitute walnuts with other nuts?
Yes! Pecans, almonds, or even hazelnuts work well. Just toast them lightly for best flavor. - Why did my fudge turn out grainy?
Grainy fudge usually happens if you stir the mixture too much while boiling or don’t cool it properly before beating. Follow the cooling and stirring instructions carefully. - How should I store leftover fudge?
Keep it in an airtight container at room temperature for up to a week, or refrigerate for longer storage. Avoid moisture to keep the fudge from becoming sticky.
Pin This Recipe!
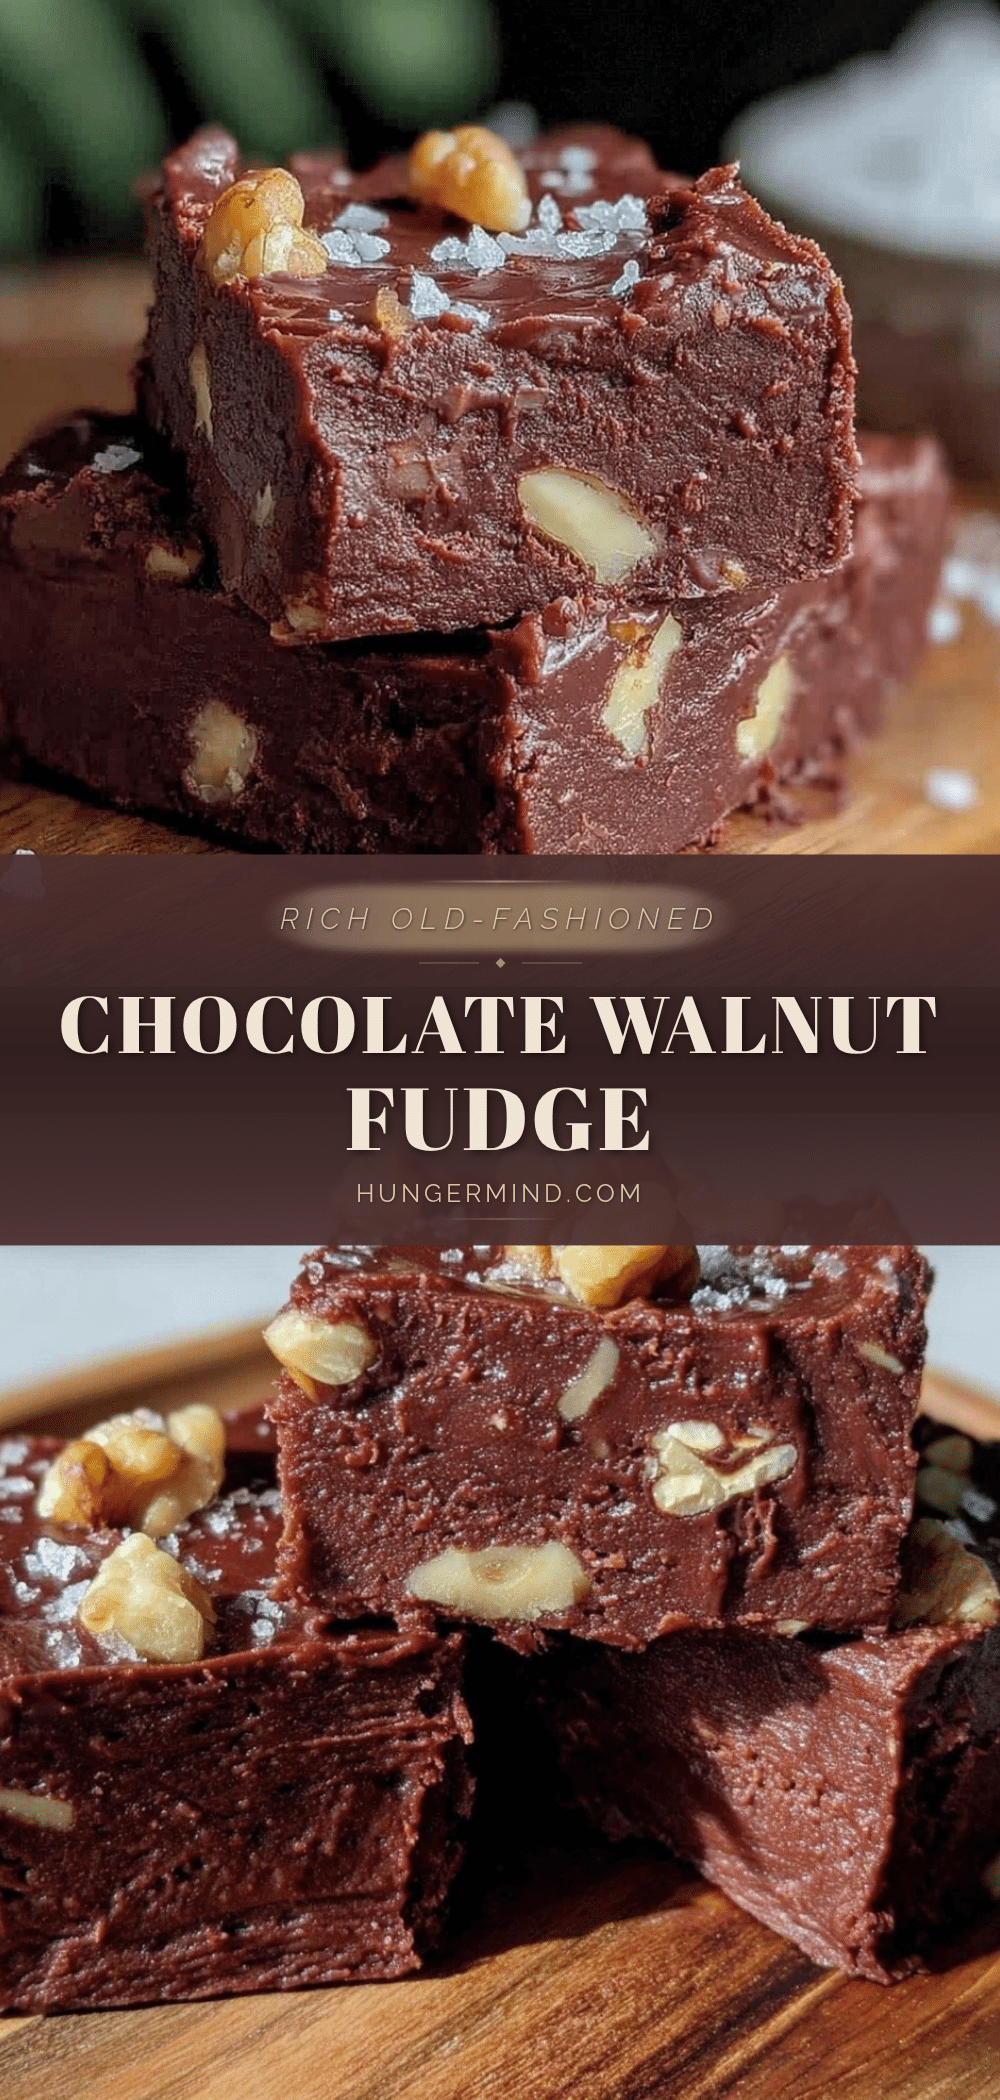
Rich Old-Fashioned Chocolate Fudge with Walnuts and Vanilla

A classic, rich old-fashioned chocolate fudge recipe featuring toasted walnuts and pure vanilla extract for a creamy, nutty, and comforting treat that’s quick and easy to make.
- Prep Time: 15 minutes
- Cook Time: 15 minutes
- Total Time: 2 hours 30 minutes
- Yield: 36 servings 1x
- Category: Dessert
- Cuisine: American
Ingredients
- 4 cups (800g) granulated sugar
- 3/4 cup (65g) unsweetened cocoa powder
- 1 cup (240ml) whole milk
- 1/2 cup (115g) unsalted butter, softened
- 2 teaspoons vanilla extract
- 1 cup (120g) chopped walnuts, toasted
- 1/4 teaspoon salt
Instructions
- Line an 8×8-inch baking pan with parchment paper or lightly buttered foil. Set aside.
- Preheat oven to 350°F (175°C). Spread walnuts on a baking sheet and toast for 8–10 minutes, stirring halfway. Let cool.
- In a heavy-bottomed saucepan, combine granulated sugar, cocoa powder, and salt. Stir to blend evenly.
- Add whole milk and softened butter to the dry mix. Place pan over medium heat.
- Stir constantly as sugar dissolves and mixture heats. Bring to a full rolling boil, stirring occasionally to prevent scorching. Cook until mixture reaches 234–240°F (112–115°C) or soft-ball stage, about 8–10 minutes.
- To test without thermometer, drop a spoonful into cold water; if it forms a soft, pliable ball that flattens, it’s ready.
- Remove pan from heat and let cool without stirring for about 10 minutes until warm to touch.
- Stir in vanilla extract and fold in toasted walnuts gently but thoroughly.
- Beat mixture with wooden spoon or hand mixer on low until thickened and loses glossy sheen, about 5–7 minutes.
- Pour fudge into prepared pan and smooth top with spatula. Let cool completely at room temperature until firm, about 2 hours.
- Lift fudge from pan using parchment paper edges. Cut into 1-inch squares and serve.
Notes
Use a heavy-bottomed pan to prevent burning. Do not stir vigorously while hot to avoid grainy texture. Use the cold water test if no candy thermometer is available. Toast walnuts to enhance flavor. Beat fudge until thick and no longer glossy for best texture. Store in airtight container at room temperature up to 1 week, refrigerate up to 3 weeks, or freeze up to 3 months.
Nutrition
- Serving Size: 1-inch square (2.5 c
- Calories: 165
- Sugar: 20
- Sodium: 40
- Fat: 9
- Saturated Fat: 5
- Carbohydrates: 22
- Fiber: 2
- Protein: 3
Keywords: chocolate fudge, old-fashioned fudge, homemade fudge, walnuts, vanilla, easy fudge recipe, classic fudge, holiday fudge, chocolate dessert


