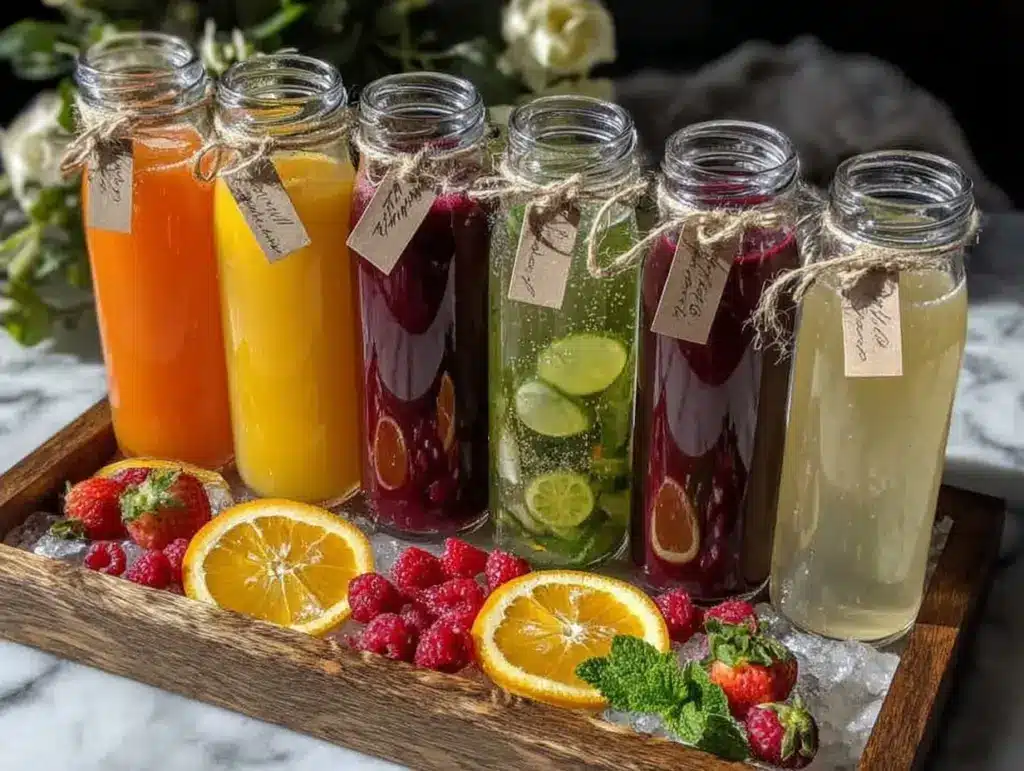
“You’re not just popping a bottle, you’re crafting an experience,” my friend said as she surveyed the table I’d hastily arranged one Saturday morning. Honestly, I was skeptical about pulling off a DIY mimosa bar that morning—between juggling errands and trying to keep the kitchen chaos at bay, I figured it’d be a half-hearted attempt at best. But that moment, with six colorful juice options lined up next to chilled champagne, transformed the whole vibe. The bright citrus scent mingling with the fizz in the air made everything feel a little lighter, a little more festive.
Setting up a perfect DIY mimosa bar with six juices and a champagne station wasn’t just a last-minute whim; it became my go-to for casual brunches and even impromptu celebrations. The variety of juices—from tangy blood orange to classic orange, and the unexpected splash of pomegranate—meant everyone could find their favorite twist. And honestly, there’s something genuinely satisfying about customizing your own glass, watching the bubbles rush up, and tasting that fresh burst of flavor. It’s simple, approachable, but it feels special.
That morning taught me that a mimosa bar doesn’t have to be complicated or fancy to make an impression. It’s about the joy of choice, the little details like chilled flutes and fresh fruit garnishes, and the way a simple gathering can turn into a memorable moment. What stuck with me is how this easy setup invites connection—sharing sips, stories, and laughter—without any fuss. It’s a small celebration in a glass, ready whenever you are.
Why You’ll Love This Recipe
After several weekends of testing and tweaking, I can say this mimosa bar setup is my favorite way to keep brunch lively and stress-free. Here’s why it stands out:
- Quick & Easy: The entire station can be set up in under 15 minutes, perfect for those spontaneous get-togethers or busy weekend mornings.
- Simple Ingredients: No need for obscure juices or fancy champagne brands—these six juices are easy to find, and I stick to a reliable brut champagne that’s affordable but tastes great.
- Perfect for Brunch or Celebrations: Whether it’s a casual Sunday morning or a festive occasion, this mimosa bar adapts effortlessly.
- Crowd-Pleaser: Having options means everyone gets what they love, and it’s a hit with both kids and adults when you include a few sparkling non-alcoholic options.
- Unbelievably Delicious: The balance of sweet, tart, and bubbly makes every sip feel fresh and satisfying—the texture and flavor combo is just right.
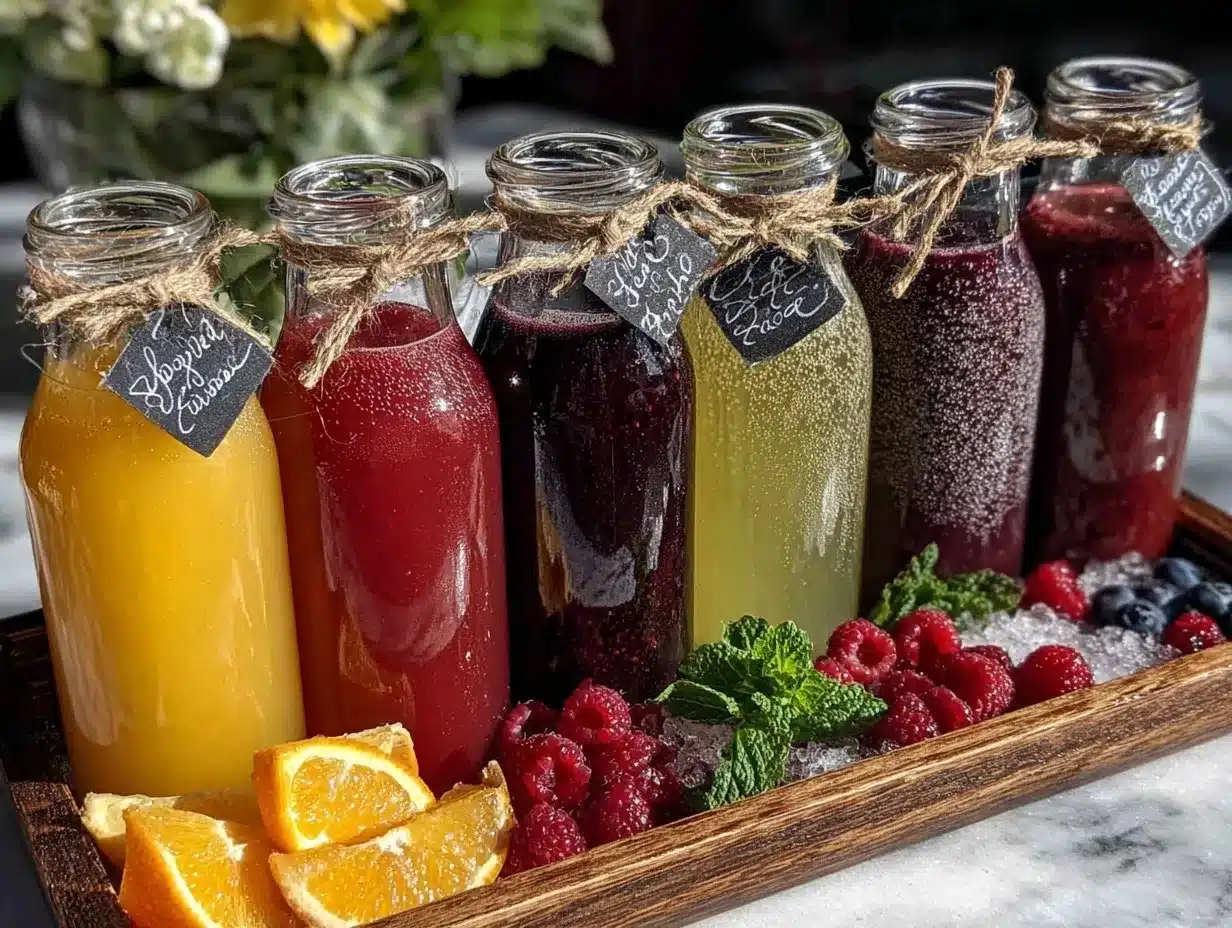
This isn’t just another mimosa recipe. What makes it different is the thoughtful selection of six juices that cover a range of flavor profiles, from the rich sweetness of mango to the bright zing of grapefruit. I also recommend chilling everything well ahead, and having a few fresh garnishes like mint or berries to add that extra touch of flair. It’s all about making the experience personal and fun, not complicated.
Honestly, this mimosa bar has become my little weekend ritual—an easy way to impress guests without the fuss, or just to treat myself to something a bit special. It’s a reminder that good times can come from simple pleasures, and that a few bubbles paired with fresh juice can brighten any morning.
What Ingredients You Will Need
This mimosa bar uses simple, wholesome ingredients to deliver a flavorful and festive experience without the fuss. Most of these are pantry staples or easy to find at your local grocery store or farmers market. Feel free to swap juices based on seasonality or preference.
- Champagne or Sparkling Wine: Brut or extra dry styles work best for balancing the sweetness of the juices. I usually go for a well-priced bottle like Veuve Clicquot or Mionetto Prosecco for consistent fizz and flavor.
Six Juices for Variety:
- Classic Orange Juice: Freshly squeezed if possible, or high-quality store-bought (like Simply Orange) for that bright citrus punch.
- Blood Orange Juice: Adds a gorgeous ruby hue and a slightly sweeter, berry-like flavor.
- Grapefruit Juice: Tart and refreshing, a nice contrast to sweeter options.
- Pineapple Juice: Sweet and tropical, this one brings a sunny vibe to your glass.
- Mango Juice: Creamy and smooth, it adds an exotic twist to your mimosa lineup.
- Pomegranate Juice: Deep, tangy, and packed with antioxidants—great for a pop of color and flavor.
Optional Garnishes:
- Fresh berries (strawberries, raspberries, blueberries)
- Thin citrus slices (orange wheels, grapefruit wedges)
- Fresh mint leaves
- Edible flowers (for a fancy touch)
For a non-alcoholic twist, keep chilled sparkling water or a sparkling cider nearby for guests who want to skip the champagne but keep the party vibe. You can also swap any juice with a seasonal alternative—for example, swapping mango for fresh peach nectar in summer.
Equipment Needed
- Champagne Flutes or Tall Glasses: The right glass makes all the difference—thin-rimmed flutes keep the bubbles lively and look elegant.
- Pitchers or Juice Dispensers: Having clear pitchers or dispensers for each juice keeps things organized and visually appealing. I like glass dispensers with spigots for ease of use, but simple pitchers work fine too.
- Ice Bucket or Cooler: To keep your champagne and juices chilled throughout the event. A bucket with tongs or a small cooler works well.
- Small Bowls for Garnishes: Keep berries, citrus slices, and mint leaves handy for guests to customize their drinks.
- Measuring Cups or Jiggers: For those who want to be precise with their pours—especially helpful if you’re mixing for kids or non-drinkers.
- Bar Towels or Napkins: For spills and keeping the station tidy.
If you don’t have special champagne flutes, standard wine glasses work just fine—and I’ve learned that having enough pitchers beats fancy glassware when it comes to flow and guest satisfaction. Also, if you don’t own juice dispensers, clear glass pitchers with wide mouths make it easier to add ice or stir in garnishes.
Preparation Method
- Chill All Ingredients: At least 2 hours before your event, place the champagne and all juices in the refrigerator. You want everything cold so the bubbles stay lively and the juices refreshingly crisp.
- Prepare Garnishes: Rinse fresh berries and mint leaves, slice citrus into thin wheels or wedges, and arrange them neatly in small bowls. This only takes about 10 minutes but makes a big impression.
- Set Up the Station: Arrange pitchers or dispensers in a row on a sturdy table. Place the champagne bucket or cooler nearby with ice and the bottles ready to open. Position the glasses at one end and garnishes at the other so guests can move along the line smoothly.
- Open Champagne Last Minute: Pop the bottles just before guests arrive or are ready to pour. This keeps the fizz fresh and lively. Remember to angle the bottle at about 45 degrees and twist the bottle (not the cork) slowly to avoid spills.
- Guide Your Guests: Let everyone know the flow—start with a glass, select a juice, then top with champagne. Encourage tasting different combos; it’s part of the fun!
- Refill as Needed: Keep an eye on juice levels and champagne chill throughout the gathering. Refill pitchers and add ice to the bucket to maintain that perfect serving temperature.
- Clean Up Quickly: Have a waste bin nearby and a towel for drips. This keeps the station inviting and prevents sticky messes.
One tip I’ve learned is to pour the juice first, filling the glass about halfway, then gently top with champagne to keep the bubbles intact. Also, if you’re mixing juices for a custom combo, serve those in separate pitchers to avoid cross-flavor confusion.
Cooking Tips & Techniques
Making a mimosa bar look effortless takes a few tricks learned the hard way. Here are some tips:
- Keep It Cold: Warm champagne or juice kills the sparkle and flavor. If you’re hosting outside in summer, use ice buckets liberally to keep bottles chilled.
- Pouring Technique: Tilt your glass slightly and pour the champagne slowly to preserve bubbles and avoid overflow.
- Juice Quality Matters: Fresh-squeezed or high-quality juices make a noticeable difference. I once tried a cheap juice and it overshadowed the champagne’s subtleties.
- Don’t Overfill: Filling glasses too full results in spills and flat drinks. Aim for about half the glass with juice, the rest champagne.
- Provide Non-Alcoholic Options: Some guests appreciate the bubbly without alcohol—sparkling water with a splash of juice works great.
- Garnish with Purpose: Fresh fruit and herbs don’t just look pretty—they add aroma and a flavor boost with every sip.
One mistake I made early on was forgetting napkins and towels nearby—sticky champagne drips are real! Also, having a few extra bottles on hand prevents any mid-brunch panic. Multitasking by prepping your station while guests mingle keeps things flowing smoothly.
Variations & Adaptations
This mimosa bar setup is flexible enough to suit any occasion or dietary need. Here are some ways I’ve changed it up:
- Seasonal Juice Swaps: In fall, I swapped pineapple for fresh apple cider, which gave a cozy twist perfect for cooler weather.
- Dietary Modifications: For gluten-free guests, sparkling wines labeled GF are great; for vegan options, check for vegan-certified champagnes. I also keep sparkling water for non-drinkers or kids.
- Flavor Twists: Adding a splash of elderflower cordial or a dash of fresh ginger juice transforms a simple mimosa into something special.
- Cooking Method Adjustments: If you want a frozen mimosa bar vibe, pre-chill juices and champagne, then serve over crushed ice or even in frozen glasses for a slushy effect.
- Personal Favorite Variation: I once mixed fresh muddled mint with grapefruit juice for a refreshing twist that guests loved—adds a little herbal brightness without extra work.
Serving & Storage Suggestions
Serve mimosas immediately after pouring to enjoy the freshest bubbles and flavors. Presentation matters, so arrange glasses with garnishes on a pretty tray or mirrored surface to catch the light. Pair your mimosa bar with light brunch dishes like fluffy savory bacon cheddar scones or fresh fruit salads for a balanced spread.
Leftover champagne can be stored in the fridge for up to 24 hours but will lose some fizz. Juices keep well for 2-3 days refrigerated in sealed containers. To reheat chilled juices slightly, let sit at room temperature for 15 minutes before serving again—cold but not icy.
Flavors tend to meld over time, so if you’re prepping ahead, keep juices separate and add garnishes just before serving to maintain freshness and texture.
Nutritional Information & Benefits
A traditional mimosa made with champagne and orange juice typically contains around 90-110 calories per 4-ounce serving (120 ml), depending on the juice and champagne used. This DIY mimosa bar includes a variety of juices, so calories may vary slightly.
Key ingredient benefits include:
- Orange and Blood Orange Juice: Rich in vitamin C and antioxidants, supporting immunity and skin health.
- Pomegranate Juice: Packed with antioxidants and anti-inflammatory compounds.
- Grapefruit Juice: Known for aiding digestion and providing a good dose of vitamin A and C.
For those watching sugar intake, opt for juices labeled no added sugar or dilute with sparkling water. This mimosa bar also caters well to gluten-free and vegan diets, making it inclusive and health-conscious without sacrificing flavor.
Conclusion
This perfect DIY mimosa bar with six juices and a champagne station is one of those ideas that feels fancy but is actually refreshingly simple. It’s a way to bring people together—with bubbles, bright flavors, and the freedom to mix and match to their heart’s content. I love how it turns everyday mornings into little celebrations, all while keeping things easy and approachable.
Feel free to adjust the juice lineup based on what you love or what’s in season, and don’t shy away from adding your own garnishes or twists. After all, the best part of a mimosa bar is the personal touch each guest brings to their glass.
If you try setting up your own mimosa station, I’d love to hear what combinations you ended up loving the most. Sharing those little details is what keeps brunches exciting and ever-evolving!
FAQs
What type of champagne works best for a mimosa bar?
Brut or extra dry champagnes are ideal because they balance the sweetness of the juices without being overly sweet themselves. Prosecco and Cava are great budget-friendly alternatives.
Can I prepare the mimosa bar the night before?
It’s best to chill all ingredients overnight but set up the station and open the champagne just before serving to keep bubbles fresh and lively.
What if guests don’t drink alcohol?
Include sparkling water, sparkling cider, or non-alcoholic sparkling wines so everyone can join in the fun.
How do I keep the juices fresh throughout the event?
Keep pitchers refrigerated or on ice and refill as needed. Avoid leaving juices at room temperature for long periods.
Can I add other juices or flavors to the mimosa bar?
Absolutely! Feel free to try fresh peach nectar, apple cider, or even a splash of elderflower syrup to customize your mimosa bar to your taste.
Pin This Recipe!
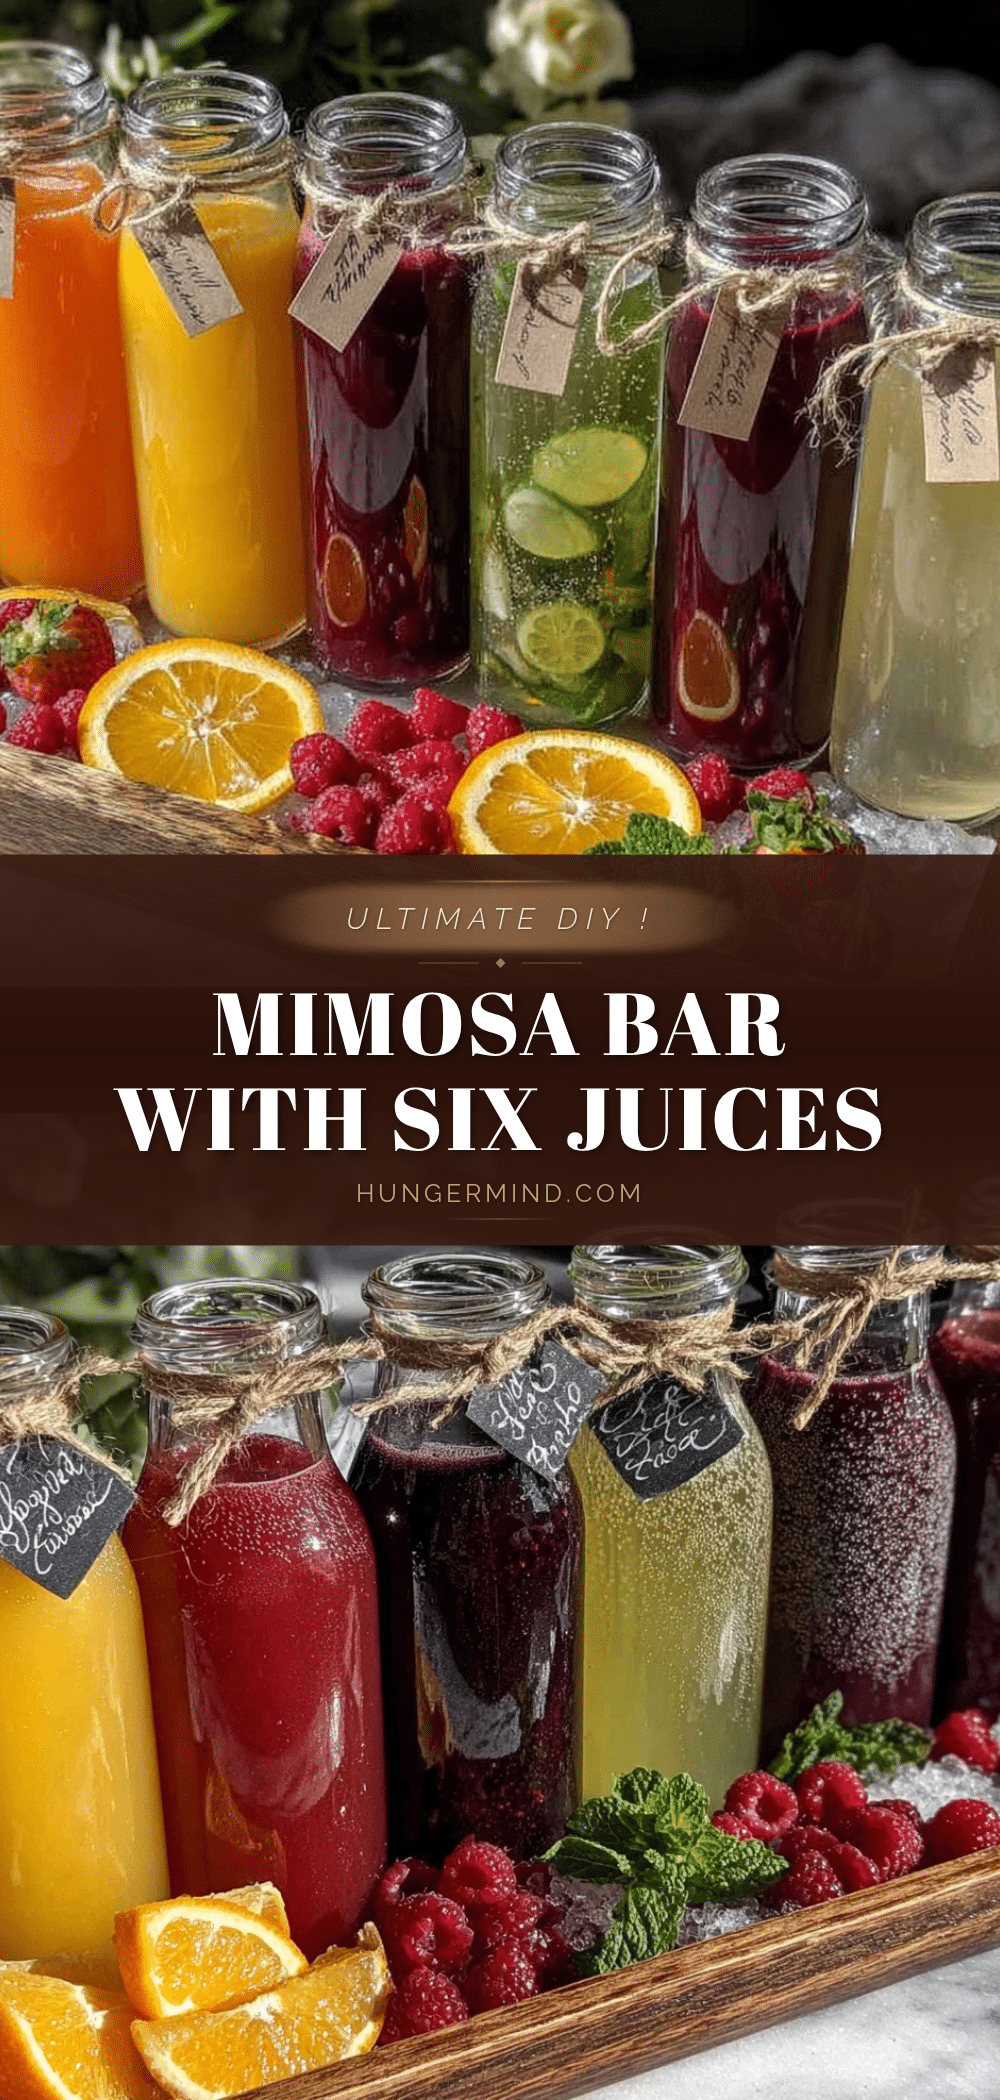
Perfect DIY Mimosa Bar with 6 Juices and Champagne Station Ideas
Create a festive and customizable mimosa bar featuring six different juices and chilled champagne, perfect for brunches and celebrations. This easy setup invites connection and offers a fresh, bubbly experience for all guests.
- Prep Time: 15 minutes
- Cook Time: 0 minutes
- Total Time: 15 minutes (plus chilling time)
- Yield: Varies (serves multiple guests depending on quantity of ingredients)
- Category: Beverage
- Cuisine: American
Ingredients
- Champagne or Sparkling Wine (Brut or extra dry)
- Classic Orange Juice (freshly squeezed or high-quality store-bought)
- Blood Orange Juice
- Grapefruit Juice
- Pineapple Juice
- Mango Juice
- Pomegranate Juice
- Optional Garnishes: Fresh berries (strawberries, raspberries, blueberries)
- Optional Garnishes: Thin citrus slices (orange wheels, grapefruit wedges)
- Optional Garnishes: Fresh mint leaves
- Optional Garnishes: Edible flowers
- Sparkling water or sparkling cider (for non-alcoholic option)
Instructions
- Chill all ingredients (champagne and juices) in the refrigerator at least 2 hours before the event.
- Rinse fresh berries and mint leaves, slice citrus into thin wheels or wedges, and arrange them neatly in small bowls.
- Arrange pitchers or dispensers with each juice in a row on a sturdy table. Place the champagne bucket or cooler nearby with ice and bottles ready to open.
- Position glasses at one end and garnishes at the other for easy guest access.
- Open champagne bottles just before guests arrive or are ready to pour, angling the bottle at about 45 degrees and twisting slowly to avoid spills.
- Guide guests to start with a glass, select a juice, then top with champagne. Encourage tasting different combinations.
- Refill pitchers and add ice to the bucket as needed to maintain serving temperature.
- Clean up spills promptly with towels and keep the station tidy.
Notes
Chill all ingredients well ahead to keep bubbles lively. Pour juice first filling glass halfway, then gently top with champagne to preserve bubbles. Provide non-alcoholic sparkling options for guests who prefer no alcohol. Garnishes add aroma and flavor. Keep juices and champagne chilled throughout the event. Avoid overfilling glasses to prevent spills.
Nutrition
- Serving Size: Approximately 4 ounc
- Calories: 901104
- Sugar: 35
- Sodium: 10
- Carbohydrates: 35
Keywords: mimosa bar, brunch drinks, champagne cocktails, DIY mimosa, sparkling wine, juice bar, party drinks, non-alcoholic options


