“You know that moment when you walk into a restaurant, and the first thing that hits you is the smell of fresh salsa and the crunch of warm chips? Well, this recipe takes me right back to that exact feeling.” It was last summer, and I was visiting an old taco joint tucked away in a quiet corner of town. The owner, a quiet guy named Miguel, wasn’t much for small talk, but when he handed me a bowl of his house salsa with a side of perfectly crispy chips, I was hooked. Honestly, I wasn’t planning to become a salsa snob that day, but as I sat on that cracked wooden bench, the tangy mix of tomatoes, jalapeños, and lime danced on my tongue, and the chips? Oh, the chips were golden little wonders—thin, crunchy, and just salty enough.
Funny thing is, I had forgotten my grocery list that day and was running late, so I was just grabbing quick snacks to hold me over. Somehow, this simple combo beat any store-bought version I’d tried before. I later tried recreating Miguel’s salsa and those crispy chips in my own kitchen—trust me, the first few attempts were a mess (burnt chips, bland salsa—you name it). But the charm of the recipe is that it’s forgiving and comes together with a few tricks I’m excited to share. Maybe you’ve been there: craving that perfect restaurant-style salsa and chips but stuck with the dry, bland stuff from the bag.
Let me tell you, this recipe stayed with me because it’s just so approachable yet so satisfying. It’s no-fuss, budget-friendly, and makes you feel like you’ve got a little secret culinary edge when guests come over. That’s why I keep coming back to it, even when I’m not entertaining. The warmth of the chips, the zing of the salsa—it’s comfort food that’s as lively as a fiesta.
Why You’ll Love This Recipe
If you’re hunting for that perfect salsa and chip combo that tastes like it came straight from a restaurant kitchen, this recipe is your new go-to. Here’s why:
- Quick & Easy: Ready in under 30 minutes, so it’s great for last-minute cravings or casual get-togethers.
- Simple Ingredients: No fancy or hard-to-find items here—just fresh veggies and pantry staples you likely have on hand.
- Perfect for Any Occasion: Whether you’re hosting game night, brunch, or just need a snack, this hits the spot.
- Crowd-Pleaser: Kids and adults both love the fresh, bold flavors and satisfyingly crunchy chips.
- Unbelievably Delicious: The salsa’s bright acidity combined with spicy warmth makes every bite memorable.
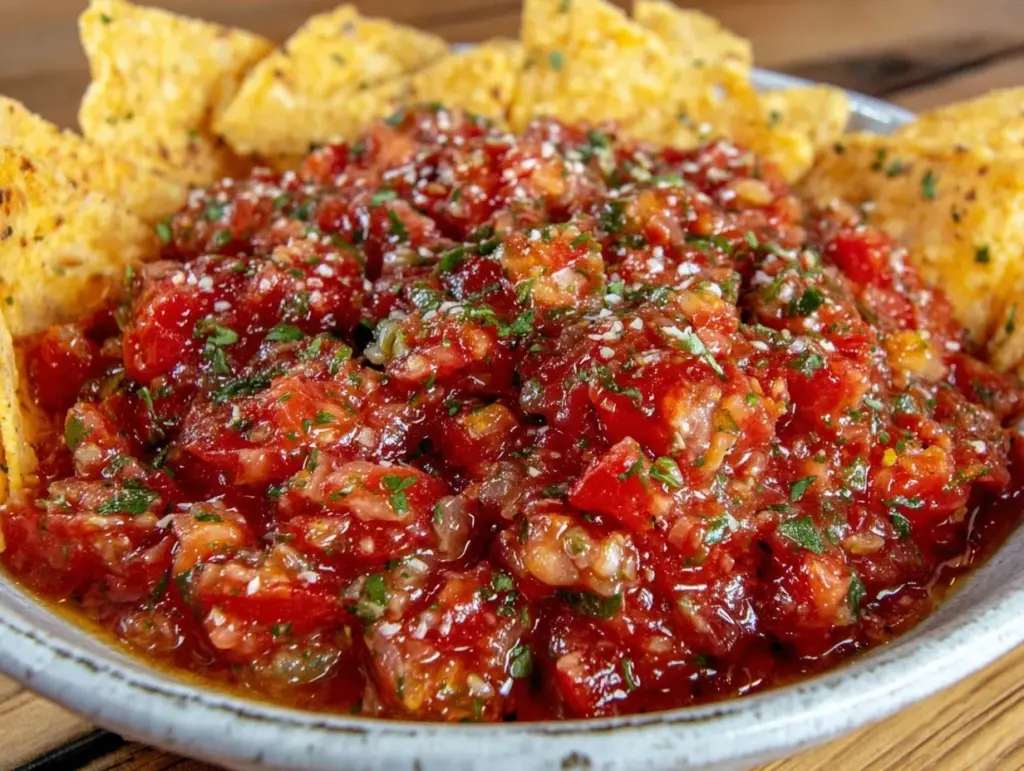
What sets this salsa apart is the balance of smoky roasted tomatoes with fresh cilantro, lime, and a touch of heat from jalapeños. Plus, the chips aren’t just plain—they’re tossed in a light sprinkle of sea salt and a hint of chili powder before baking to give that extra kick. I’ve tested this recipe countless times, tweaking the roasting times and seasoning ratios to nail that perfect flavor punch. Honestly, it’s the kind of snack that makes you close your eyes and savor every bite. No gimmicks, just real, honest flavor that reminds you why simple food rocks.
What Ingredients You Will Need
This recipe uses fresh, wholesome ingredients to create bold flavor and satisfying crunch without any fuss. Most items are pantry staples, with a few fresh touches that really bring the salsa to life.
- For the Salsa:
- 3 large ripe Roma tomatoes (preferably vine-ripened for sweetness)
- 1 small white onion, quartered
- 2 garlic cloves, unpeeled
- 1–2 fresh jalapeño peppers, stemmed and sliced (remove seeds for less heat)
- 1/2 cup fresh cilantro leaves, loosely packed (washed and dried)
- Juice of 1 lime (freshly squeezed for brightness)
- 1 teaspoon ground cumin (adds smoky depth)
- Salt to taste (I personally like kosher salt for its clean flavor)
- Freshly ground black pepper, a pinch
- For the Crispy Chips:
- 6 corn tortillas (look for non-GMO, organic if possible)
- 2 tablespoons vegetable or canola oil (for light coating)
- 1 teaspoon sea salt (for crunch and flavor)
- 1/2 teaspoon chili powder (optional, for a smoky kick)
If you want to switch it up, fresh tomatillos can replace tomatoes for a tangier salsa. Also, feel free to swap jalapeños for milder peppers like Anaheim if you’re heat-averse. For a gluten-free option, corn tortillas are naturally safe, but double-check your brands to avoid cross-contamination. I recommend using fresh lime juice over bottled for that unmistakable zing. When choosing tomatoes, smaller Romas with firm skin tend to roast best without becoming too watery.
Equipment Needed
- Baking sheet (for roasting veggies and baking chips) – a rimmed one works best to catch drips.
- Blender or food processor – essential for that smooth yet slightly chunky salsa texture.
- Sharp knife and cutting board – for prepping veggies safely.
- Mixing bowl – to toss chips in oil and seasoning before baking.
- Spatula or tongs – to turn chips midway through baking.
- Measuring spoons – for precise seasoning.
If you don’t have a food processor, a sturdy blender works fine, though you might want to pulse gently to avoid turning the salsa into puree. For budget-friendly baking sheets, those basic aluminum pans work great and clean up easily. I’ve tried roasting the veggies under the broiler before, but the oven method is more forgiving and gives that even char without burning. Make sure your equipment is clean and dry for best results—especially when tossing the chips, so the seasoning sticks well.
Preparation Method
- Preheat your oven to 425°F (220°C). This high heat is key for roasting the veggies and getting chips crispy without drying them out.
- Prepare the salsa vegetables: Place Roma tomatoes, quartered onion, garlic cloves (unpeeled), and sliced jalapeños on a baking sheet. Drizzle lightly with a bit of oil if desired, then roast for about 20 minutes, turning halfway. You want them to be blistered and slightly charred but not burnt.
- Once roasted, peel the garlic cloves. The skins will slip off easily now. Transfer tomatoes, onion, garlic, and jalapeños into your blender or food processor.
- Add fresh cilantro leaves, lime juice, ground cumin, salt, and black pepper. Pulse a few times until you reach your preferred salsa texture—chunky or smooth. Taste and adjust seasoning if needed. If it’s too thick, add a teaspoon or two of water.
- Prepare the chips: Cut each corn tortilla into 6 wedges (like slicing a pizza). Place wedges in a large mixing bowl.
- Toss the tortilla wedges with oil, sea salt, and chili powder. Make sure each chip is lightly coated but not dripping.
- Arrange the wedges in a single layer on a clean baking sheet. Bake at 425°F (220°C) for 10–12 minutes, flipping halfway through. Watch carefully after 8 minutes—the chips can go from golden to burnt quickly.
- Remove chips when they’re crisp and just golden. Let cool on the baking sheet for a few minutes; they’ll crisp up more as they cool.
- Serve the salsa chilled or at room temperature alongside the warm chips. Enjoy immediately for best crunch and flavor.
Quick tip: If your salsa tastes a bit flat, a tiny pinch of sugar can balance the acidity. Also, don’t skip roasting the jalapeños—it mellows their heat and adds smoky depth. I once forgot to flip the chips and ended up with half the batch too dark, so keep an eye on them! This recipe likes attention around minute 8–10.
Cooking Tips & Techniques
One trick I learned over time is to roast the tomatoes and jalapeños with a little space between them. Crowding the pan leads to steaming rather than roasting, and you lose that charred flavor that makes the salsa sing. Also, leaving the garlic unpeeled during roasting keeps it from burning and softens it perfectly—just peel after.
When making your chips, tossing the wedges in oil and seasoning while they’re still cool helps the flavor stick better. Baking instead of frying keeps things lighter and less messy, plus you avoid that greasy aftertaste. If you want extra crispiness, try flipping chips twice during baking—once at 6 minutes and again at 10.
Pro tip: If your salsa is too spicy, add a small peeled cucumber or a bit more tomato to mellow the heat. Conversely, for more punch, a dash of smoky chipotle powder works wonders. I’ve learned the hard way that oversalting the chips can overpower the salsa, so start light and add more if needed after tasting.
Timing-wise, roast the veggies and bake the chips simultaneously if your oven is big enough—that way, your salsa and chips are ready to serve together fresh and warm. Lastly, don’t blend the salsa too long; some texture is key to that classic restaurant-style feel.
Variations & Adaptations
There’s room to play with this recipe, depending on your mood or dietary needs. Here are a few ideas:
- Spicy Mango Salsa: Add 1 cup diced ripe mango for a sweet-heat combo. Skip the jalapeño or reduce it if you want milder heat.
- Roasted Tomatillo Salsa Verde: Swap the tomatoes for tomatillos and add fresh oregano. It’s tangier and pairs beautifully with the same crispy chips.
- Low-Sodium Version: Cut back on the added salt and use fresh lemon juice instead of lime for a slightly different citrus note.
- Gluten-Free & Vegan: This recipe is naturally gluten-free and vegan, just check your tortilla brand to be sure.
- Air-Fryer Chips: Toss the tortilla wedges in oil and seasoning, then air-fry at 400°F (200°C) for 8 minutes, shaking halfway through.
Personally, I tried adding a pinch of smoked paprika to the chips once, and it gave a subtle barbecue vibe that was surprisingly good. Feel free to adjust the heat level by experimenting with different types of peppers—mild poblanos or hotter serranos both work well.
Serving & Storage Suggestions
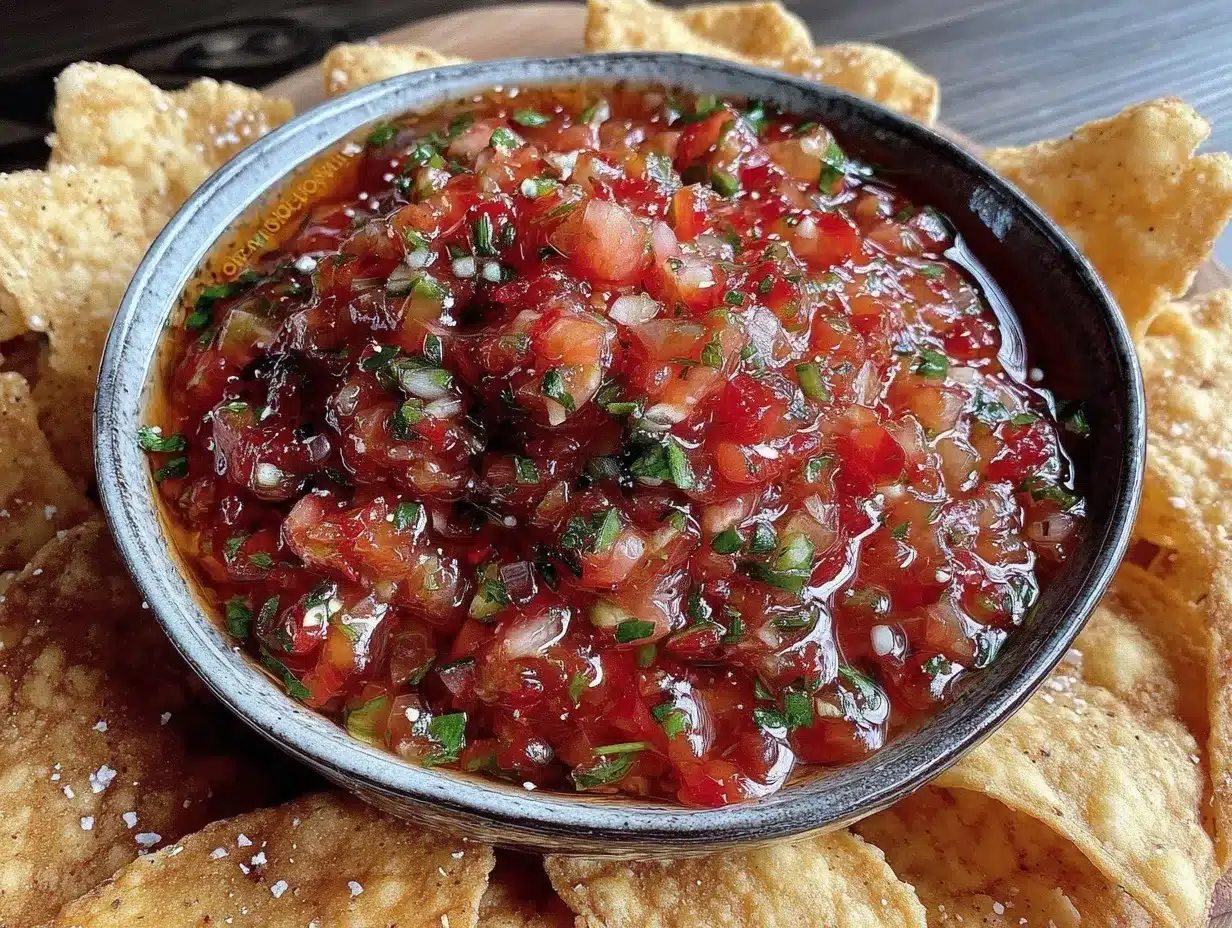
Serve the salsa chilled or at room temperature, paired with warm, crispy chips straight from the oven. For a festive touch, garnish the salsa with a few extra cilantro leaves or a sprinkle of crumbled cotija cheese. This snack pairs perfectly with a cold beer, margarita, or even a sparkling water with lime.
Leftover salsa can be stored in an airtight container in the fridge for up to 4 days. The flavors actually deepen after a day or two, making it even more vibrant. Store chips separately at room temperature in a sealed container to keep them crisp. If chips soften, revive them by popping in a 350°F (175°C) oven for 3–5 minutes.
If you want to prep in advance, roast the veggies and make the salsa a day ahead. Just wait to bake the chips until right before serving for maximum crunch. Leftover salsa also works great as a topping for grilled chicken or fish, or stirred into scrambled eggs for a flavorful kick.
Nutritional Information & Benefits
This homemade salsa and chip combo offers a healthier alternative to many store-bought snacks. Estimated per serving (about 1/4 cup salsa with 10 chips):
| Calories | 150 |
|---|---|
| Fat | 5g (mostly from oil) |
| Carbohydrates | 22g |
| Fiber | 3g |
| Protein | 2g |
Tomatoes are rich in vitamin C and lycopene, a powerful antioxidant linked to heart health. Jalapeños provide capsaicin, which may help boost metabolism. Using baked chips instead of fried cuts down on unhealthy fats. Plus, fresh cilantro adds vitamins A and K, while lime juice offers a refreshing dose of vitamin C.
This recipe fits well in gluten-free, vegan, and low-sodium diets with minor adjustments. It’s a guilt-free snack that feels indulgent—perfect for those balancing flavor with wellness.
Conclusion
So, if you’ve ever craved that unbeatable restaurant-style salsa and crispy chip combo without leaving your kitchen, this recipe has got you covered. It’s approachable and flexible enough for flavor experiments or sticking to the classic you know and love. Honestly, I keep making it because it never fails to bring a little fiesta vibe to my day and impress friends with minimal effort.
Try customizing the heat, texture, or even the chip seasoning to make it your own. I’d love to hear how you make it yours—drop a comment, share a tweak, or tell me about your favorite salsa moments. Here’s to many crunchy, zesty, homemade snacks ahead!
FAQs
How long does homemade salsa last in the fridge?
It usually lasts about 4 days when stored in an airtight container. Flavors may intensify after a day, so it’s great for prepping ahead.
Can I make the chips in a frying pan instead of the oven?
Yes! Heat a thin layer of oil in a skillet over medium heat and fry chips in batches until golden and crisp. Drain on paper towels and season immediately.
What’s the best way to reduce the heat in spicy salsa?
Remove seeds and membranes from jalapeños before roasting, or add a bit more tomato or cucumber to mellow the spice.
Can I use store-bought tortilla chips instead of making my own?
Of course, but homemade chips are fresher and less oily. If using store-bought, pick plain or lightly salted ones to let the salsa shine.
Is it necessary to roast the vegetables for the salsa?
Roasting adds a smoky depth and softens the veggies nicely, but you can blend raw tomatoes and jalapeños for a fresher, brighter salsa if you prefer.
Pin This Recipe!
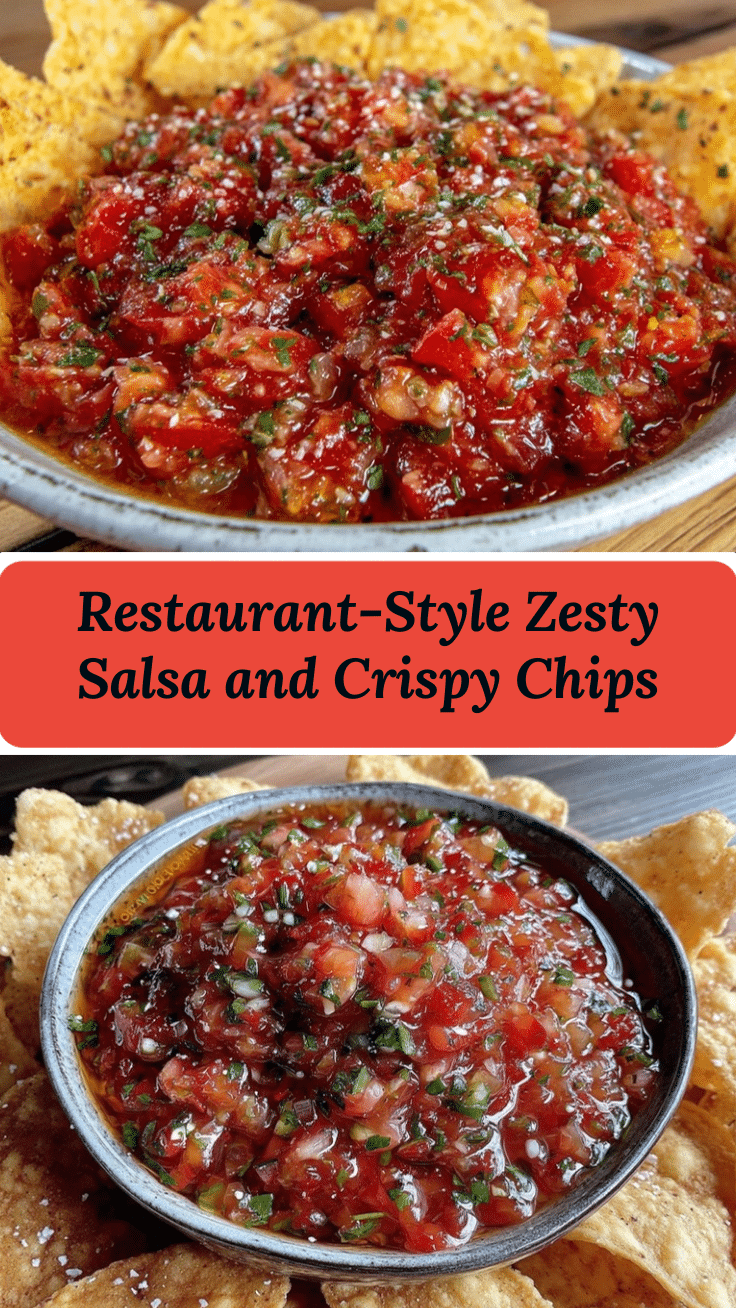
Flavorful Restaurant-Style Salsa and Crispy Chips Recipe

This easy homemade snack recipe recreates the perfect restaurant-style salsa with smoky roasted tomatoes and fresh jalapeños paired with crispy, lightly seasoned baked corn tortilla chips.
- Prep Time: 10 minutes
- Cook Time: 25 minutes
- Total Time: 35 minutes
- Yield: 4 servings 1x
- Category: Snack
- Cuisine: Mexican
Ingredients
- 3 large ripe Roma tomatoes (preferably vine-ripened for sweetness)
- 1 small white onion, quartered
- 2 garlic cloves, unpeeled
- 1–2 fresh jalapeño peppers, stemmed and sliced (remove seeds for less heat)
- 1/2 cup fresh cilantro leaves, loosely packed (washed and dried)
- Juice of 1 lime (freshly squeezed for brightness)
- 1 teaspoon ground cumin
- Salt to taste (kosher salt recommended)
- Freshly ground black pepper, a pinch
- 6 corn tortillas (non-GMO, organic if possible)
- 2 tablespoons vegetable or canola oil
- 1 teaspoon sea salt
- 1/2 teaspoon chili powder (optional)
Instructions
- Preheat your oven to 425°F (220°C).
- Place Roma tomatoes, quartered onion, garlic cloves (unpeeled), and sliced jalapeños on a baking sheet. Drizzle lightly with a bit of oil if desired, then roast for about 20 minutes, turning halfway, until blistered and slightly charred but not burnt.
- Once roasted, peel the garlic cloves. Transfer tomatoes, onion, garlic, and jalapeños into your blender or food processor.
- Add fresh cilantro leaves, lime juice, ground cumin, salt, and black pepper. Pulse a few times until you reach your preferred salsa texture—chunky or smooth. Taste and adjust seasoning if needed. If too thick, add a teaspoon or two of water.
- Cut each corn tortilla into 6 wedges.
- Toss the tortilla wedges with oil, sea salt, and chili powder, ensuring each chip is lightly coated but not dripping.
- Arrange the wedges in a single layer on a clean baking sheet.
- Bake at 425°F (220°C) for 10–12 minutes, flipping halfway through. Watch carefully after 8 minutes to avoid burning.
- Remove chips when crisp and just golden. Let cool on the baking sheet for a few minutes to crisp up further.
- Serve the salsa chilled or at room temperature alongside the warm chips. Enjoy immediately for best crunch and flavor.
Notes
Roast vegetables with space between them to avoid steaming. Leave garlic unpeeled during roasting to prevent burning. Flip chips halfway through baking to ensure even crispiness. If salsa is too spicy, remove jalapeño seeds or add cucumber/tomato to mellow heat. For extra crispiness, flip chips twice during baking. Store salsa in airtight container in fridge up to 4 days; chips separately at room temperature to keep crisp.
Nutrition
- Serving Size: About 1/4 cup salsa
- Calories: 150
- Sugar: 4
- Sodium: 300
- Fat: 5
- Saturated Fat: 0.5
- Carbohydrates: 22
- Fiber: 3
- Protein: 2
Keywords: salsa, crispy chips, homemade snack, restaurant-style salsa, baked tortilla chips, easy salsa recipe, Mexican snack, gluten-free, vegan